


- 5 March 2021
How to Build a Stud Wall
Building a stud wall can be a tough task and it's very easy for something to go wrong. Here’s what you need to know.
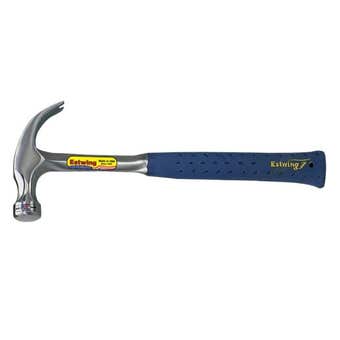
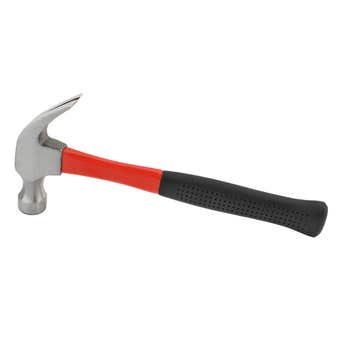
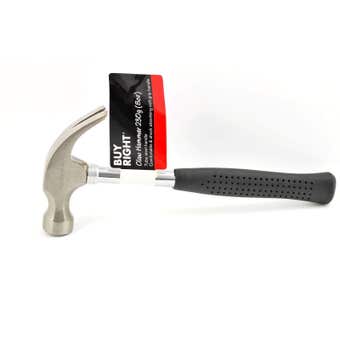
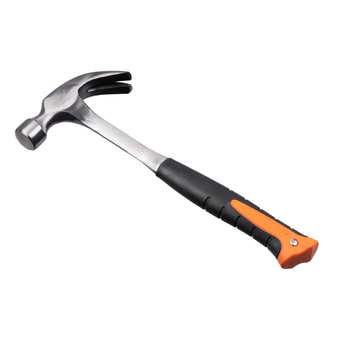
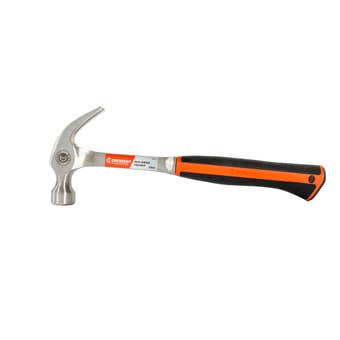
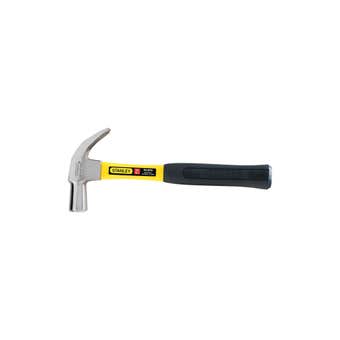
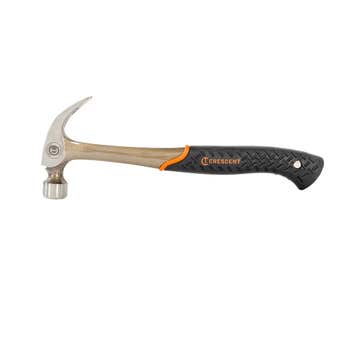
Tools you need:
- 90 x 45mm F5 pine
- 75mm bullethead nails
- Gyprock clouts
- 10mm CSR plasterboard
- Stud adhesive
- Plaster filler
- Spatula
- Sandpaper
- Wattyl Aqua Prep undercoat sealer
- Wattyl flat acrylic paint
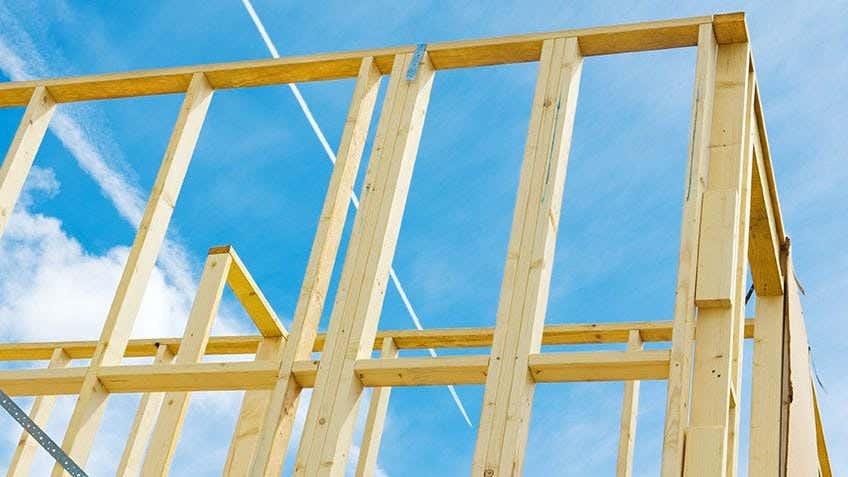
1. Marking the stud positions
There are 4 main components to a stud wall: the top plate, bottom plate, vertical stud and noggins. Mark the top and bottom plate for the stud positions by laying the plates together and marking at the same time. This helps when putting the wall together, as it will be perfectly aligned. Should the intended stud wall continue the line of an existing wall, mark that line across the floor.
To make things easy, start the nails on the top and bottom plate and hammer them all the way through before you tack them onto the studs.
The distance between the top and bottom plates may be different. So measure the length of each vertical stud when placing them. Leave enough room should you need to place a doorway. Nail the studs to set the studs.
2. Tacking it all together
Find level ground and lay the top plate, bottom plate and vertical studs and tack it all together. The final pieces are the noggins and they are the pieces of wood that go through the middle to give the frame support. In other words, they act as horizontal bracing between the vertical studs.
3. Using Plasterboard
Use 10mm CSR plasterboard as it already has recessed edges and is easy to nail and cut. Remove the recess on the plasterboard as we’re building a nib wall. Mark a line about 100mm in from the edge. Run a Stanley knife along the line and cut it off.
4. Fastening gyprock to stud frame
When fastening gyprock to a stud frame, use a stud adhesive glue and apply where you are going to nail. Once applied, place the plasterboard on top of the frame.
The next step is to nail gyprock to the frame using plasterboard clouts and make sure to nail them all the way through, as you will be putting a plaster on top to cover them.
5. Final touches
Before painting, fill up the holes by using plaster and a spatula, and remove the excess filler. Once dry, sand to ensure the surface over the filler is smooth. Make sure you dust off all the excess sanding material left on the board, and now you are ready to paint. The first coat should be an undercoat sealer, followed by your interior matt topcoat.
Mitre 10 is here to help
Mitre 10 has been a key player in the home improvement and hardware industry for decades. High-quality products and excellent workmanship, combined with unparalleled customer service are at the heart of our business.
So whether you want help with building a stud wall or looking to take on wall tiling, our team of experts are here to help. Feel free to reach out to us with any questions via our contact page.