


- 4 March 2021
How to create a great mosaic piece
How to create a great mosaic piece
Mosaicing is a great way to sustain and make use of ordinary household items, as well as any broken dishware you may have lying around. Better yet it’s much easier than it looks, anyone can do it!
With some old cups, plates, glue and a few other easy-to-find items you can create a beautiful mosaic which is perfect for kitchen splashbacks, walls or even standalone ornamental pieces. So, grab the whole family and take on the innovative and creative art that we call mosaicing. Mitre 10 are here to provide you with the latest techniques and trips. Follow this guide to create a great mosaic piece, one tile at a time!
PROJECT CHECKLIST
TOOLS
- Workman's gloves
- Rubber/latex gloves
- Safety goggles
- Measuring jug
- Assorted tiles and crockery
- Pillowcase
- Hammer
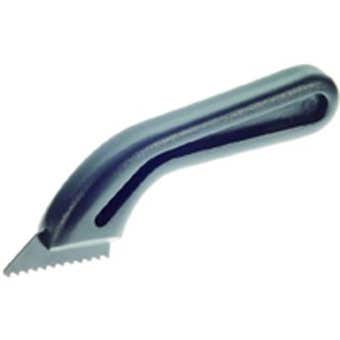
- Straight edged tile clippers
- Palette knife
- Rags and sponges
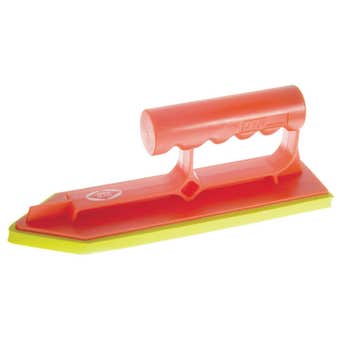
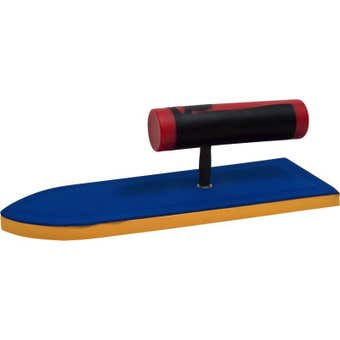
- Mixing bucket and tool
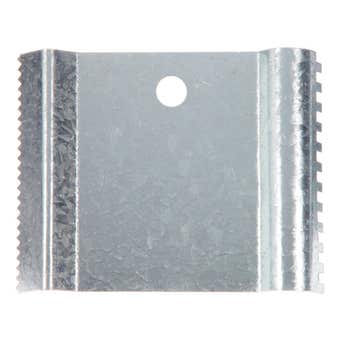
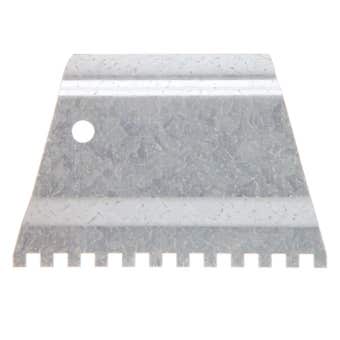
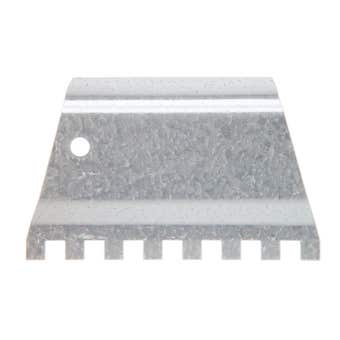
- Small notch trowel
- Tile adhesive
- Grout
STEP 1: CHOOSE YOUR TILES

For this specific guide, we focus on tiling straight onto fibre cement sheeting, but you can tile onto a splashback, a wall or even a table top. When it comes to mosaic, the options are pretty much endless!
The first thing you need to do is mark out the pattern that you will be making. Think about whether you want your design to be big or small, as well as the specific shape of your design. If this makes you nervous, feel free to sketch something on paper first and then transfer your design to the base. If you get this perfect, then it’s just like colouring in! If you're stuck on what design to choose, there are many mosaic patterns on the internet you can use as inspiration. Kitchen mosaic tile patterns can also be of great help as they offer a wide array of patterns and designs.
When doing mosaics, you are not restricted to standard tiles- use any crockery and pattern that you like. This is a great way to make use of any old cups or plates lying around, it’s surprising how many old dishes have such great patterns. When breaking items such as tiles or cups there are 2 methods: using tile cutters or breaking them in a bag with a hammer. The two methods are both great, as either way will give you perfect uneven mosaic tiles. The most important step here is to remember to use eye protection. When dealing with glass and tiles there is a chance you may get harmed, so it’s essential that you take the correct safety precautions.
STEP 2: START YOUR MOSAIC
The next step is to start your mosaic, this is the best part of creating a mosaic piece and is the step where it all comes together! To get started on your mosaic, all you have to do is use the palette knife and apply glue to the back of the tile, making sure to stick it to the surface firmly so it stays in place. Once this is done, make sure to scrape off any excess glue.
STEP 3: GROUT
Now to choose the colour of your grout- there are various colours to choose from and it all depends on the colours of your tiles. Don’t be afraid to ask a mighty helpful team member if you need some assistance. To mix up the grout simply read the directions on the back of the packaging.
A quick handy tip: Grout can stain your hands so make sure to use dishwashing gloves when handling your mosaic piece.
STEP 4: CLEAN
For the last and final step, have the grout bucket and a clean bucket of water by your mosaic so you can regularly clean the sponge. Using a little amount of grout on the sponge, apply the sponge to your mosaic- it will look messy but try to get the grout in between the tiles.
Handy tip: mosaics are still broken tiles so keep watch of your fingers and be extra careful when applying the grout.
Finally, clean the sponge with water and wipe off the excess grout. Repeat the cleaning process of the sponge and make sure to keep wiping the mosaic until all the grout comes off the tiles. This should leave them looking clean and shiny.
Mosaic FAQs
How can mosaics be used?
Here we have used mosaic to create a beautiful feature art, but in many cases mosaics can be used for other things around the home. Mosaics are popular outdoor features and can be used for things such as swimming pool tiles or for indoor use with popular examples being kitchen backsplashes or bathroom floors.
What safety precautions do I need to take?
There are a few safety precautions to take note of when delving into the art of mosaicing:
- Make sure that you work on a surface that can maintain the overall weight of the mosaic. Your piece will begin to get heavier with each tile.
- Use a mask when mixing grout to avoid breathing in the dust.
- Wear safety goggles when mixing grout or cutting tiles.
- Tiles and crockery are sharp when broken, so make sure to keep children at an arm's reach.
What's the best grout colour to use
When it comes to mosaic, using black grout is the ideal colour. Black grout allows for a great contrast against bright coloured tiles and can really help create your piece to stand out. Black grout can also help with the illusion of line art which makes your mosaic piece really pop!
Mosaic with Mitre 10
You have now successfully created a great mosaic piece! For more Mighty Helpful service and advice, speak to the team at your local Mighty Helpful Mitre 10 or visit our website today!