


- 14 April 2021
How to DIY Install a Security Camera System
If you’ve ever thought about installing security cameras around your home but assumed that it would be too expensive or too difficult to set up, you may be pleased to discover that this couldn’t be further from the truth. In fact, it’s possible to install CCTV cameras around your home on the cheap by taking the DIY route. In this article, Mitre 10 will explain how.
Before you begin
There are a number of factors you need to consider before you figure out how to install security cameras for your home. Where do you need the most protection? What does your budget look like? How tech-savvy are you? Here’s what you need to know.
What are you trying to protect?
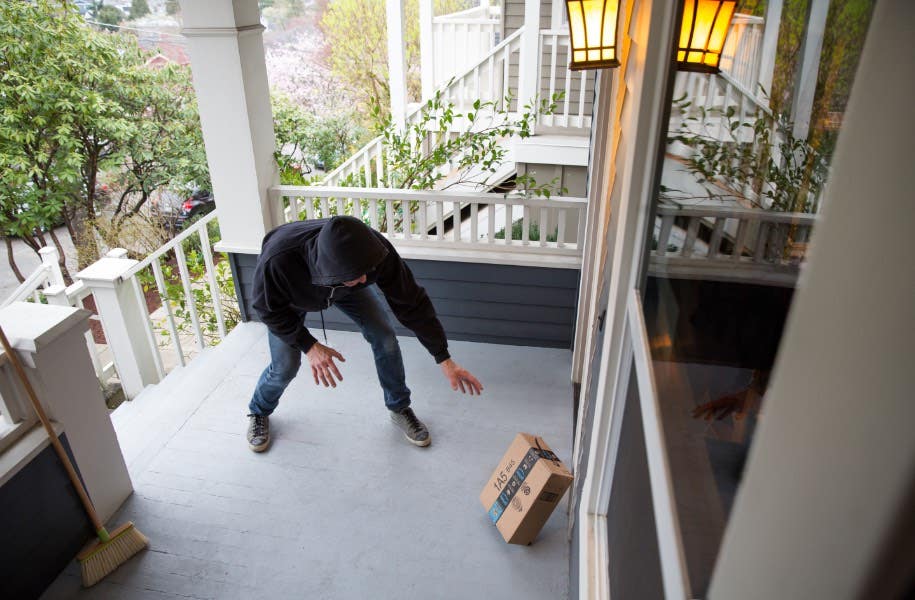
The first thing you need to determine is the level of security you need to place with your cameras. This includes areas inside your house that need surveillance, the number of entrances, and the number of easily accessible windows, to name a few.
It’s also important that you pay attention to the less obvious spots. Back doors and ground floor windows are areas of interest for intruders that may wish to go unnoticed.
Taking all of this into account, you can figure out how you should position your cameras.
Location: Indoors or Outdoors?
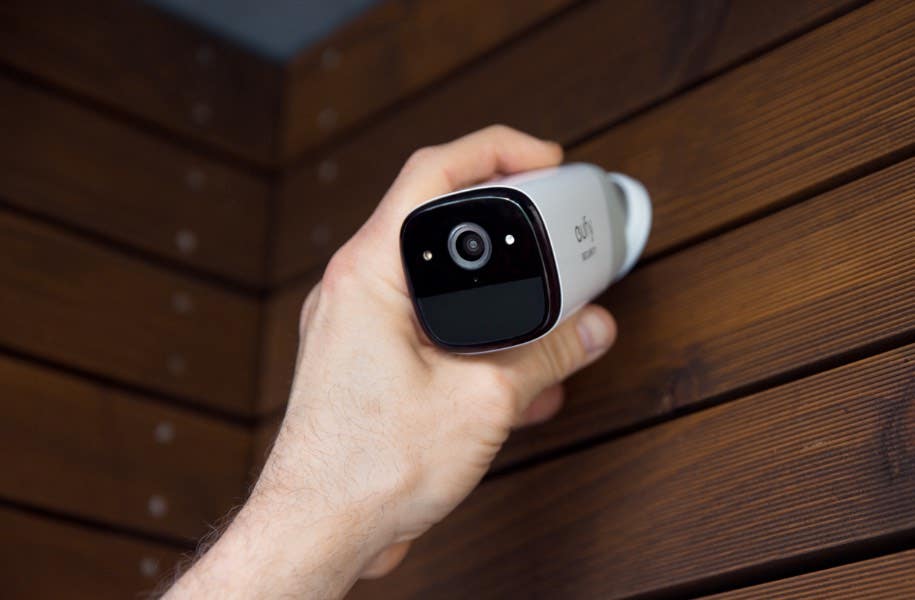
The biggest difference between the two options is the weather factor. Harsh weather conditions can easily obstruct CCTV, or worse, cause considerable damage. Thereby you should pay close attention to the standard and durability of the security cameras. Check for specifics that verify the quality. Mitre10 security cameras offer a wide variety of options here.
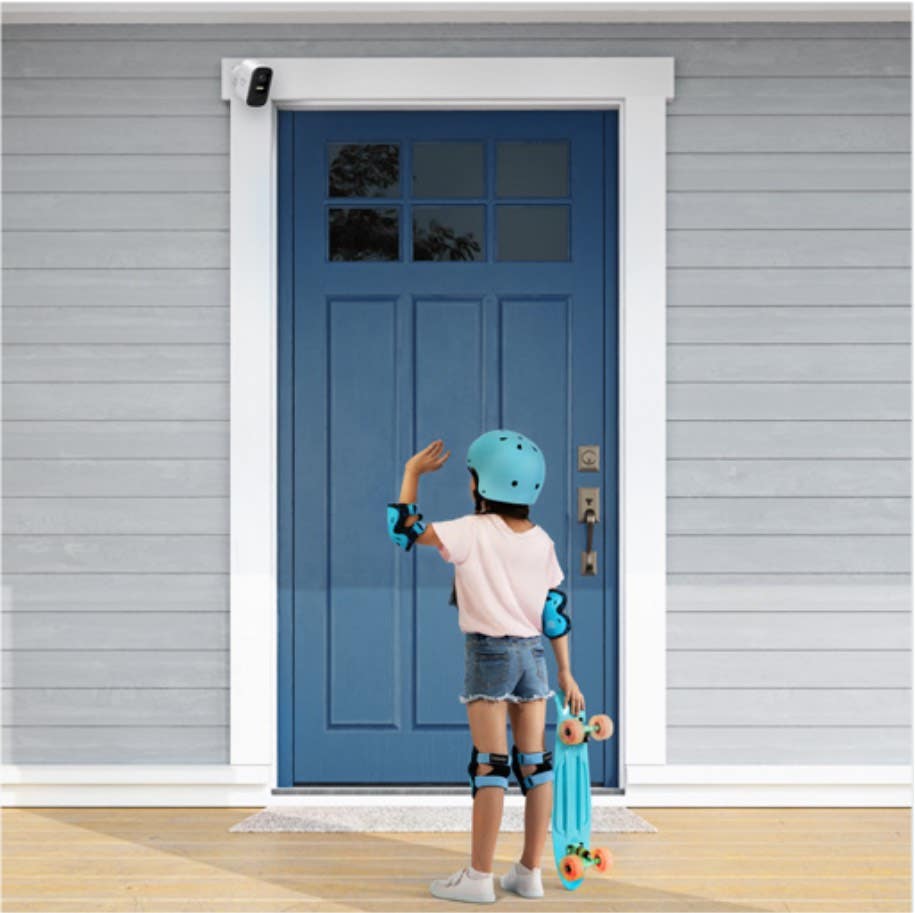
Typically, outdoor cameras are placed above the garage door or somewhere overlooking the front/back porch. If you’re placing any camera over your garage door, ensure that you have a large field of view. Conversely, a camera on the porch requires a narrower field of view with a focus on the driveway to capture all the movement.
If you’re going for an indoor DIY security camera installation, take note of where you’re going to position the cameras. A higher corner of the room with a wide field of view is the ideal setting.
What is may cost you
Once you’ve determined what areas you want to cover, you’ll know how many cameras are required. Next, you would need to decide the different specifications available. For example, do you want an HD feed or do you prefer a camera setup that supports 4K? The answer depends on your exact preferences. If you’re not sure about the features you should go for, check with a professional.
DIY security camera installation
When it comes to the installation process, you could go about it in two ways. Either get hire a professional service or do it yourself. While the DIY route is the cheaper option, both methods have their pros and cons.
Modern cameras have made it easier to DIY install a security camera system. Most of the time, all you would need is a bit of drilling here and a few screws there. This will be the cheaper installation option considering you’re doing it yourself. But this also means that any issue should be troubleshot yourself. In other words, things could actually turn out far more costly if you’re not comfortable with the process.
Getting the professionals to do it
This is the more expensive option. But a professional installation guarantees that the entire process will be expertly handled. All your gear will be installed for you with the cameras positioned in their optimal places. Here at Mitre10, our staff can assist you with everything from setting up all your smart cameras to installing security lighting in your household.
Wired or wireless?
A wired setup requires you to have all your cameras wired to the main source whereas a wireless one wouldn’t. This is particularly useful if mobility matters to you and if you don’t want to go through the trouble of wiring all over your home. However, wired cameras offer a more stable and reliable connection.
Storage options
Should you choose a complete cloud storage solution or an on-premise option? Many camera systems come with cloud storage today. This offers convenience as well as minimising the risk of your data being compromised. However, some may opt for an on-premise solution for privacy and other convenience factors.
Cloud storage would mean you will have access to your feed wherever you go, on your smartphone or on the laptop. However, a number of local storage camera systems offer a hybrid solution where you can store footage locally with a Digital Video Recorder (DVR) or a similar device while being able to view it from your smartphone. The Q-See CCTV Kit is the ideal choice for those looking for the best of both worlds.
Time to DIY install a security camera system (wired)
Now that you’ve got all your requirements sorted out, the next step is to gather the tools you need for the task and going ahead with the installation.
First, you need the following tools:
- Power drill along with drive, spade and regular drill bits
- Masking tape
- Monitor, mouse and keyboard
- Baluns (if the system is analogue)
- Steel fish tape
- Ethernet cable
Before diving into the installation process, it’s important to understand how all the connections work. Almost every system is made up of a set of cameras and a DVR box. This DVR box is what stores all your footage as well as acts as the user interface for your system.
So no matter where you decide to place the camera inside your house, the wiring needs to carry through to the DVR. Thereby, you need to be wary about where you’ll be placing the DVR and how your house is structured as it can get complicated with the wiring.
The DVR is plugged into a power outlet and all external hardware including the viewing monitor is connected to the device. All of this needs to be considered when selecting a place for your DVR.
Fixing the cameras and wiring
By now you already know how many cameras you need and where you need to place them. Opt for stable and high placed spots for your cameras. Mark holes where the camera cables will go through and where you’ll be placing the mounting screws. Use your drilling equipment to fix everything in place.
Once your cameras are in place, start with the wiring. This process is far easier if you use fish tape. Feed the fish tape up into the hole you drilled earlier from the other end of your connection (where your DVR will be). Tape the end of your cable to the fish tape. This is to thread the cable through the hole. After everything is in place, unwrap and remove the fish tape. Repeat the same process on the end of the DVR and your cable connections are good to go.
Mount your DVR either to a wall or resting on a desk/tabletop. Fix the cables together once the cameras are put in place. Connect your monitor, power source, mouse and keyboard. Afterwards, it’s just a matter of setting up the user interface. Your camera system typically comes with a manual or quick tutorial that will help you with the procedure.
Call the experts
By now you should be familiar with how to DIY install a security camera system. Still have questions? Feel free to get in touch with us. Our team of specialists are more than happy to address your queries. Reach out via our contact page today.