


- 28 December 2023
As the festive season winds down, the task of tidying up and storing decorations can be simplified with a quick and easy method for your Christmas lights. Follow these steps for well-organised way to store and maintaining your lights in excellent condition until the next festive season.
DIY Project Steps
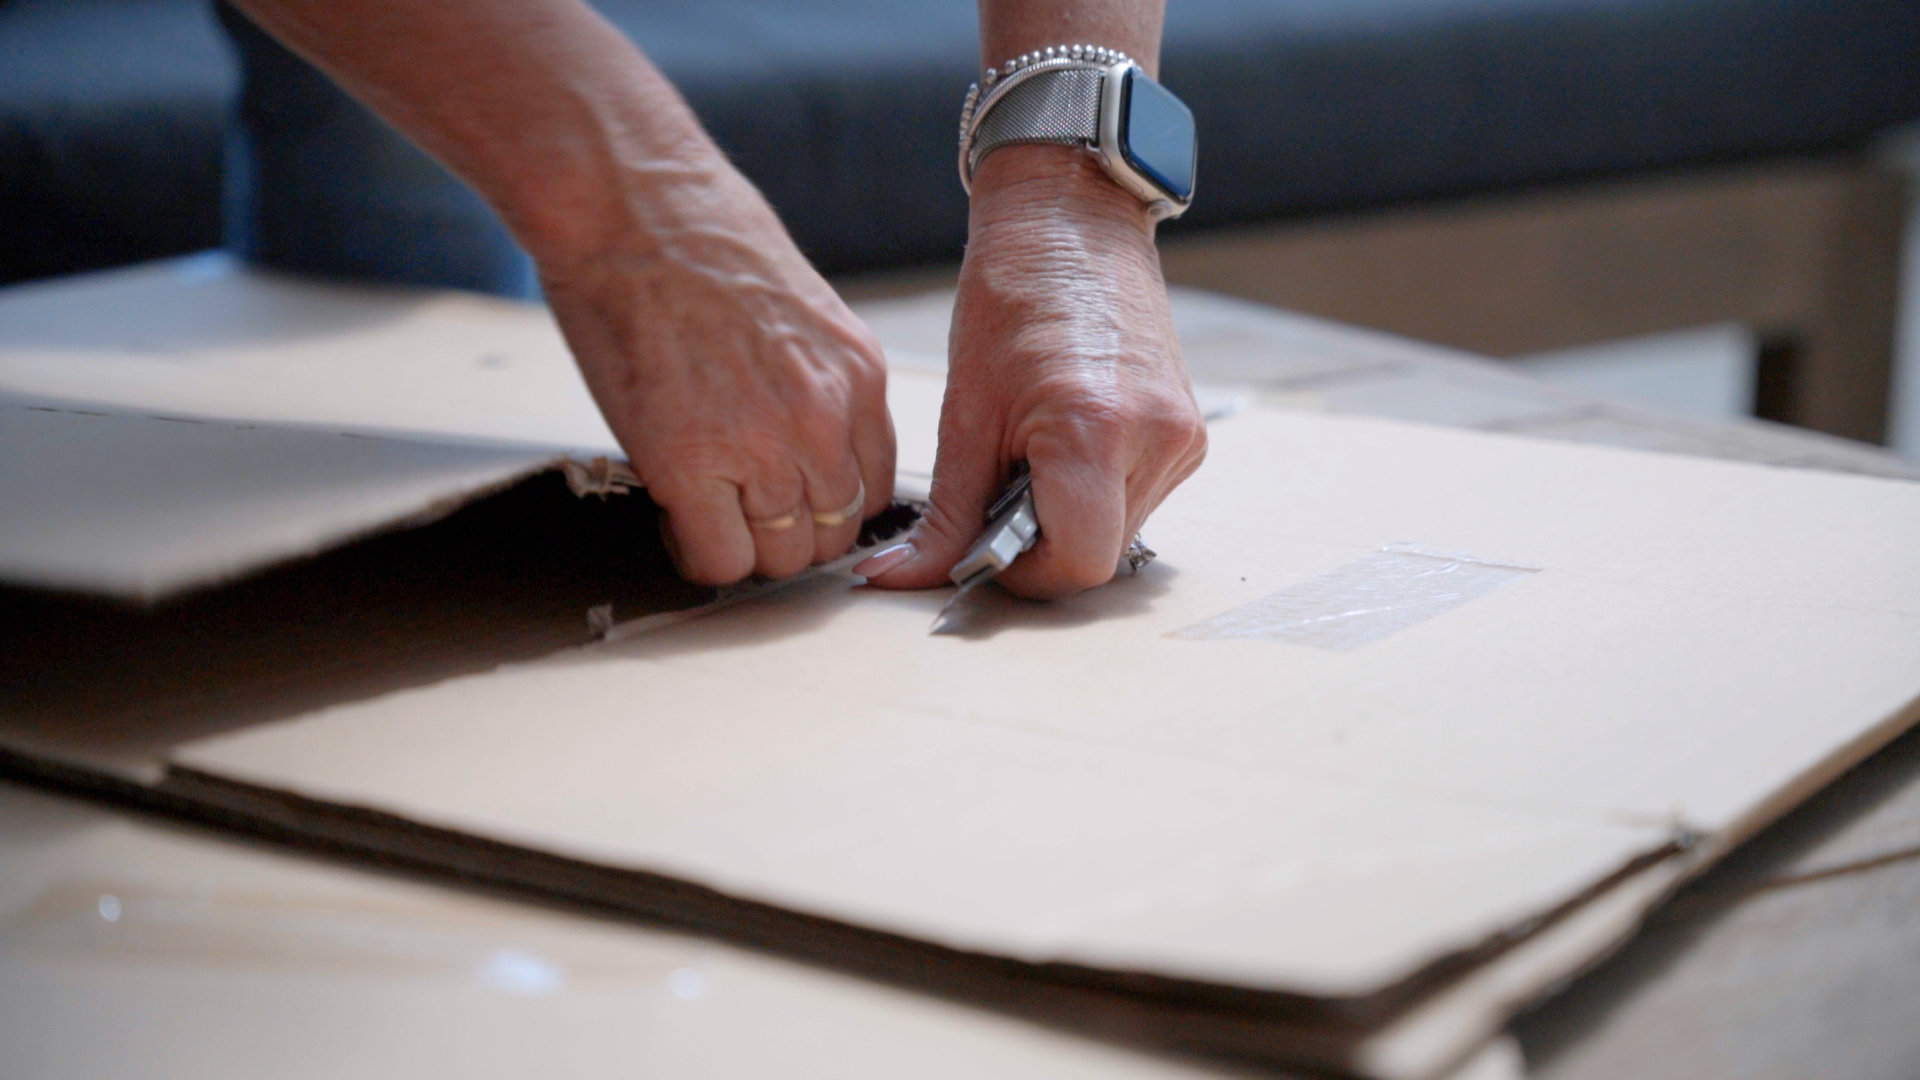
1. Cardboard rectangle and cut each side
These versatile lights are available in various lengths and colours, making them ideal for both indoor and outdoor use. Choose warm white for a classic look or multi-colour for a more festive feel.
Best Use: Wrapping trees, framing doors and windows, hanging along fences.

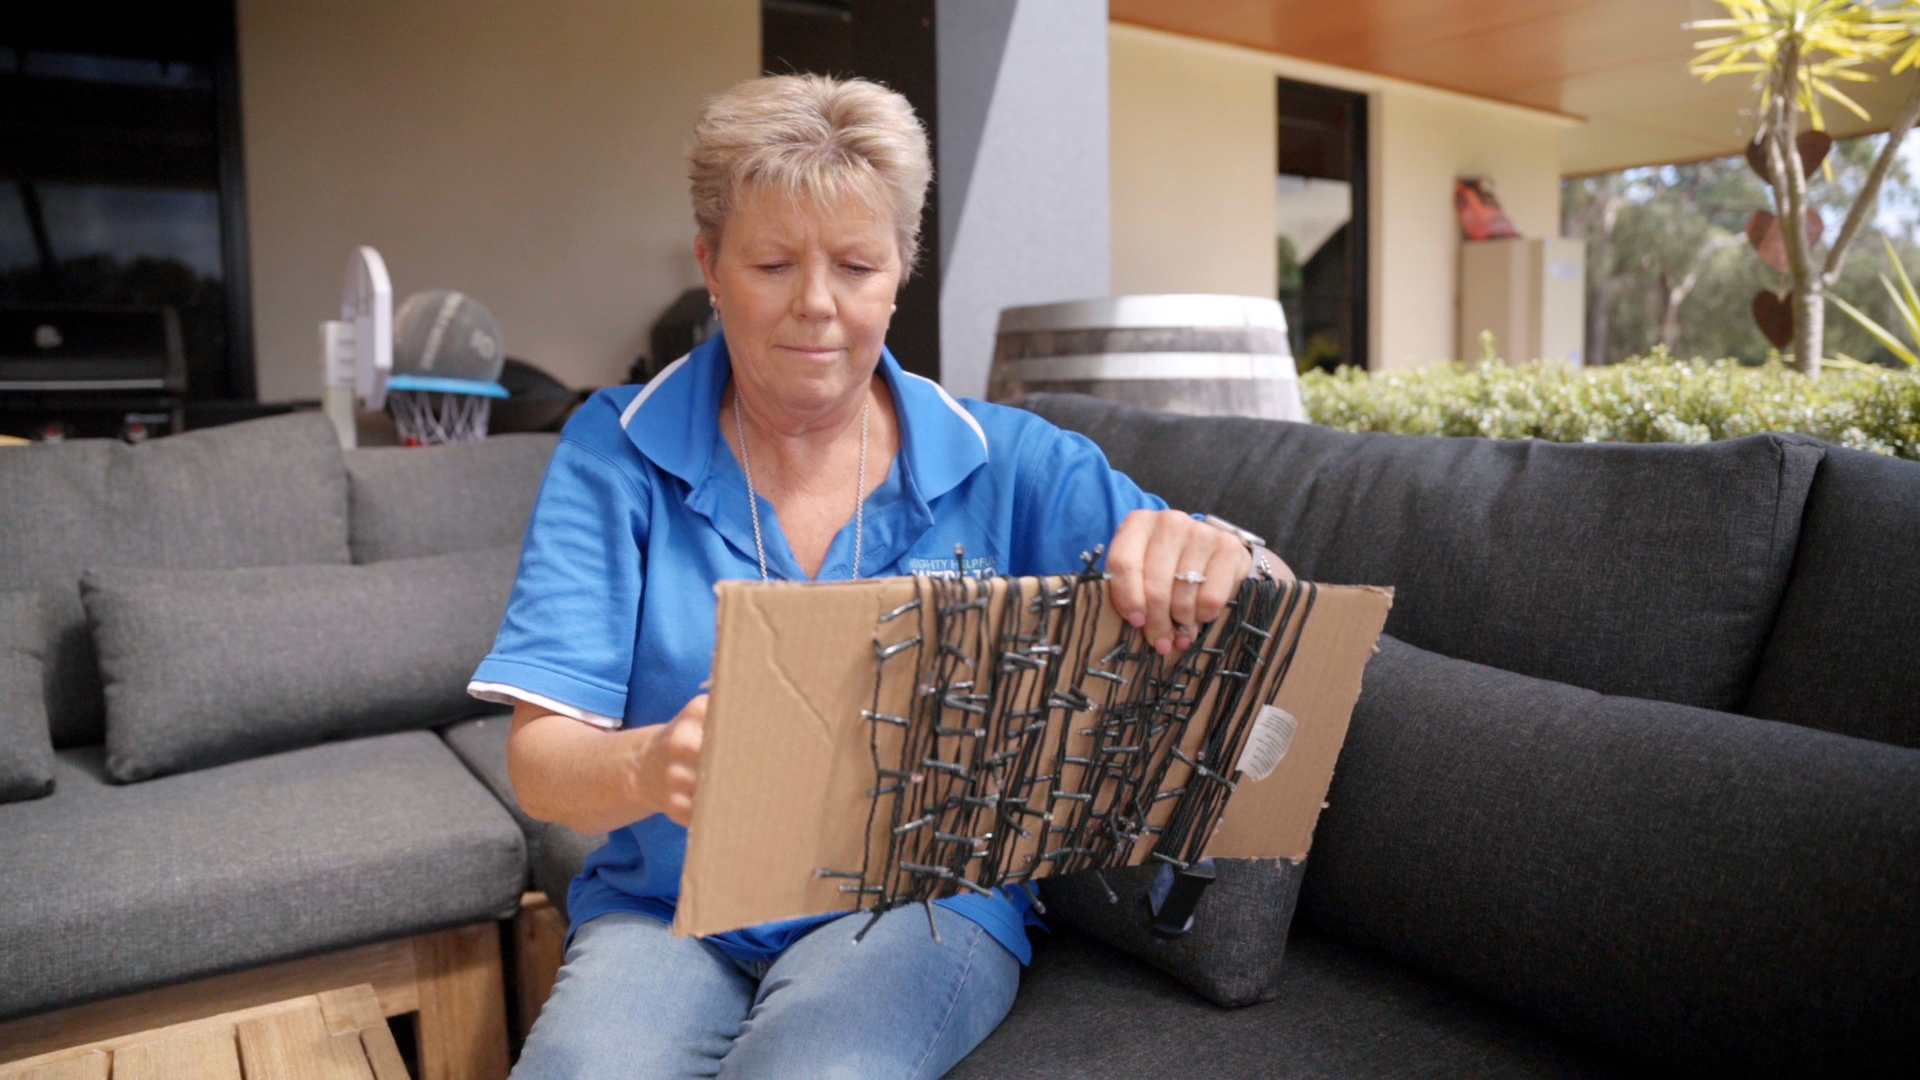
2. Start at one end and wrap around
Begin at one end of the cardboard, insert the plug through the cut in the board, and neatly wrap the Christmas lights around it. This process helps prevent tangling and ensures an easy unravelling when it's time to decorate next year.
3. Utilise the second cut
These lights are woven into a net formation, making them perfect for covering large areas like hedges, bushes, and walls. Net lights are easy to install, providing even coverage with minimal effort.
Best Use: Hedges, shrubs, and fences.

4. Pack away
Once your Christmas lights are securely wrapped and held in place, stack the cardboard rectangles in a storage container, pop the lid on and put away. This makes a clutter-free and organised solution, making it a breeze to locate and retrieve your lights when the holiday season rolls around again.


