- 4 April 2024
Building a garden bed with sleepers is a great way to give your garden some structure and charm while offering a sturdy spot for your plants to thrive. Follow these simple steps to create your own garden bed:
DIY Project Steps

1. Start with a flat level base
Before starting construction, decide where and how large you want your garden bed to be. Clear the area of any debris or plants to prepare a clean surface. We’ve gone with 200 x 50 x 2400 treated pine sleepers, but you can go with whatever size you like; you can use different lengths, so you have variation in the size of your garden bed.

2. Drill pilot holes in each corner
Begin by arranging the sleepers to outline the shape of your garden bed. Make sure they form a square or rectangle, and check that the corners are square. To avoid splitting the wood when joining the sleepers, use a drill to create pilot holes at each corner.

3. Screw sleepers together
Next, grab some bugle batten screws to secure the sleepers at each corner, creating a strong frame for your garden bed. Repeat this step for each corner, placing two screws on each side for extra stability.

4. Hammer a star stake in each corner
Grab a star stake and hammer it into the ground at each corner of the garden bed. This adds extra stability and keeps the sleepers from moving around as time goes on. The length of your stakes will vary based on how tall you're making your garden bed; the taller it is, the longer the stakes should be.

5. Secure top layer of sleepers
Once the stakes are positioned, simply insert a screw through the hole in the stake and into the sleeper to secure the top layer firmly. Repeat the same process as you did for the bottom layer by drilling pilot holes in each corner and screwing the sleepers together.

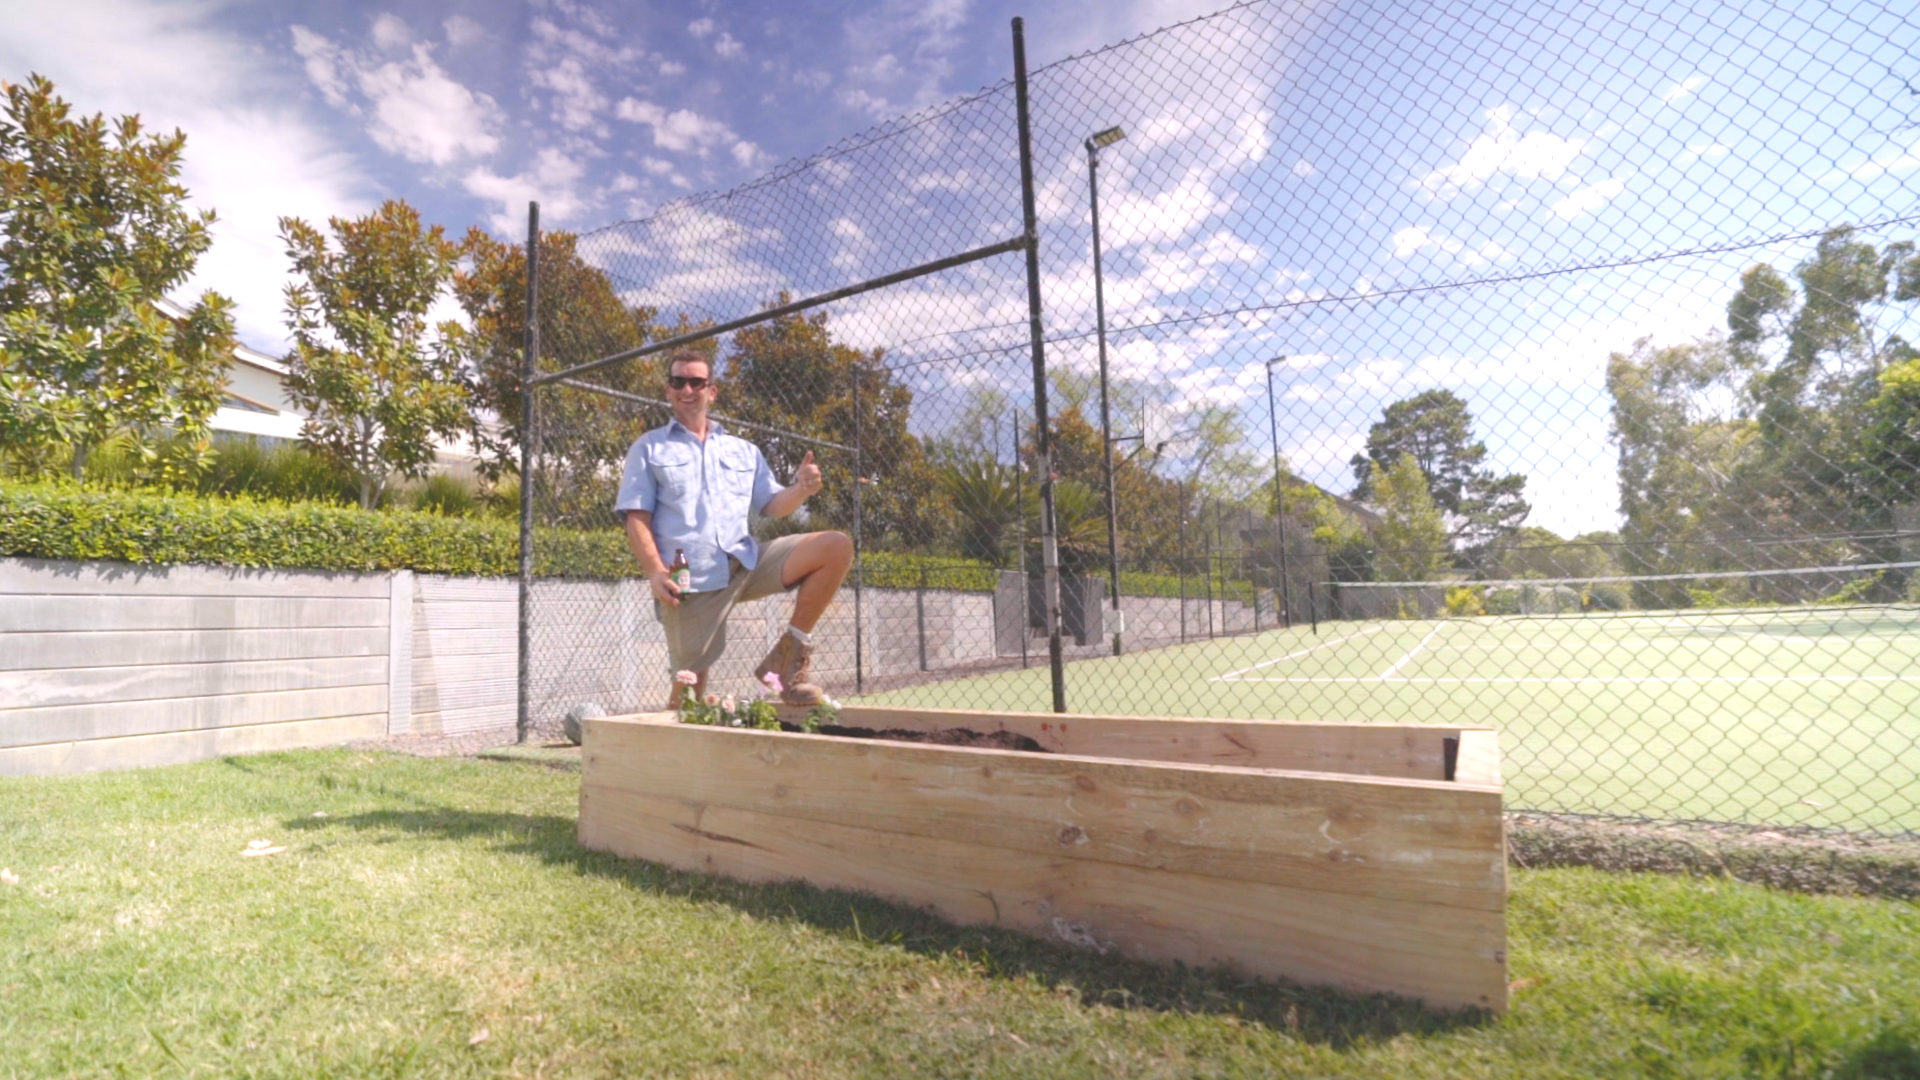
6. Pour in potting mix and plant
Now that your garden bed is all set up, it's time to fill it with potting mix and get planting! Pick out a good-quality potting mix that matches the needs of your plants. Then, take your time arranging your plants in the bed just how you like them.