


- 12 April 2023
Have you got an empty space on your wall but can’t afford to pay for expensive artwork? Or do you simply enjoy getting your craft on and seeing your beautiful ideas come to life on a canvas? In this hack, we will show you how to create a piece of designer art in a few easy steps.
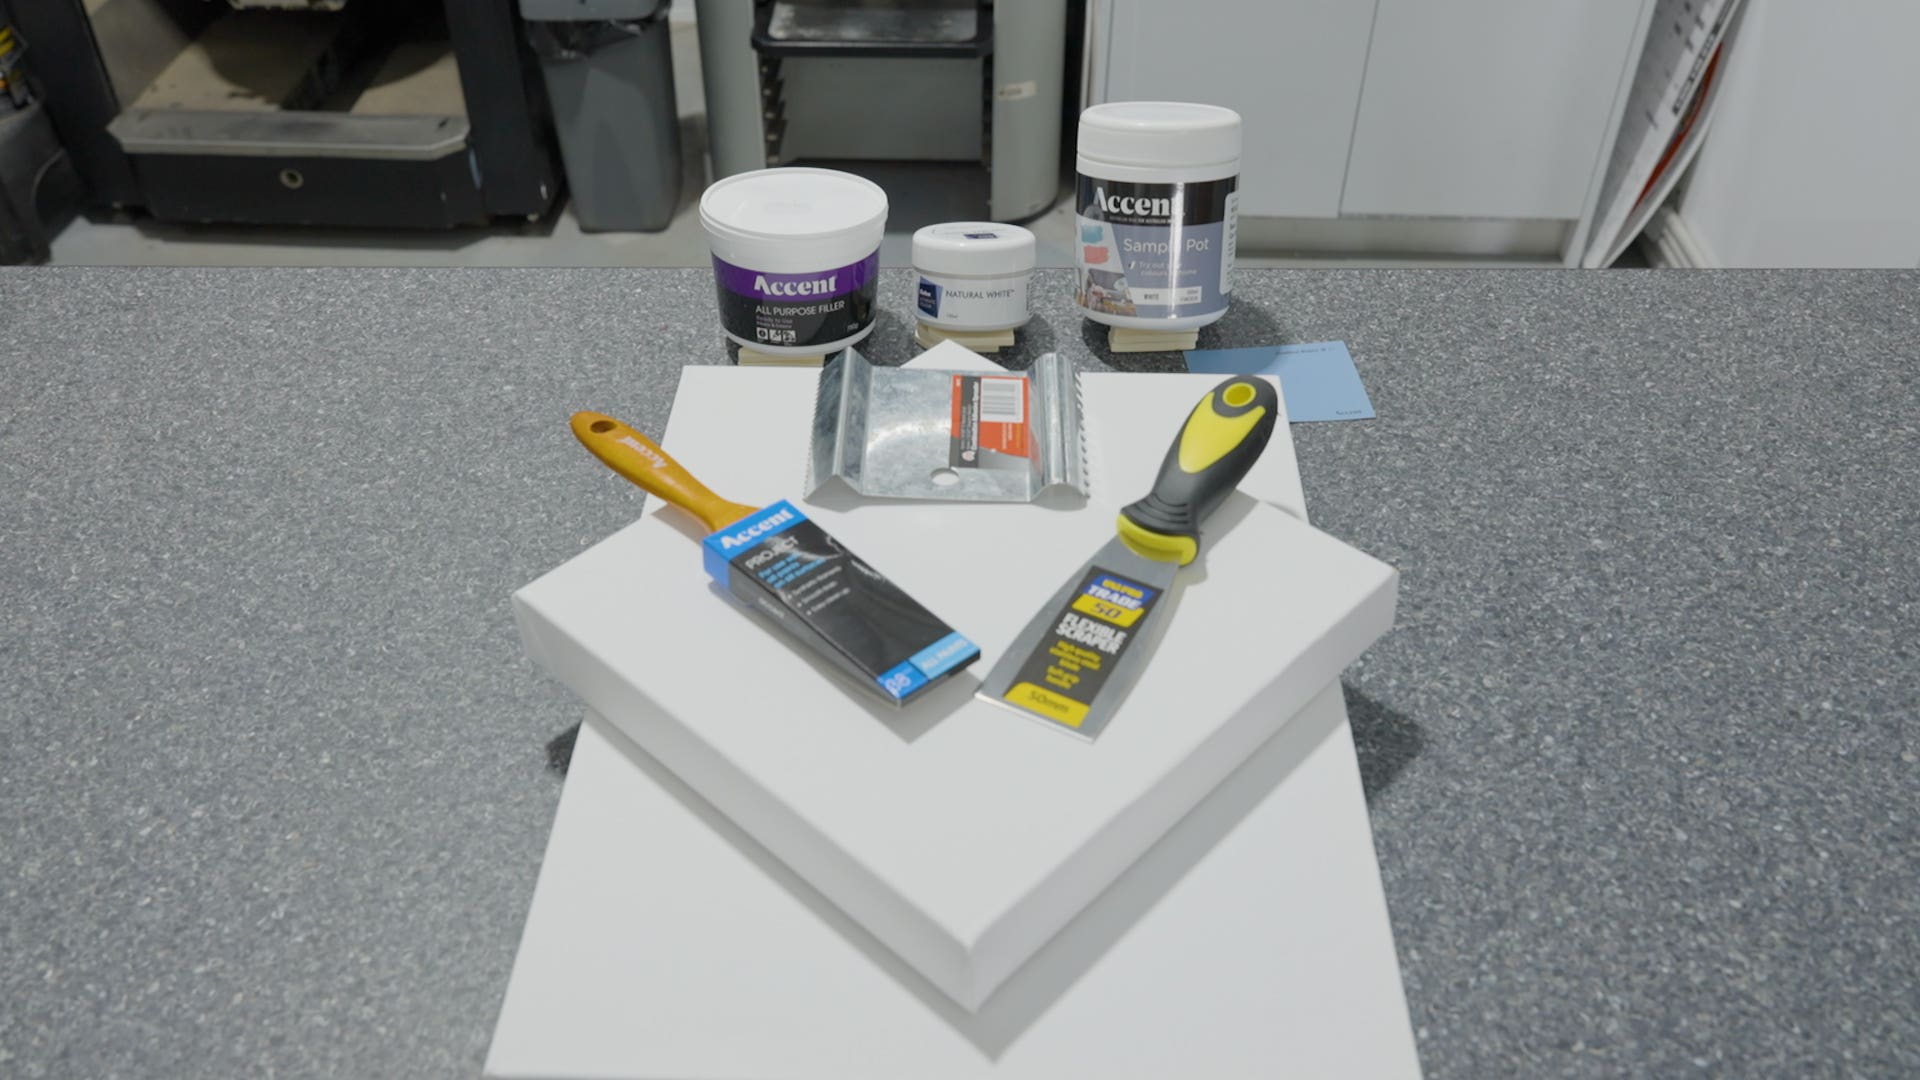
Shopping List


DIY Project Steps
1. Pick a canvas
Select a canvas, you can either upcycle an old artwork or buy a new canvas (sorry – we don’t typically sell these at Mitre 10).
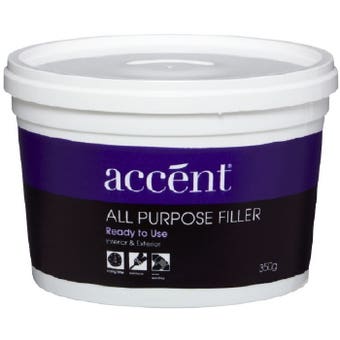
2. Fill the canvas with a filler
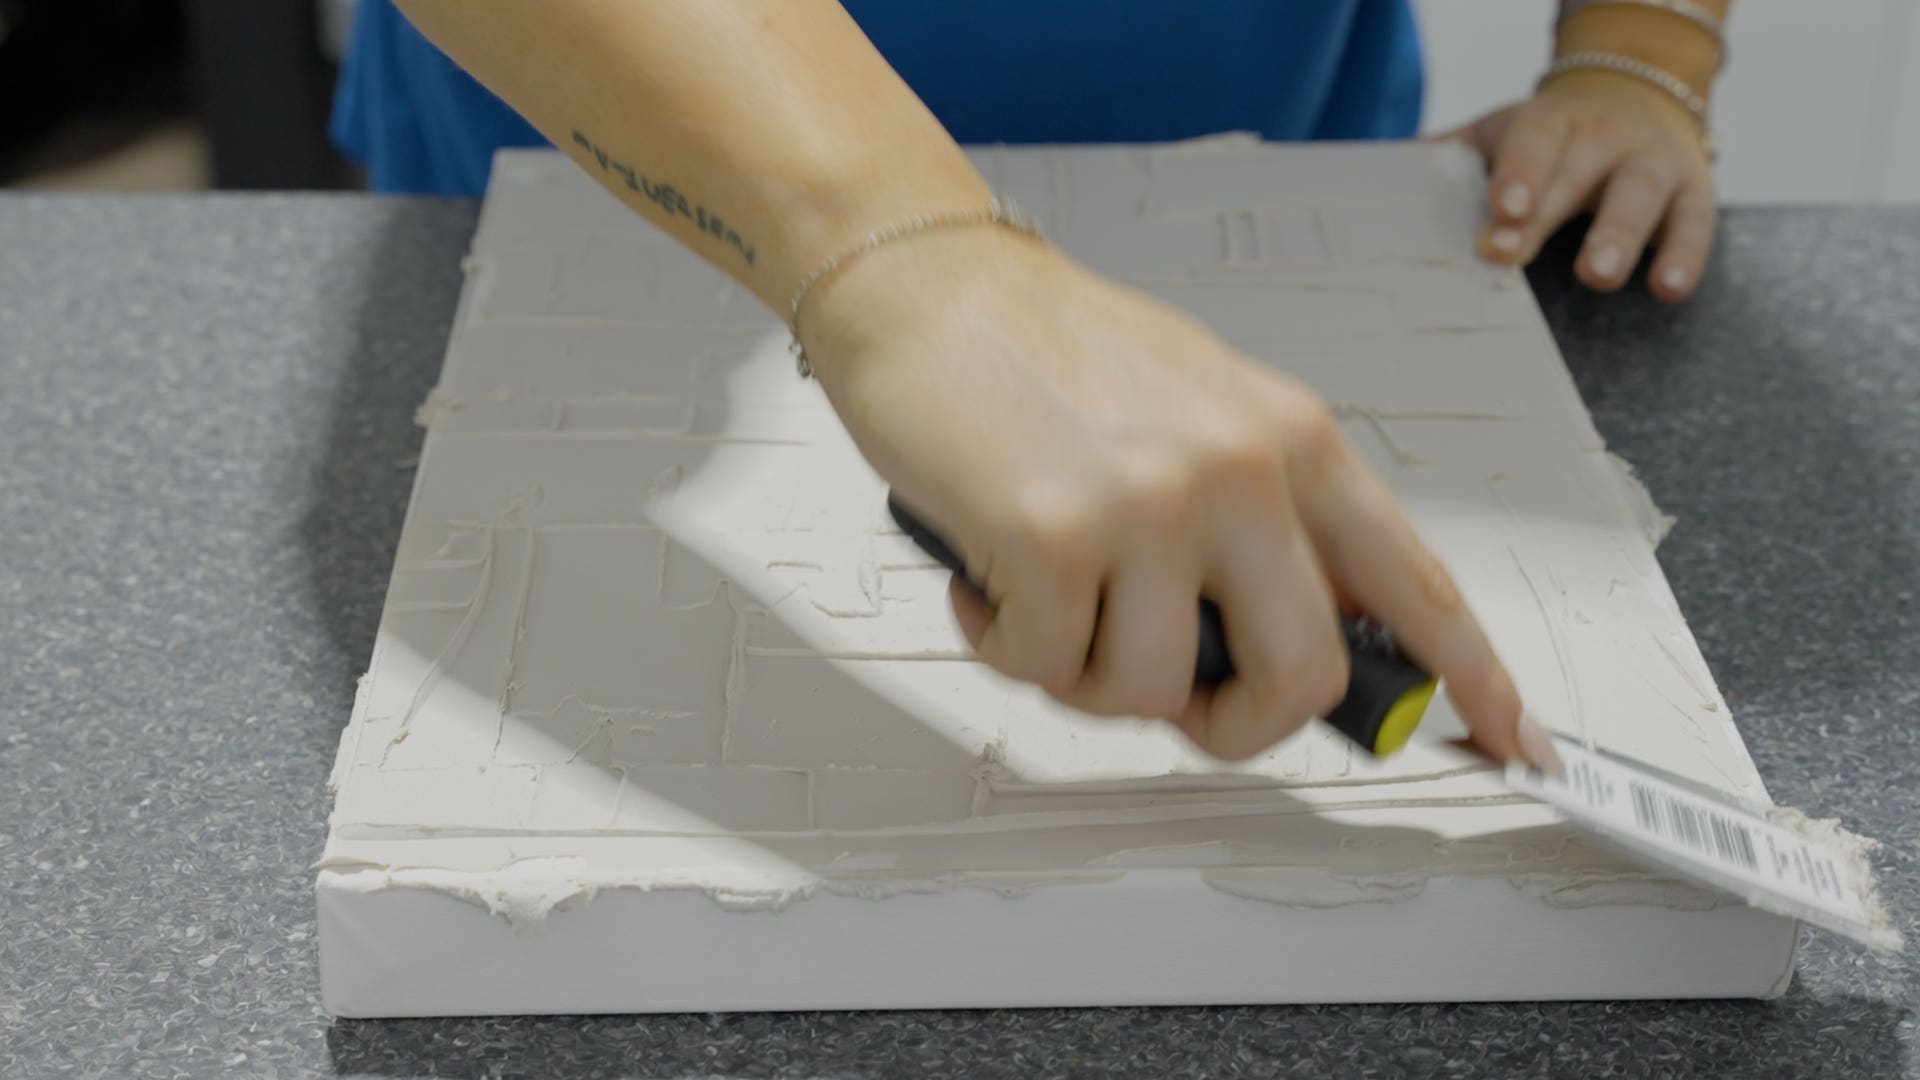
Apply a filler to your canvas using a scraper. Ensure filler covers the whole canvas. No need for the filler to look perfectly flat as this texture makes for a more interesting design. If you make a mistake, simply flatten the image, and start again. Wait for it to dry (allow an hour to be safe).
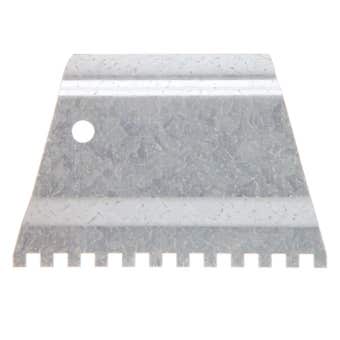
3. Make a pattern
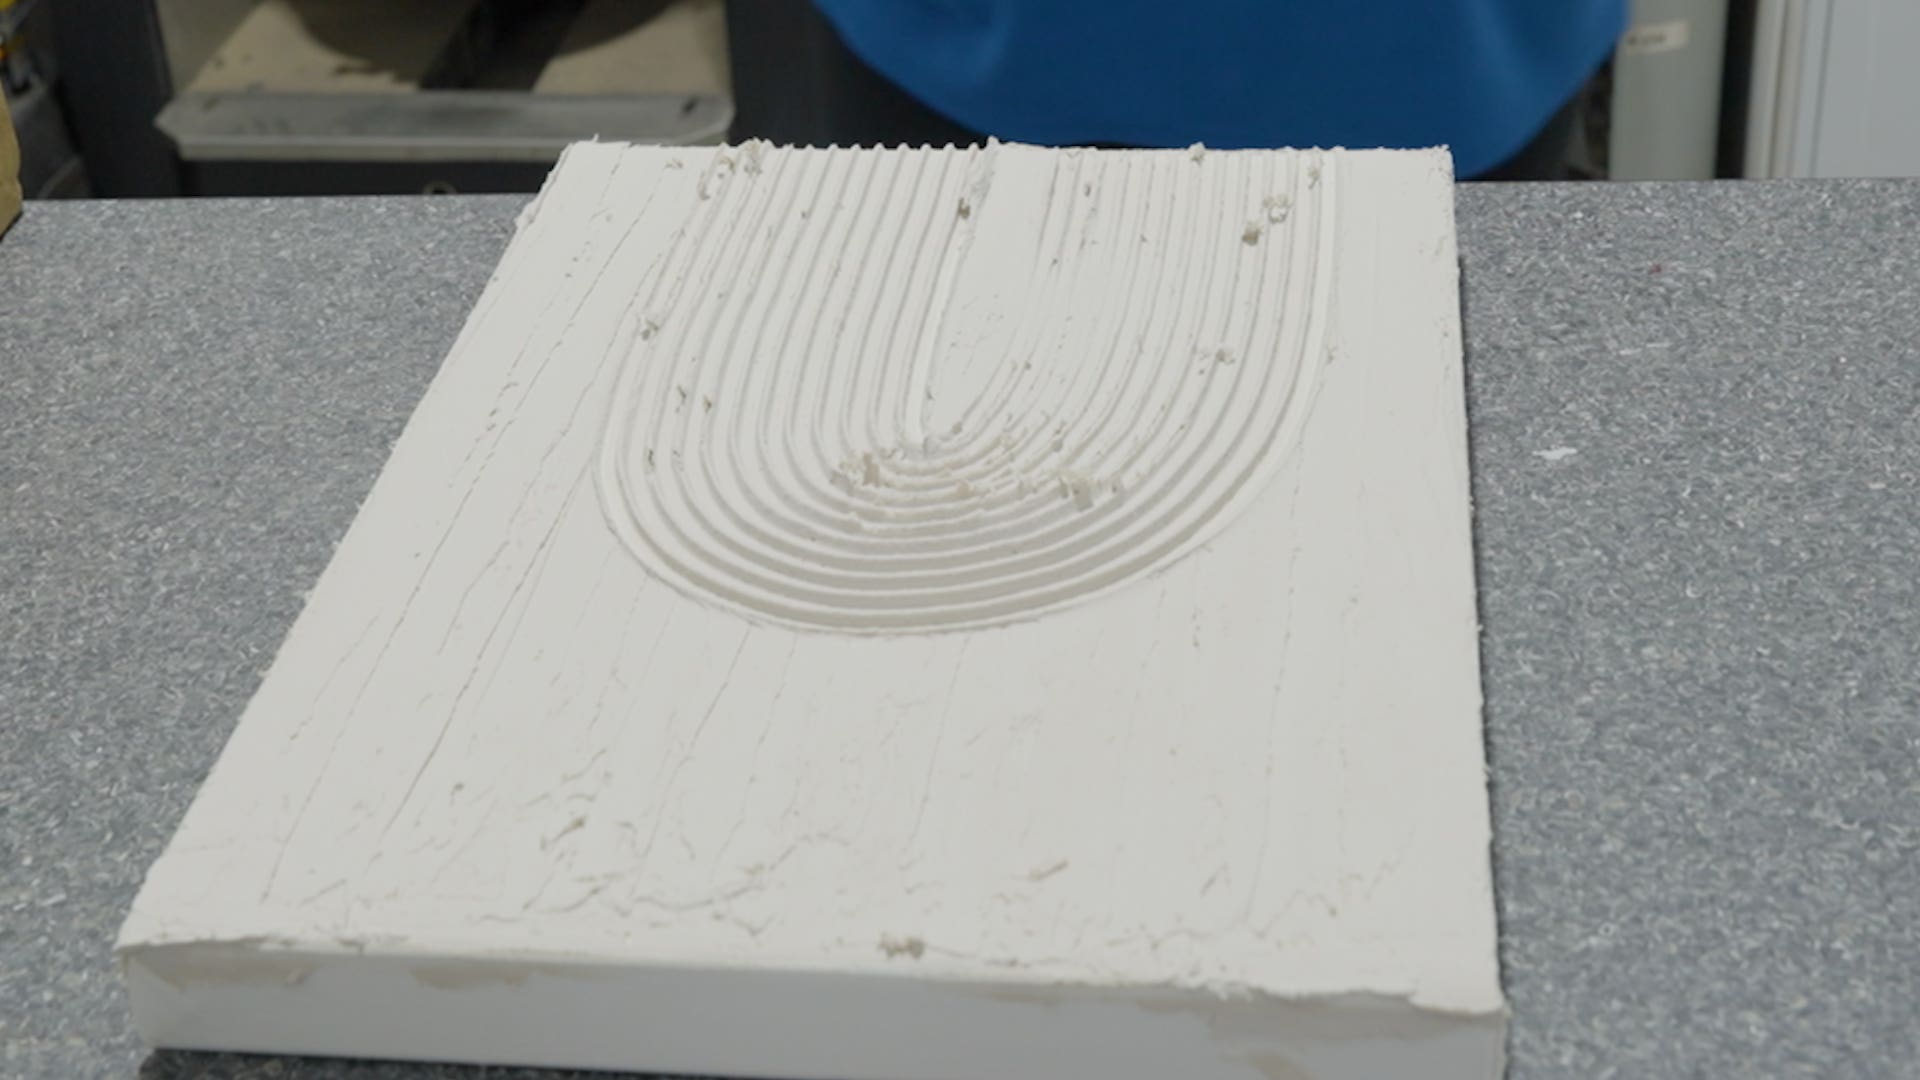
Run a tile spreader slowly through the filler and make a pattern / shape of your choice.
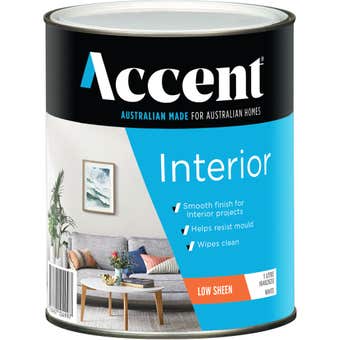
4. Apply the paint
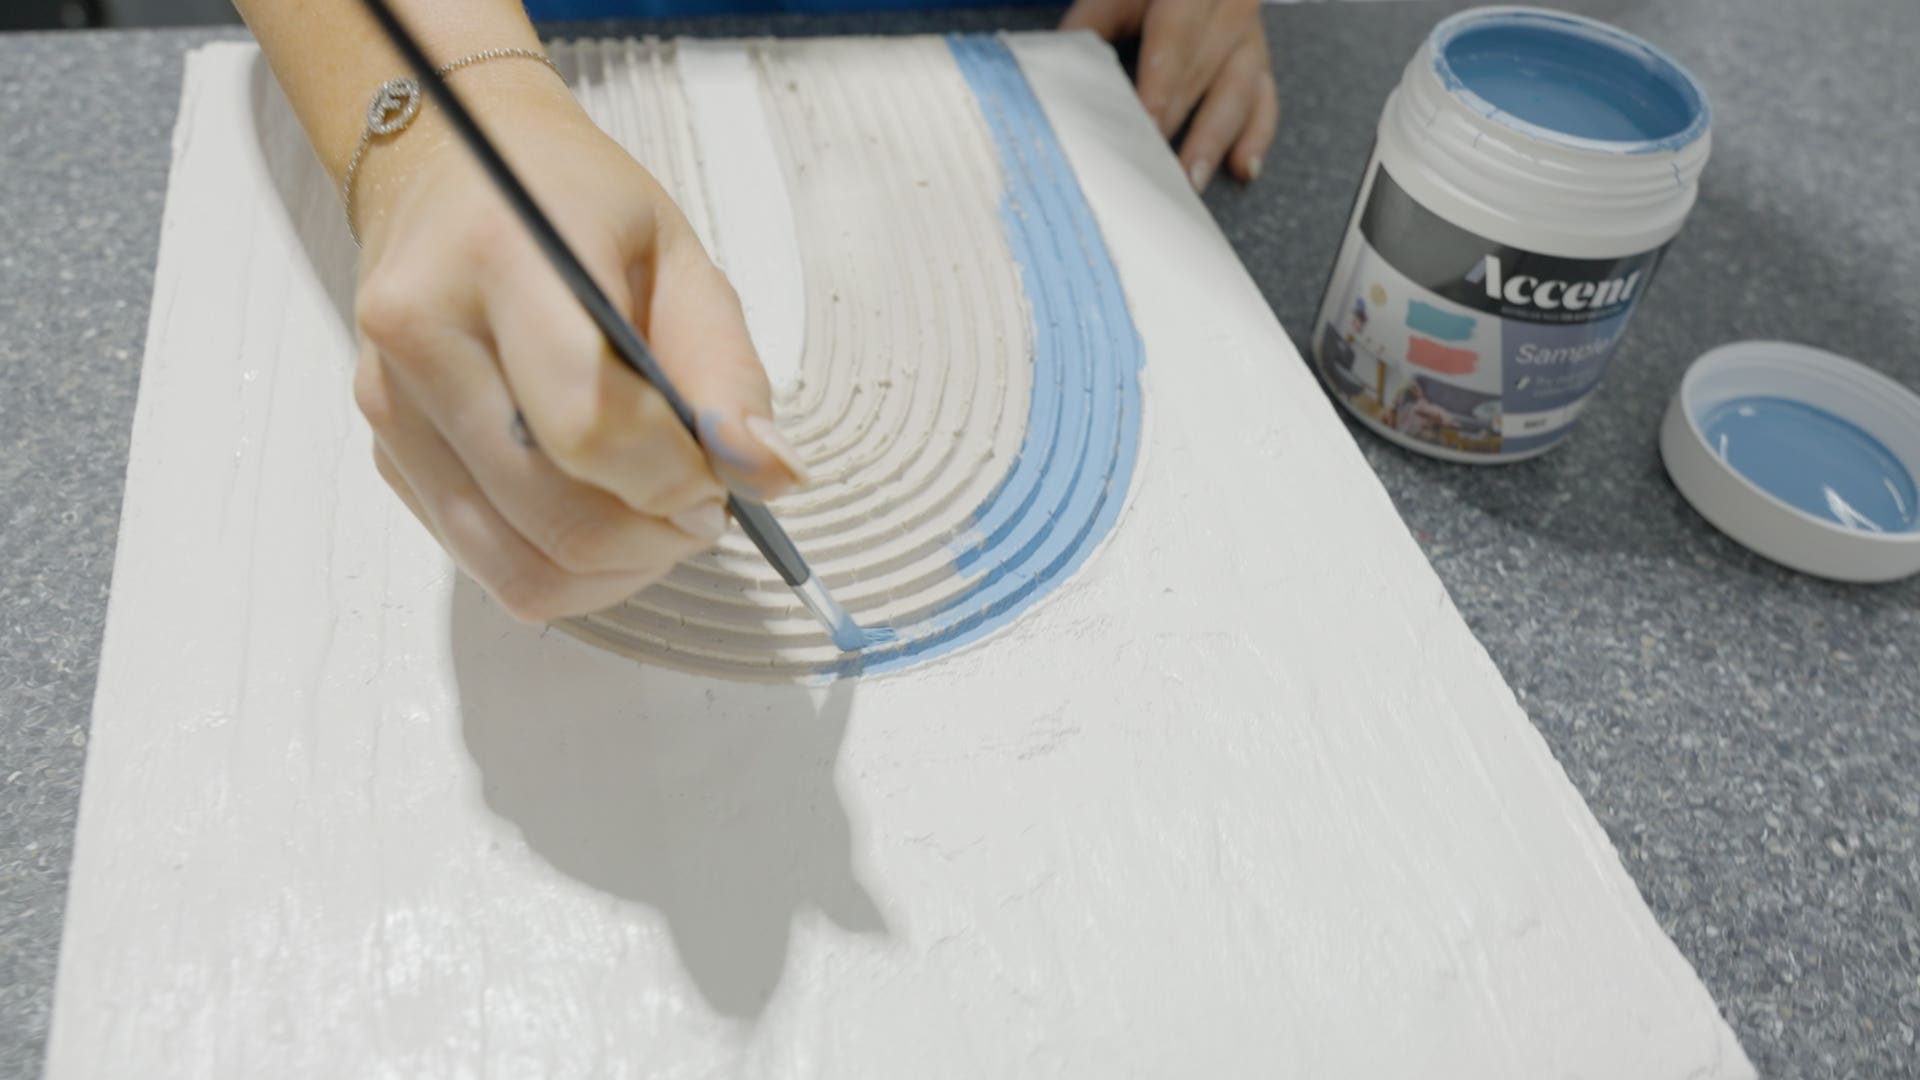
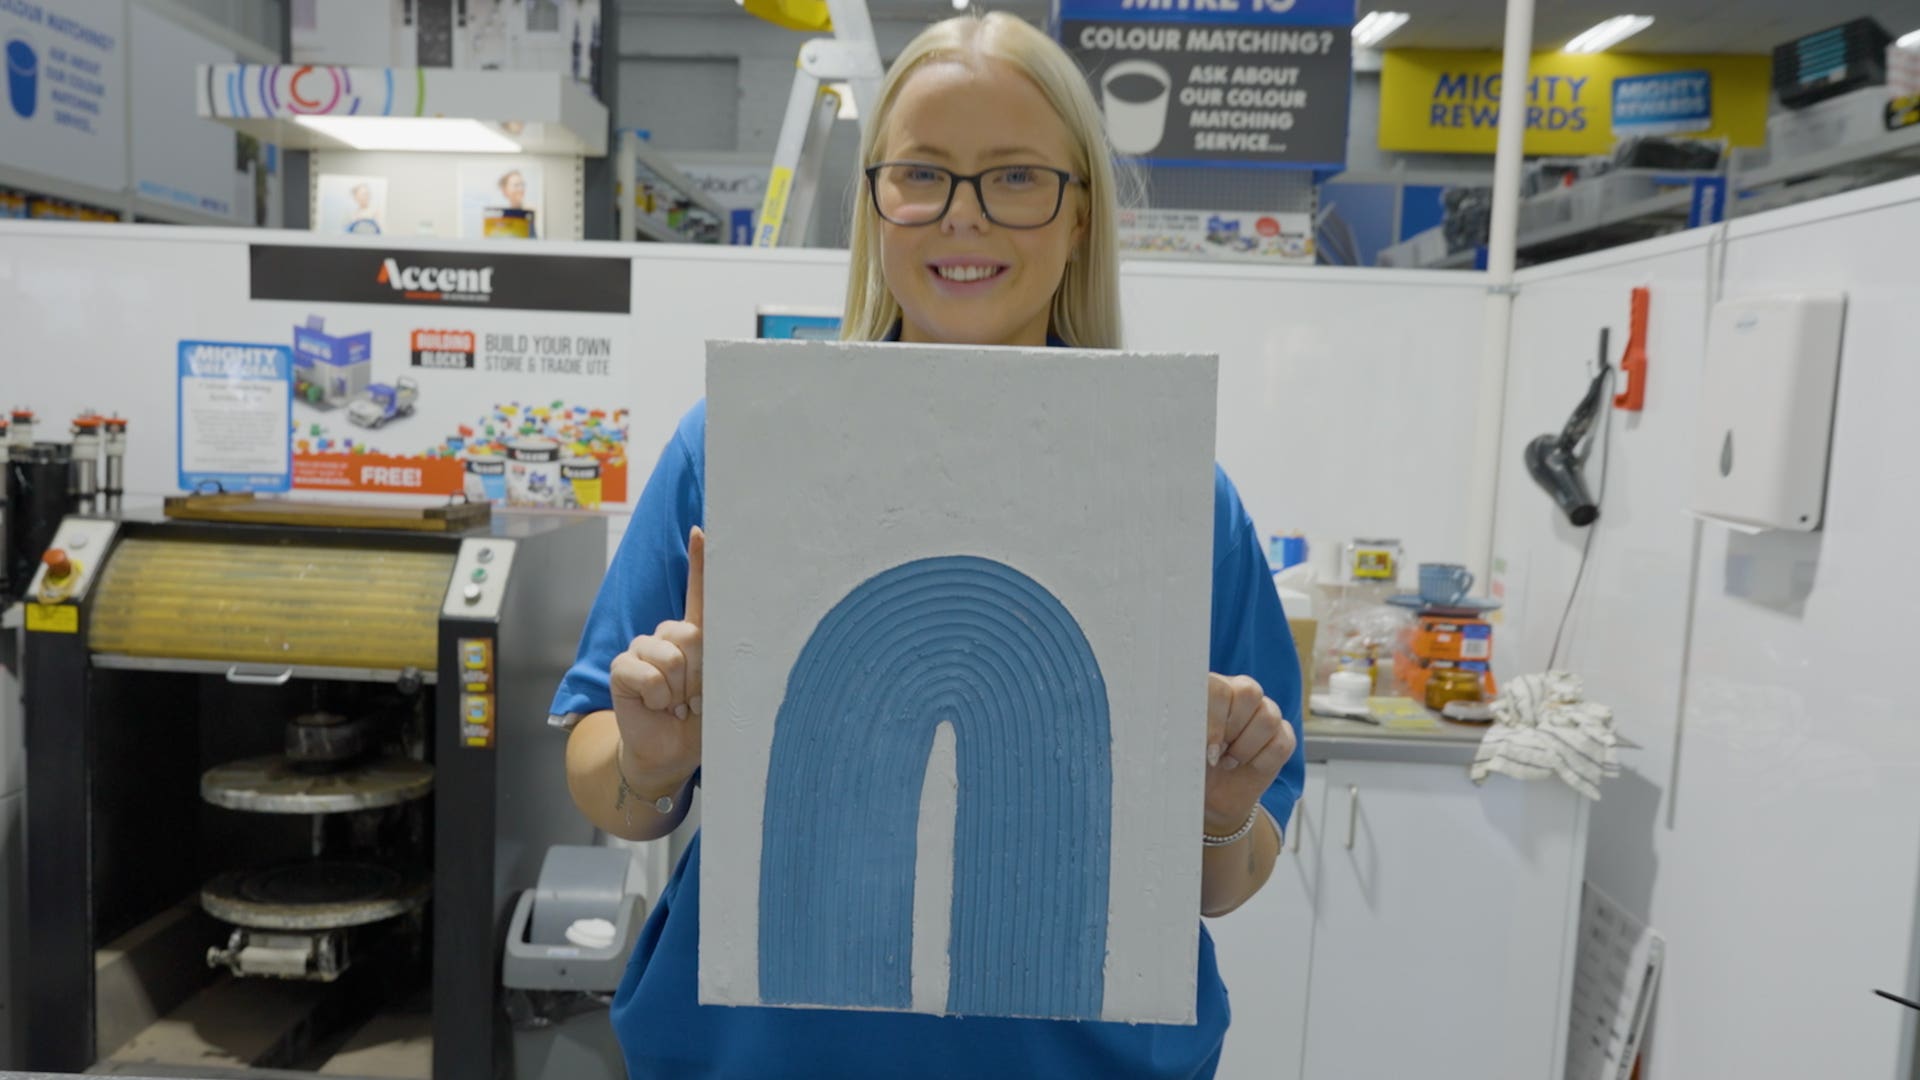
Apply your paint colours of choice, we’ve gone with natural white on one canvas and natural white and a light blue on the other.
5. Let dry and hang
Once you're happy with the colour, let it dry, then hang it in a place you love.


