- 15 April 2021
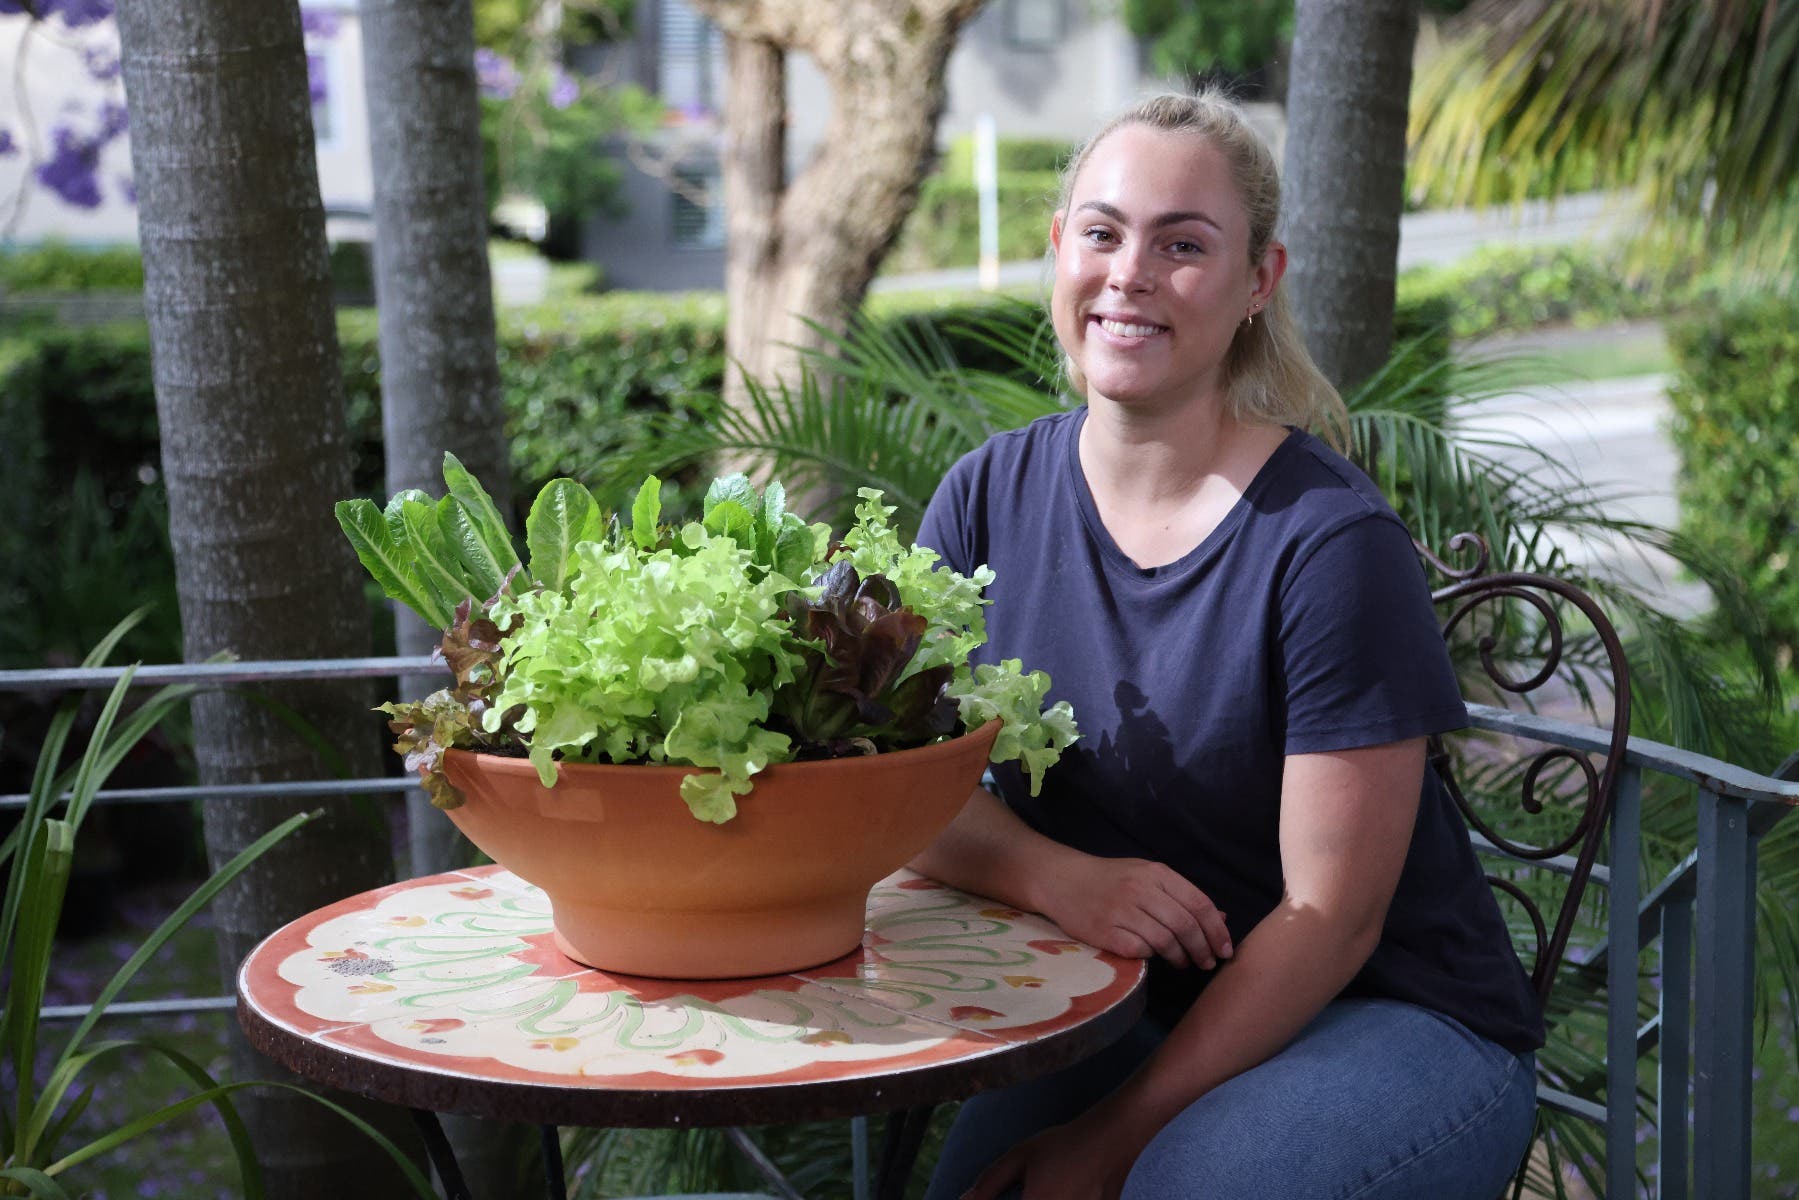
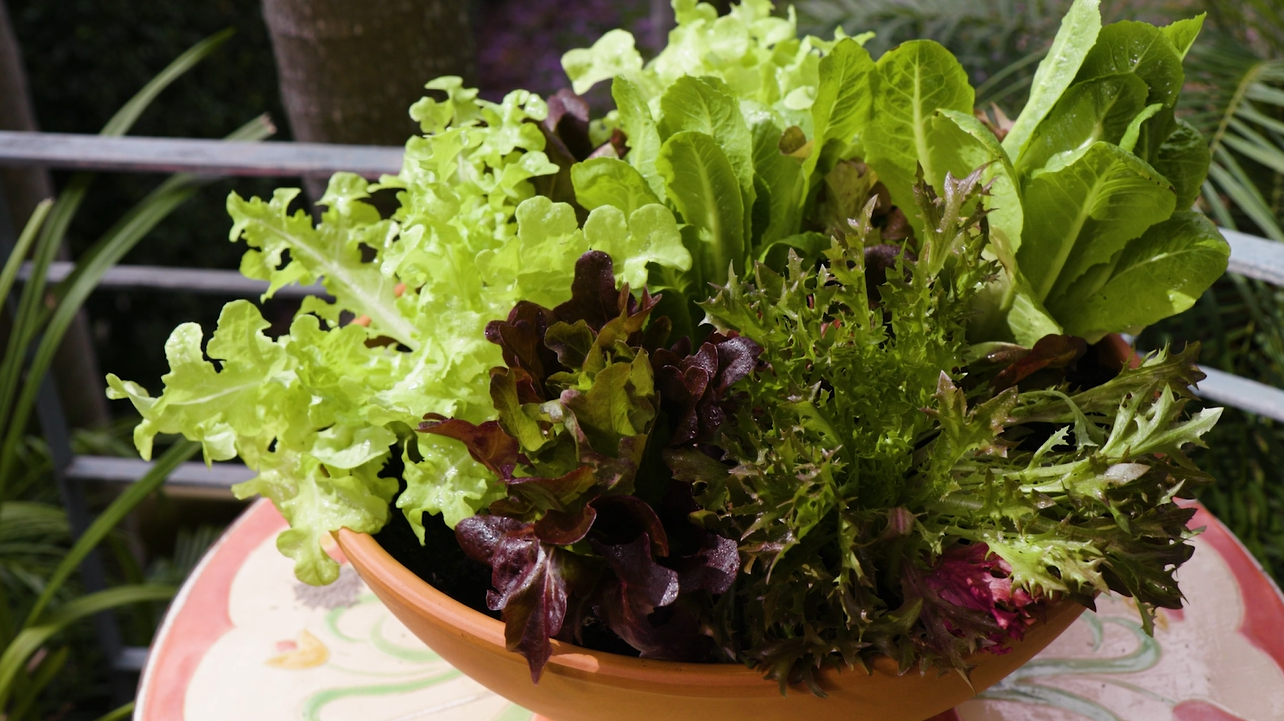
When you’ve got your favourite lettuce varieties growing in your own backyard getting your daily greens in becomes a breeze. This setup is also designed to keep them growing all year round plus, you’ll never forget them in the bottom of your fridge.
And it’s not all that hard when you get the right gear from your local Mighty Helpful Mitre 10.
Materials list:
- Ceramic Pot
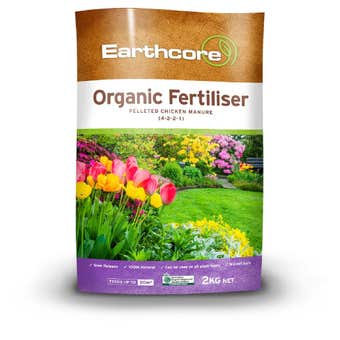
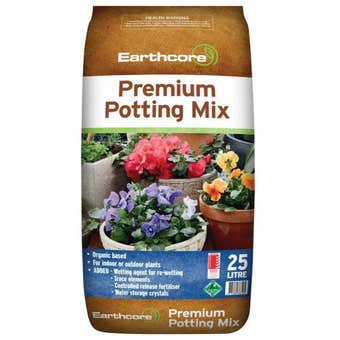
- Debco Potting Mix
- P2 Particle Mask
- Gardening Gloves
- Scissors
- Lettuce Varieties
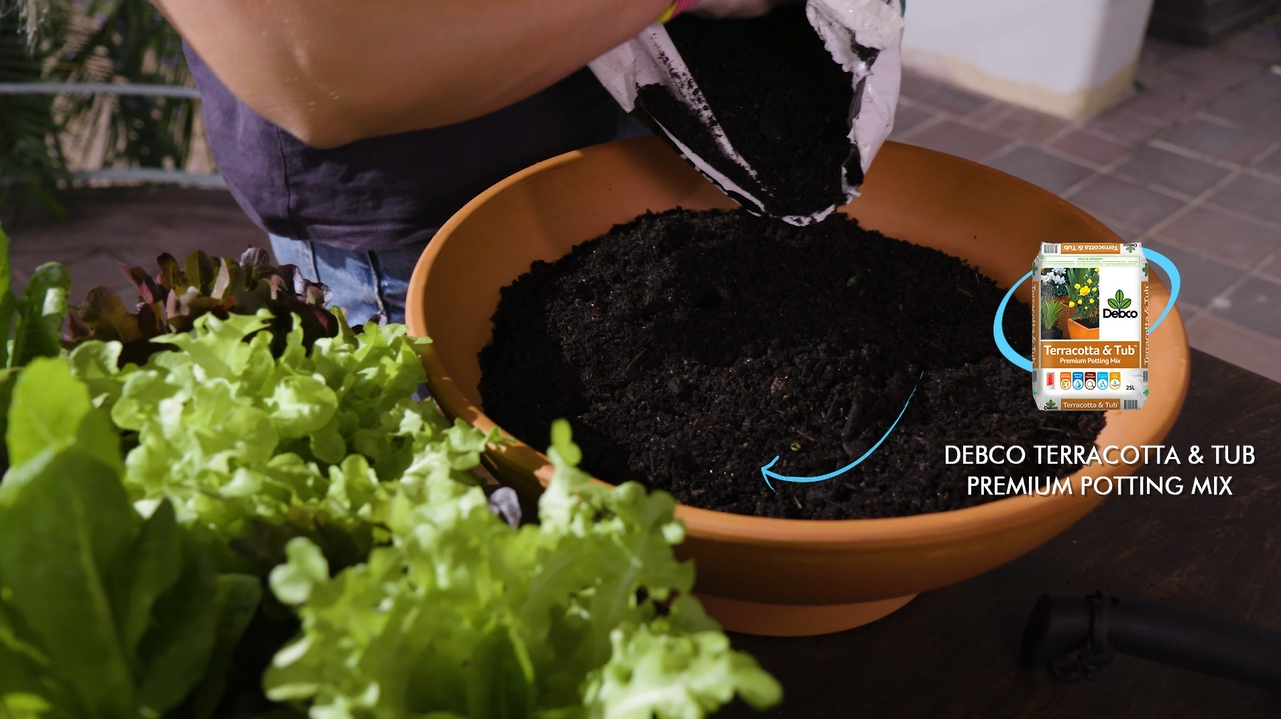
Step 1: Fill your pot with potting mix
Before opening your potting mix, secure a P2 Particle Mask over your nose and mouth to protect yourself from dust particles. Open the potting mix and pour it into your pot, filling about 3/4 full of potting mix.
Step 2: Plant your leafy greens
Remove your plants from their temporary pots and plant them in your larger centerpiece pot, leaving a small gap between each plant to allow room for their roots to grow, and patting the soil down firmly around the roots. When they’re all planted, add a layer of topsoil to fill out the pot. Now don't forget to give them a drink.

Step 3: Find the perfect position
Place your perpetual lettuce pot in a location that gets lots of morning sunlight, ideally with a northeastern aspect. You’ll need to water and feed them regularly – check the instructions for each lettuce variety or ask your local Mitre 10 gardening specialist. Composting will also help your lettuces thrive.
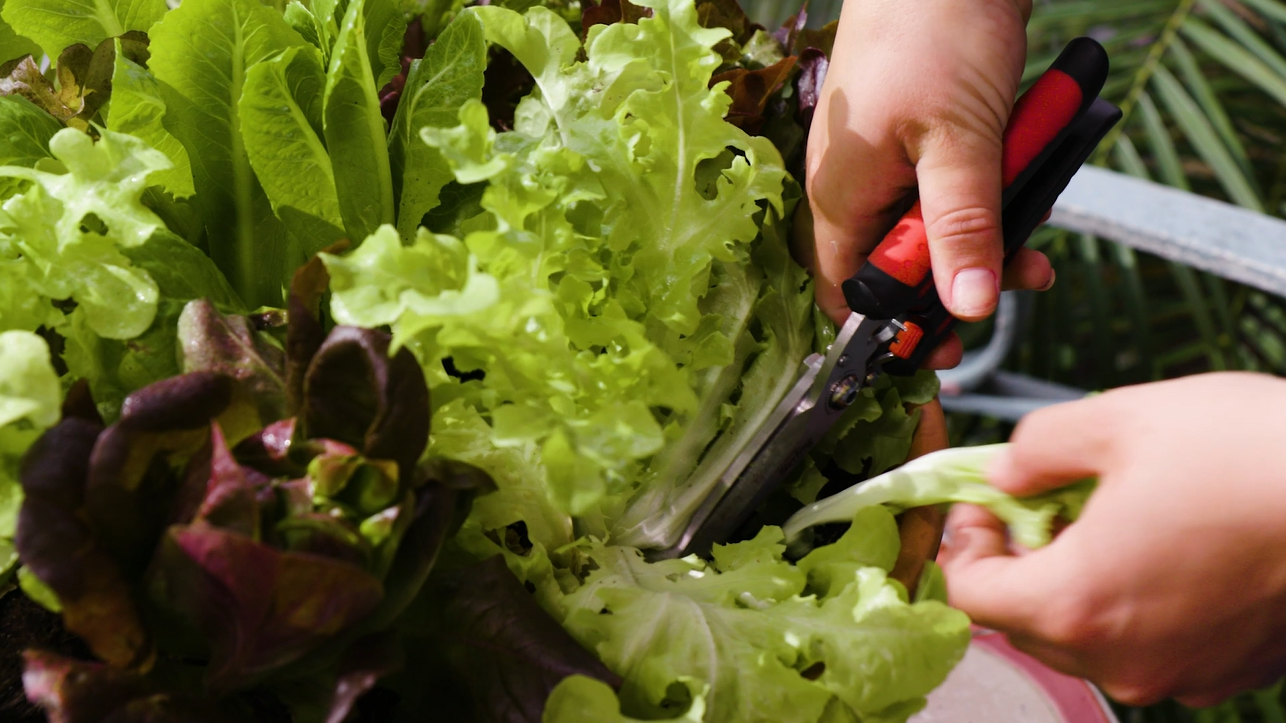
Step 4: Harvesting your greens
When it comes time to harvest your greens, trim leaves delicately using a set of garden scissors or shears from the bottom. Harvest the outside leaves first, being careful not to remove too many at a time from the same plant. Never pull your lettuces out by the roots.
For more Mighty Helpful service and advice, speak to the team at your local Mighty Helpful Mitre 10.