- 21 July 2022
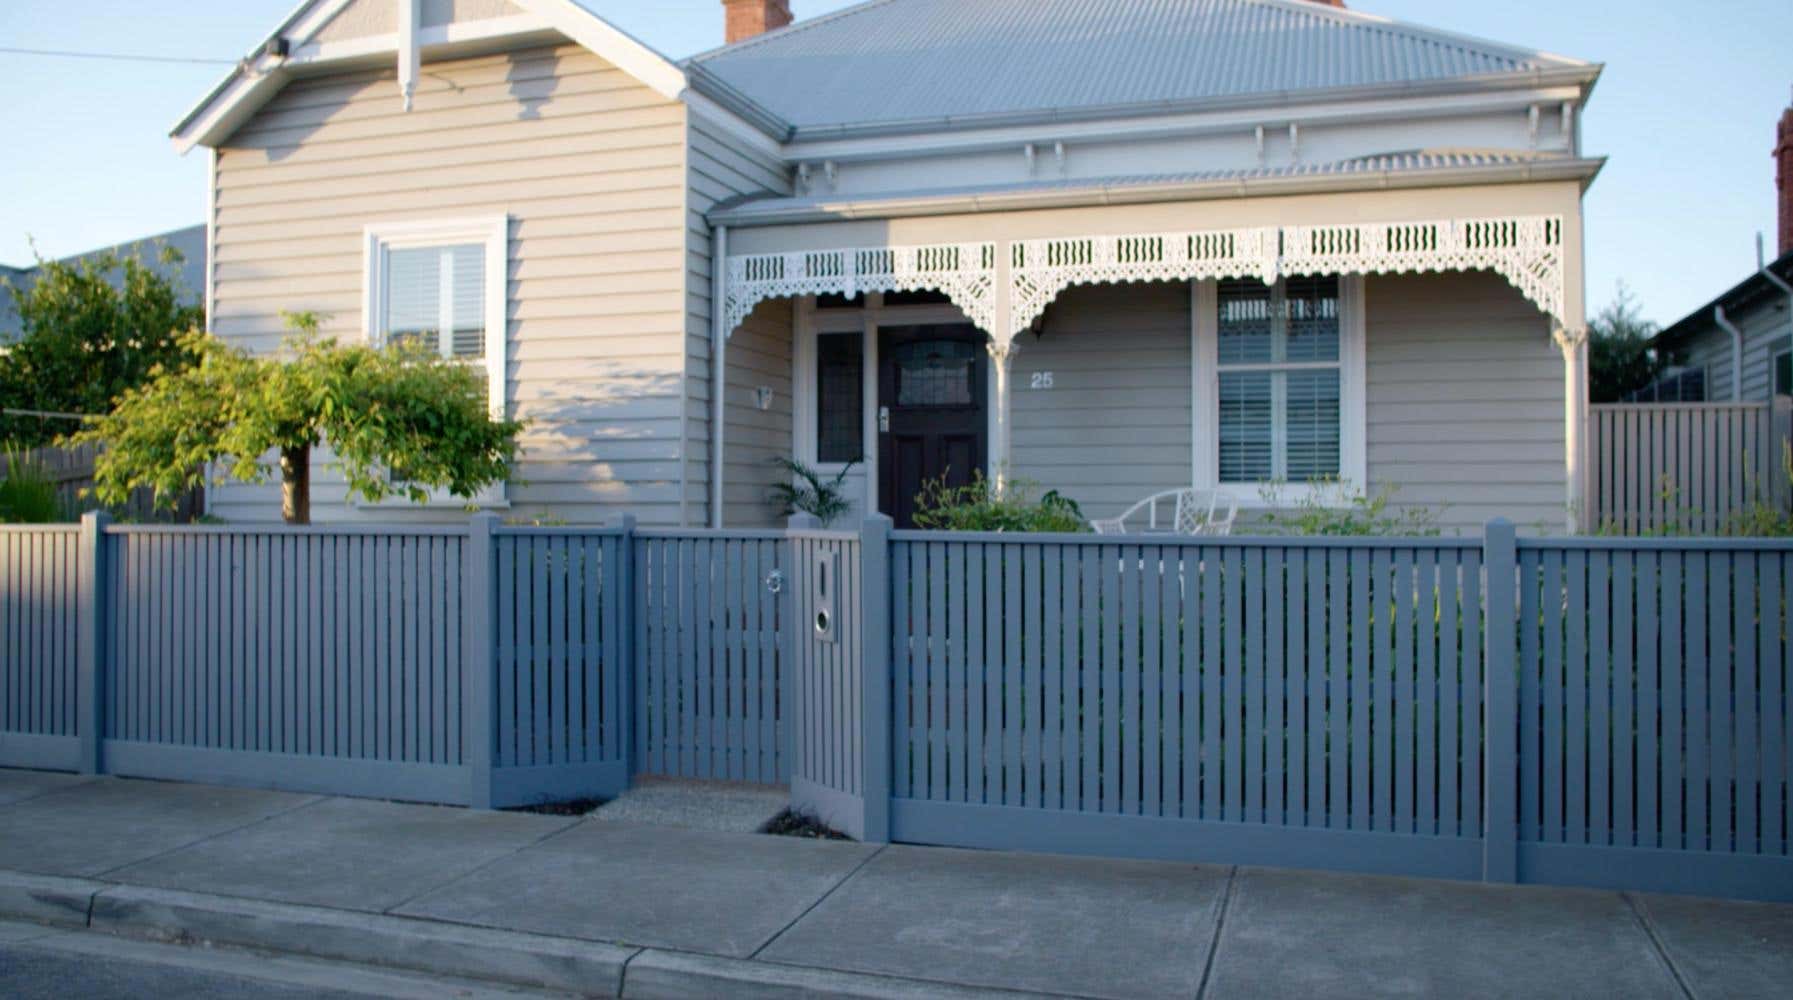
It’s always a good time to make some improvements to your home when the sun starts to shine. What better place to start than by refreshing the paintwork on your fence? To create your ideal look, you’ll find help in choosing your Dulux colour online or in your local store.
Shopping List


DIY Project Steps
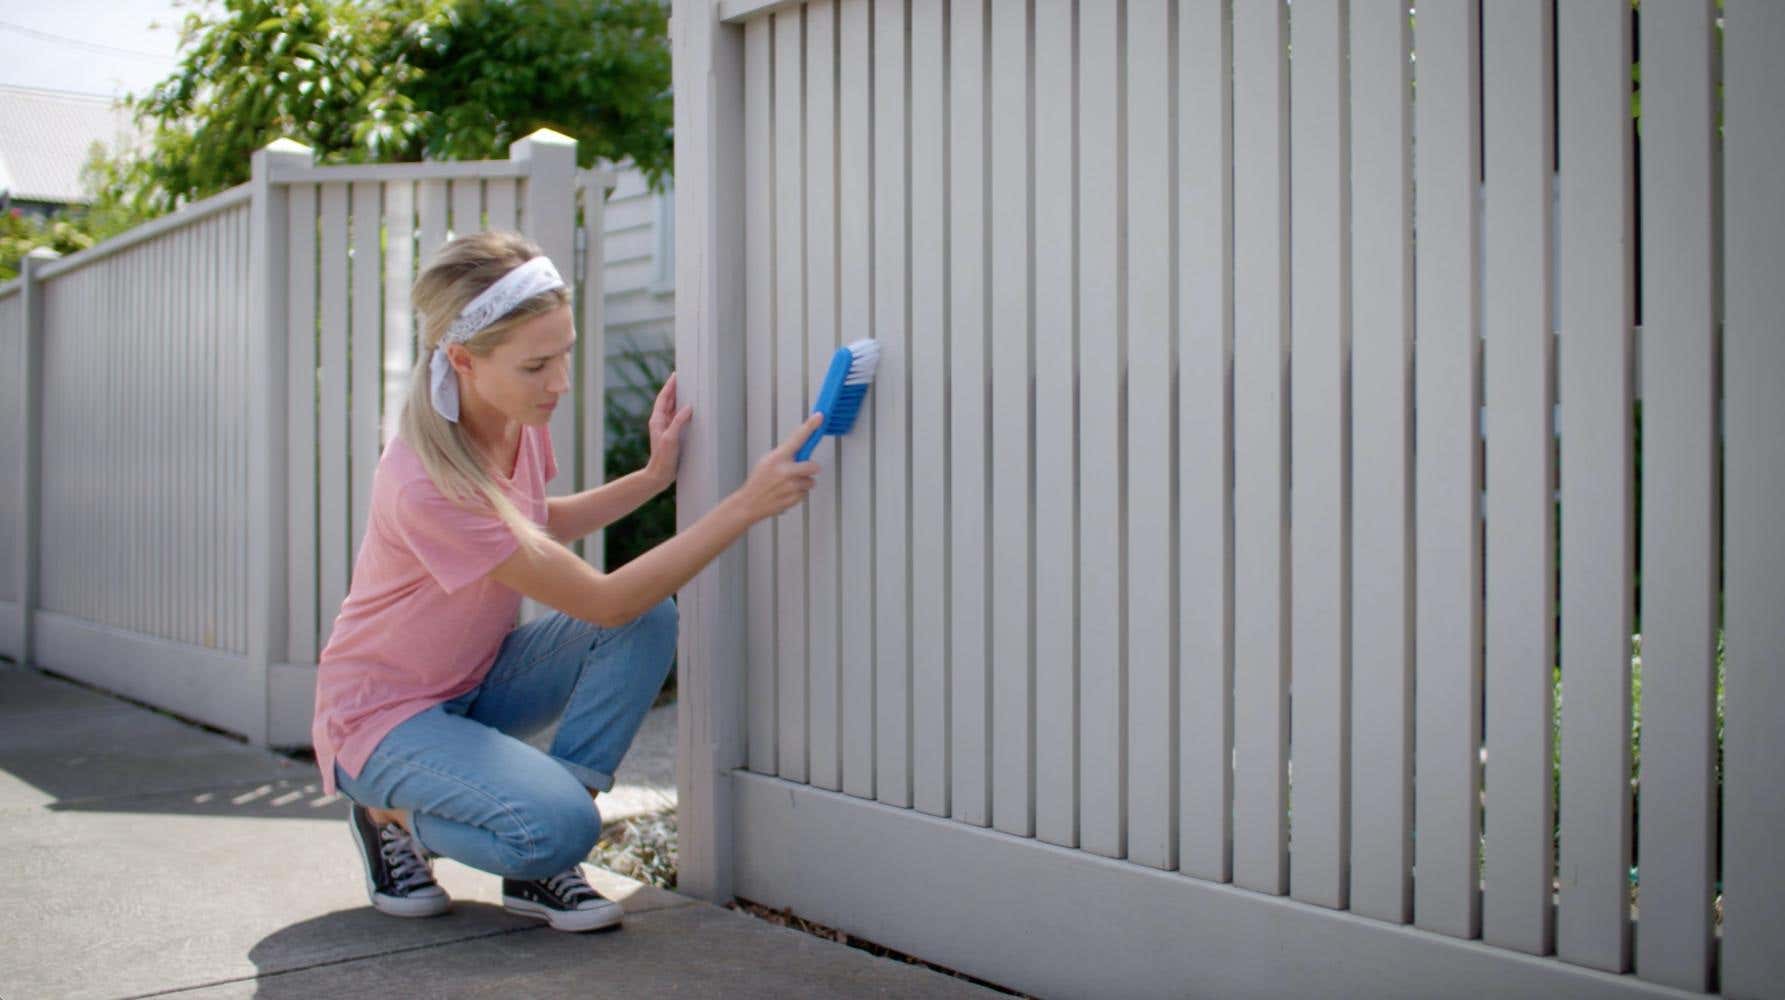
1. Clean the area
Before you start painting, prepare your fence by removing items that are nearby and brush away any dirt. Wash the substrate thoroughly to ensure it is clean and allow to dry in the sun.
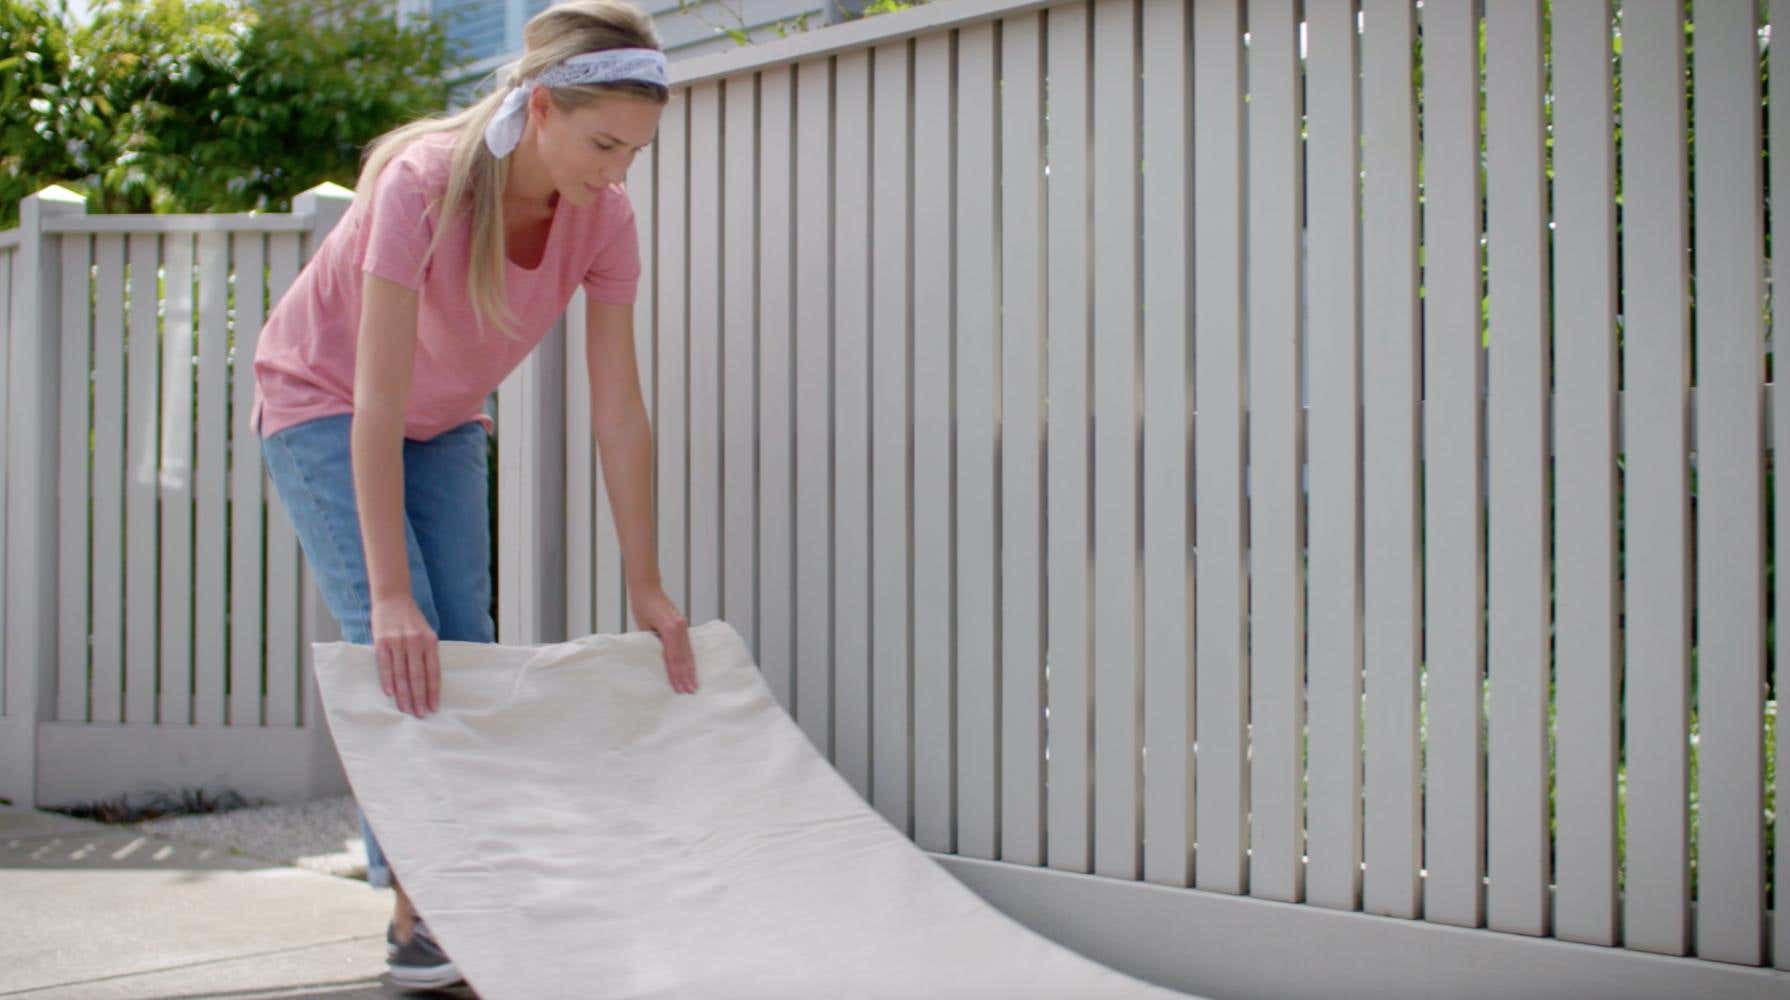
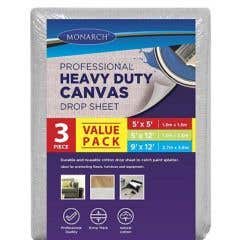
2. Lay dropsheet
Once your area is clean, you can lay down your drop sheet. Now it’s time to prepare your picket fence for painting.
3. Conduct an adhesion test (for pre-painted surfaces)
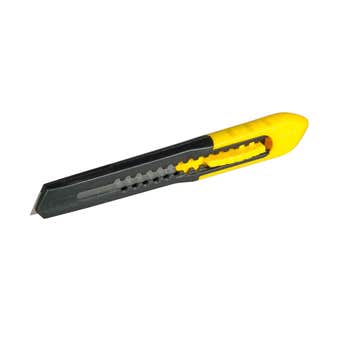
It is important to test if the paintwork is in good condition by cutting a small x through the existing paint with a sharp blade. Press cellulose tape firmly across the cut and then rip off the tape. If the paint comes off, it is unsound and should be removed. If the surface is sound, finish with a light but thorough sand.
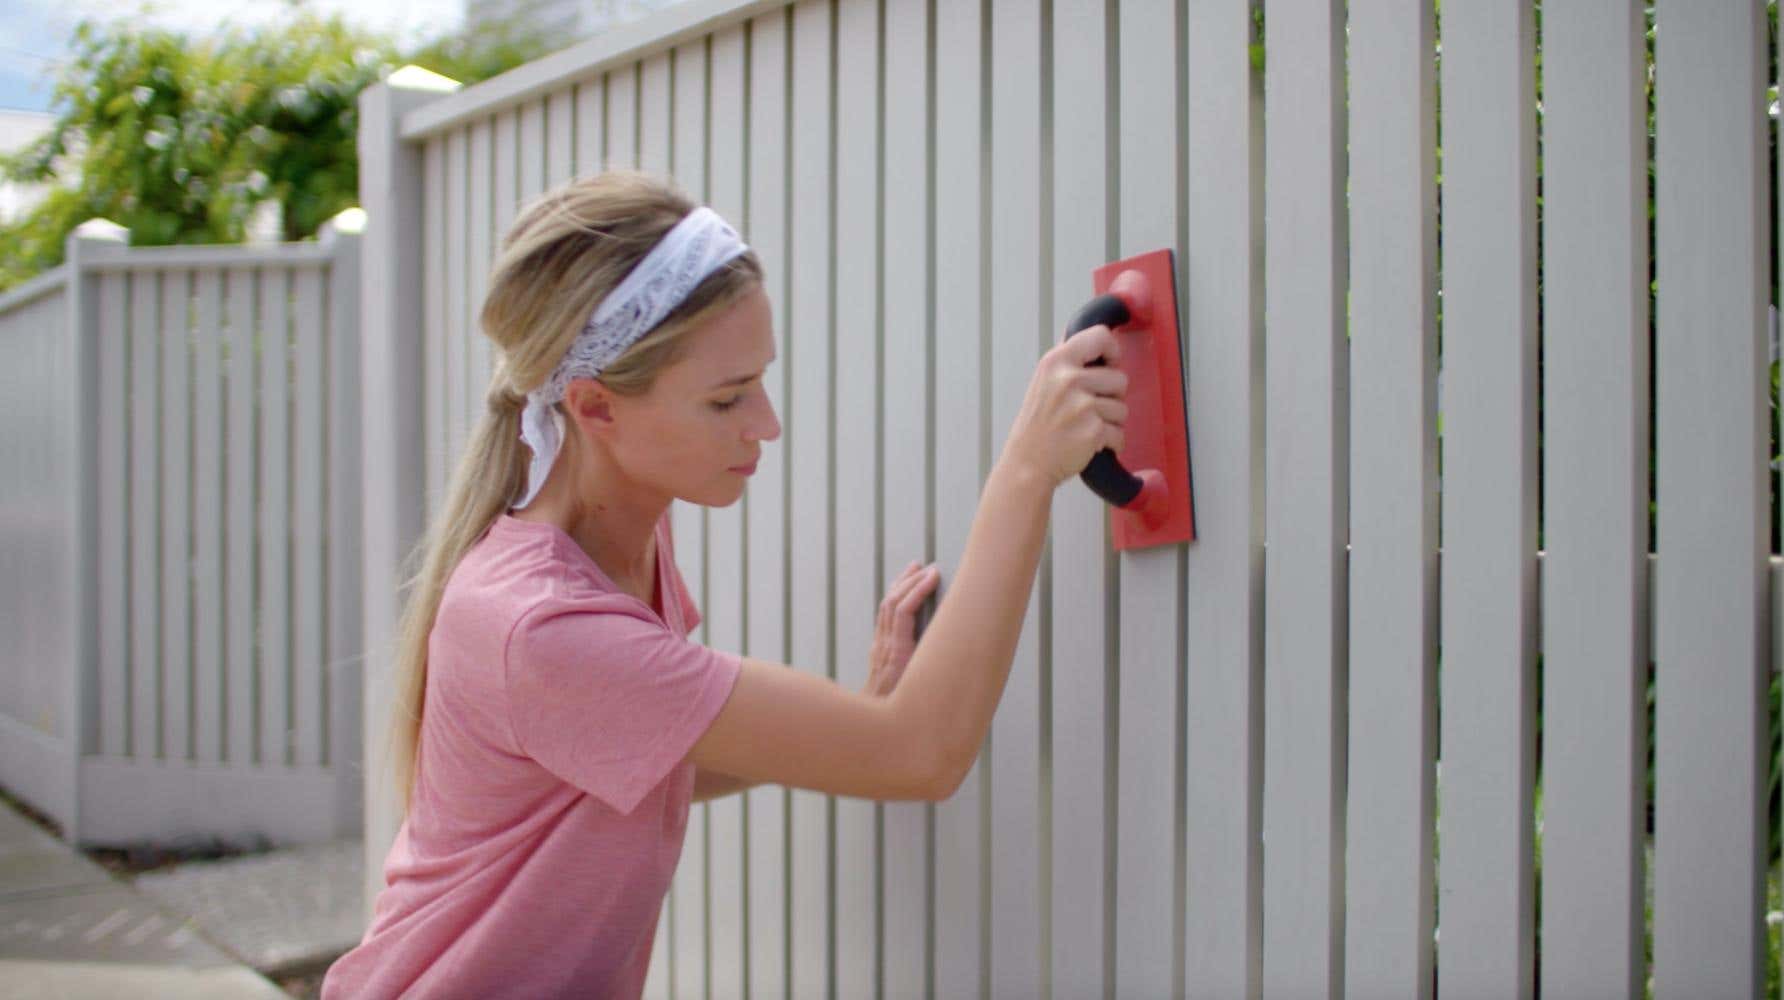
4. Prep
Make sure to sand back any small areas where the paint is peeled or cracked, and to fill and spot-prime any larger holes or defects. Once you’ve sanded your picket fence, you can start painting with Dulux Weathershield straight away as it is self-priming on most surfaces.
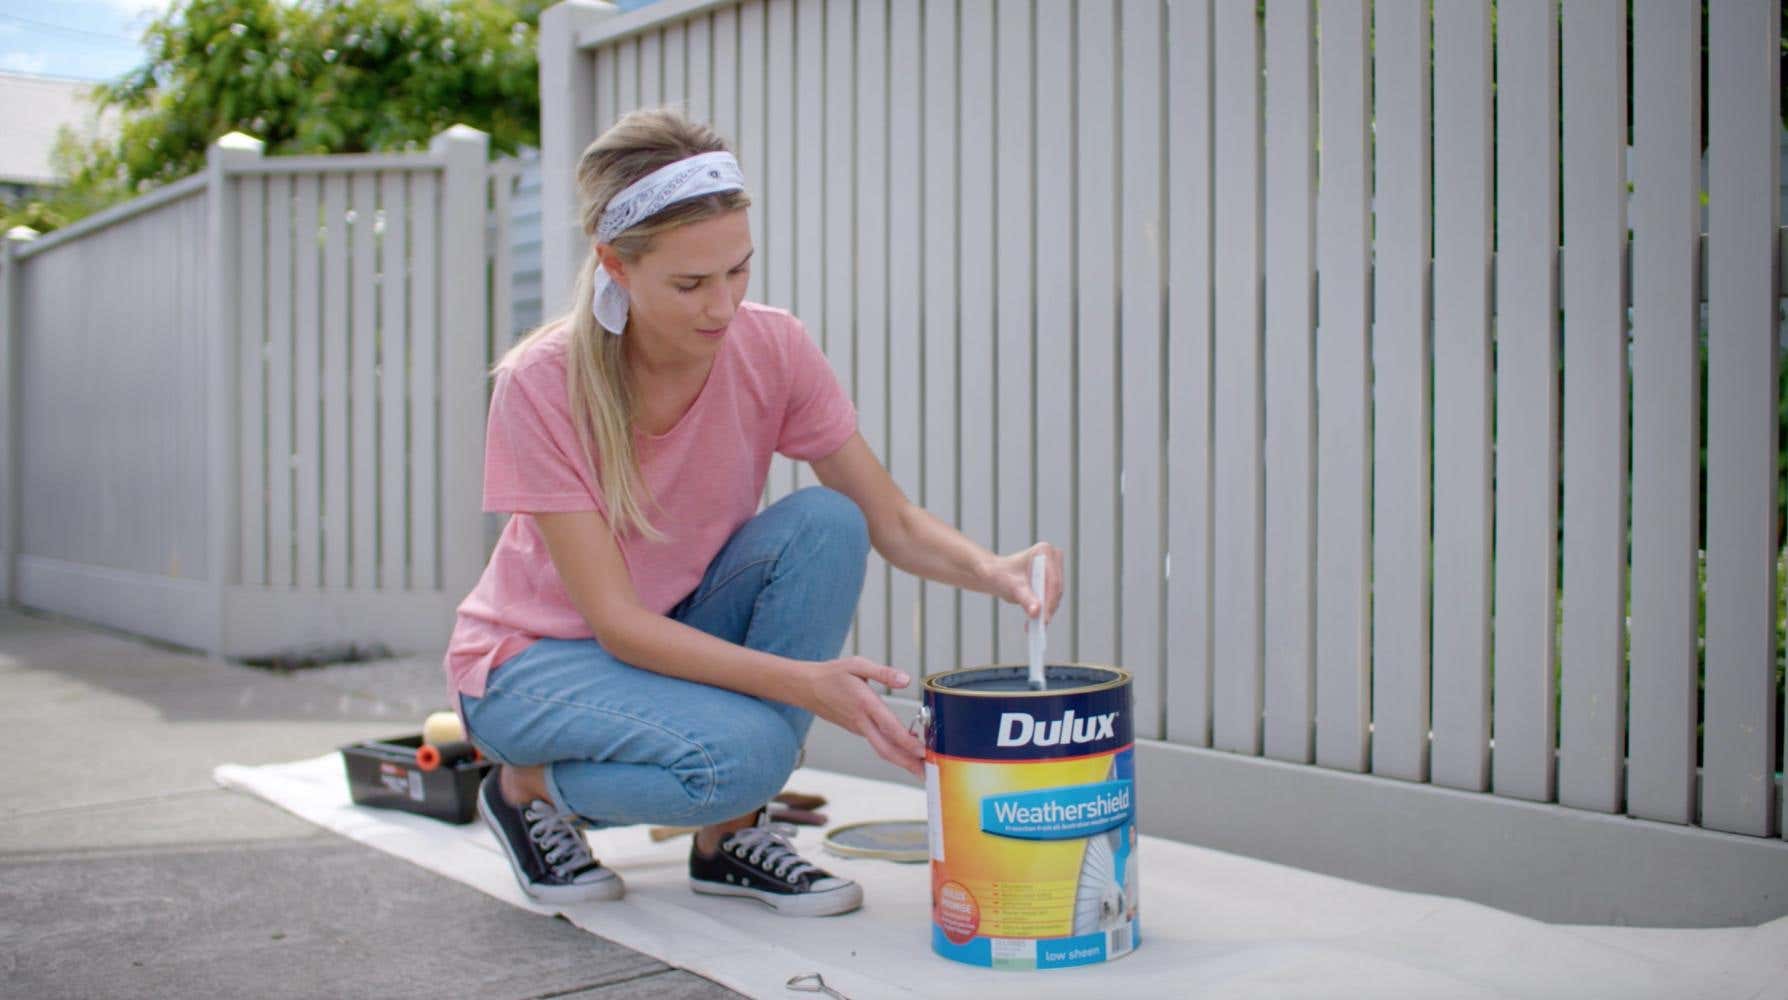
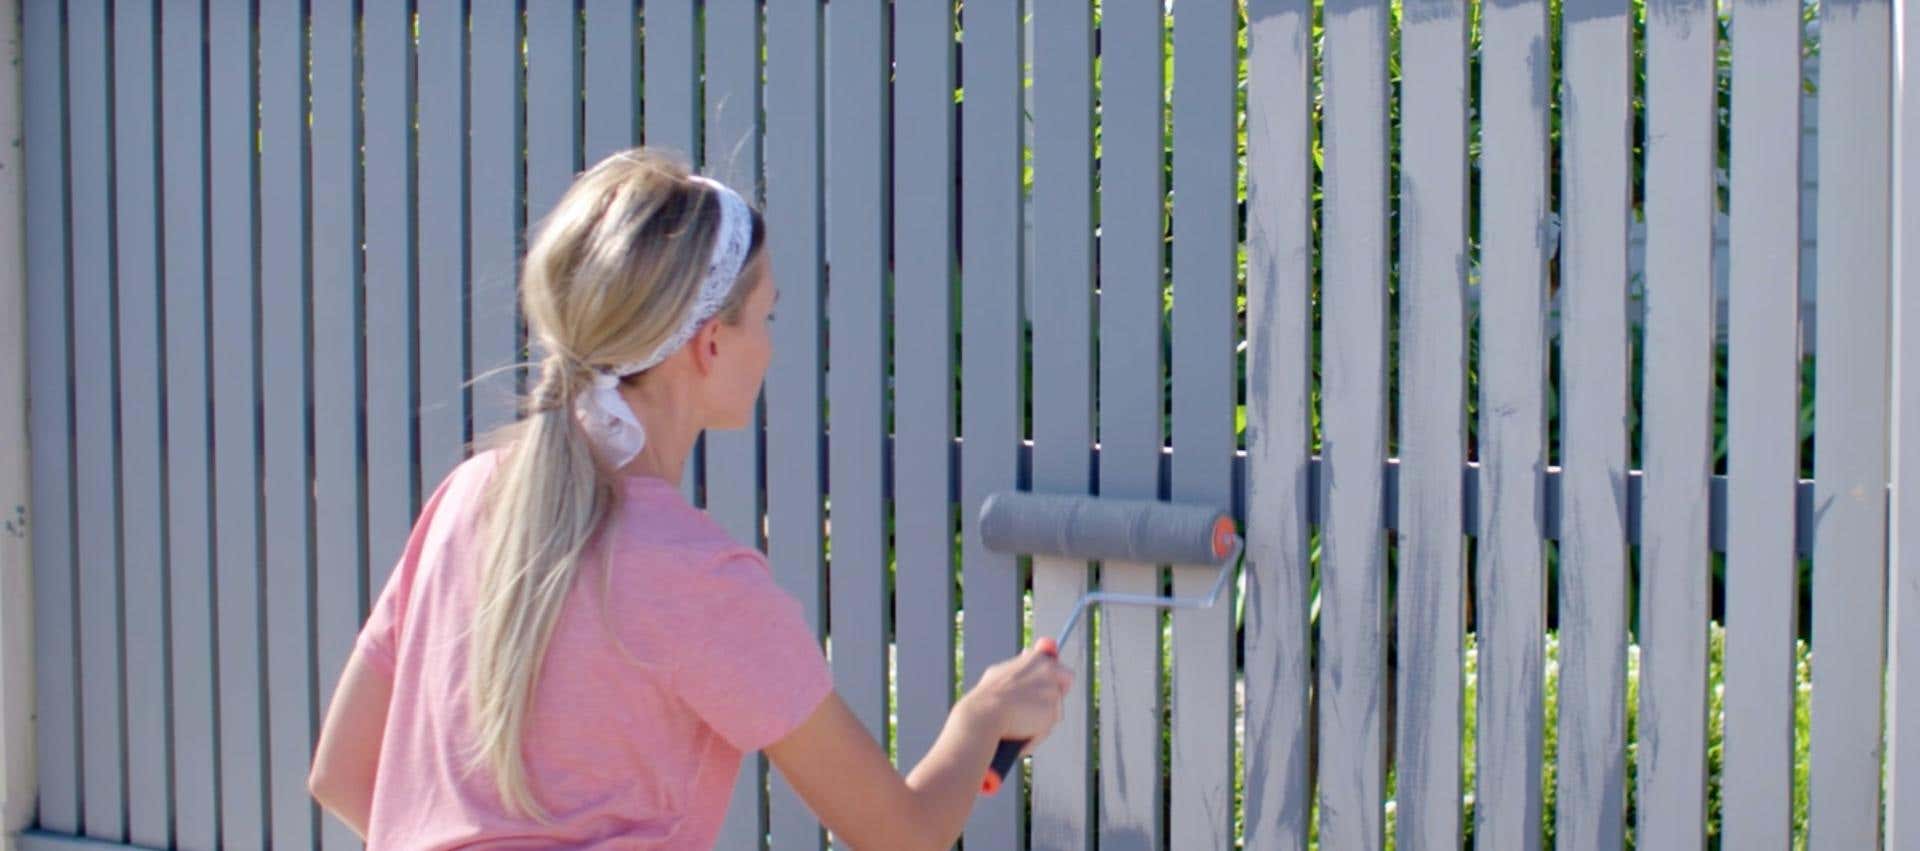
5. Begin painting your fence
Firstly, open and stir your paint thoroughly before loading your paintbrush. To make painting your picket fence a breeze, paint from top to bottom, as you can pick up any drips from the pickets along the way.
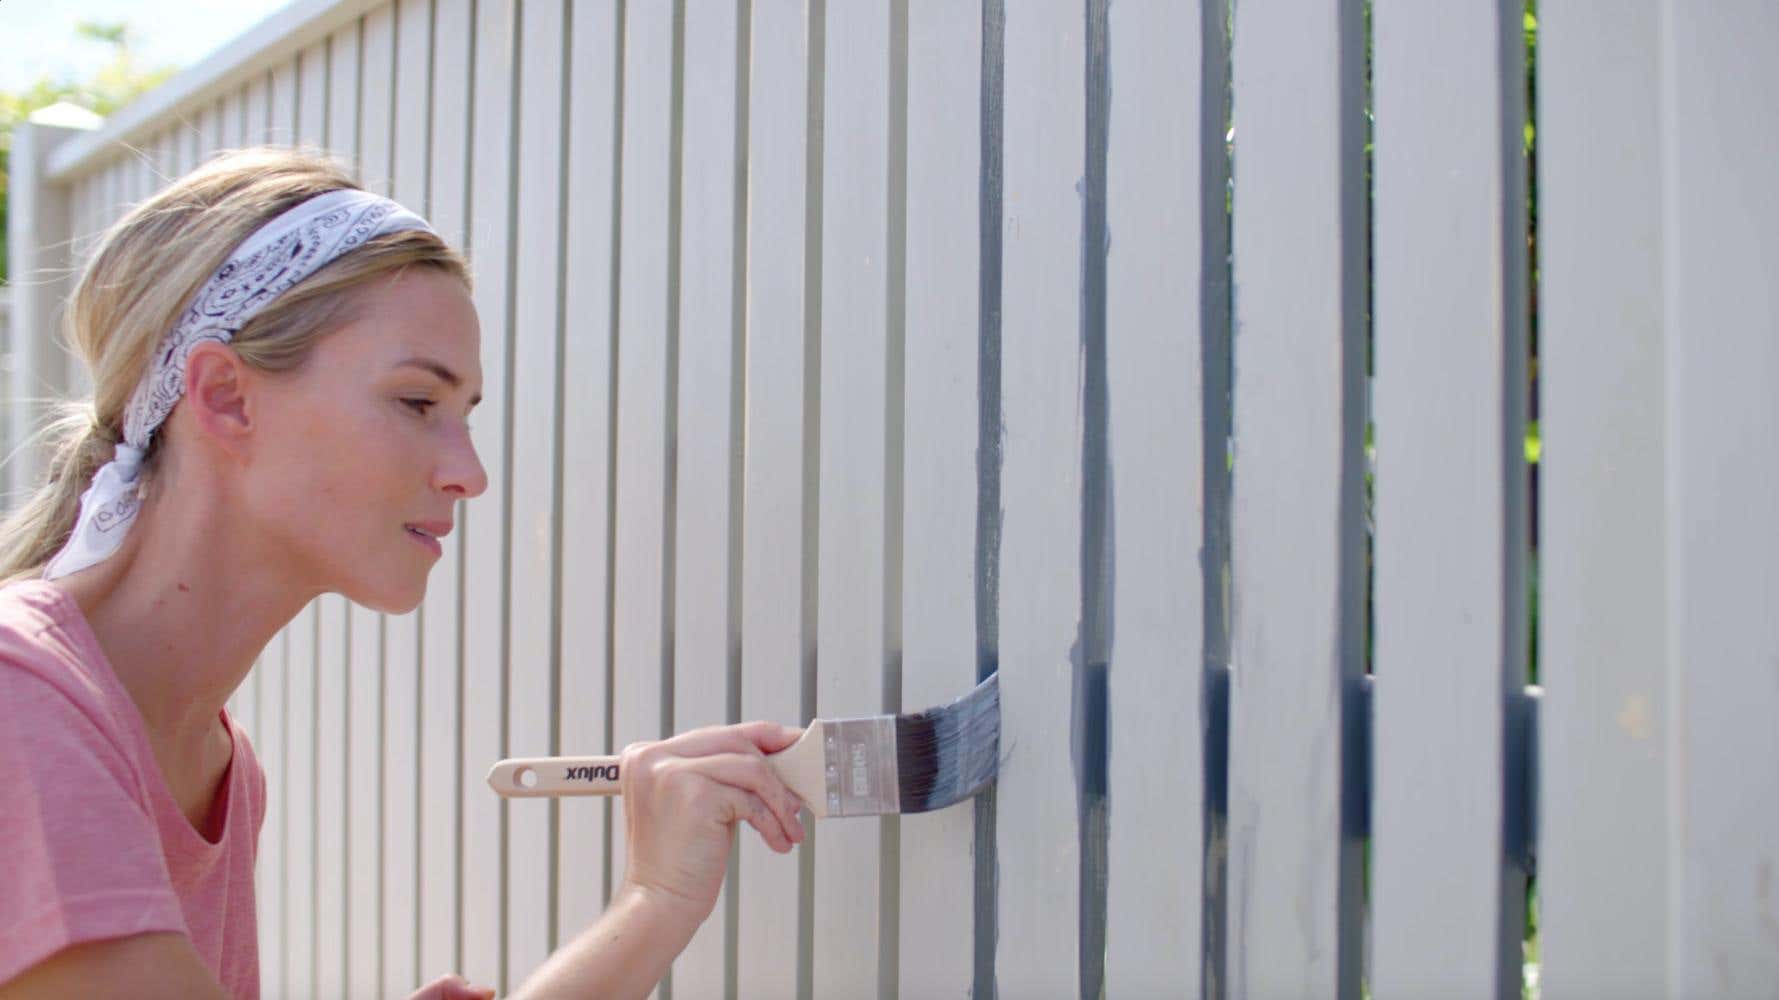
6. Cut in
Next, cut in around the top, bottom and inner valleys of your pickets, where your roller can’t reach. Aim to work in batches of 3-4 pickets at a time.
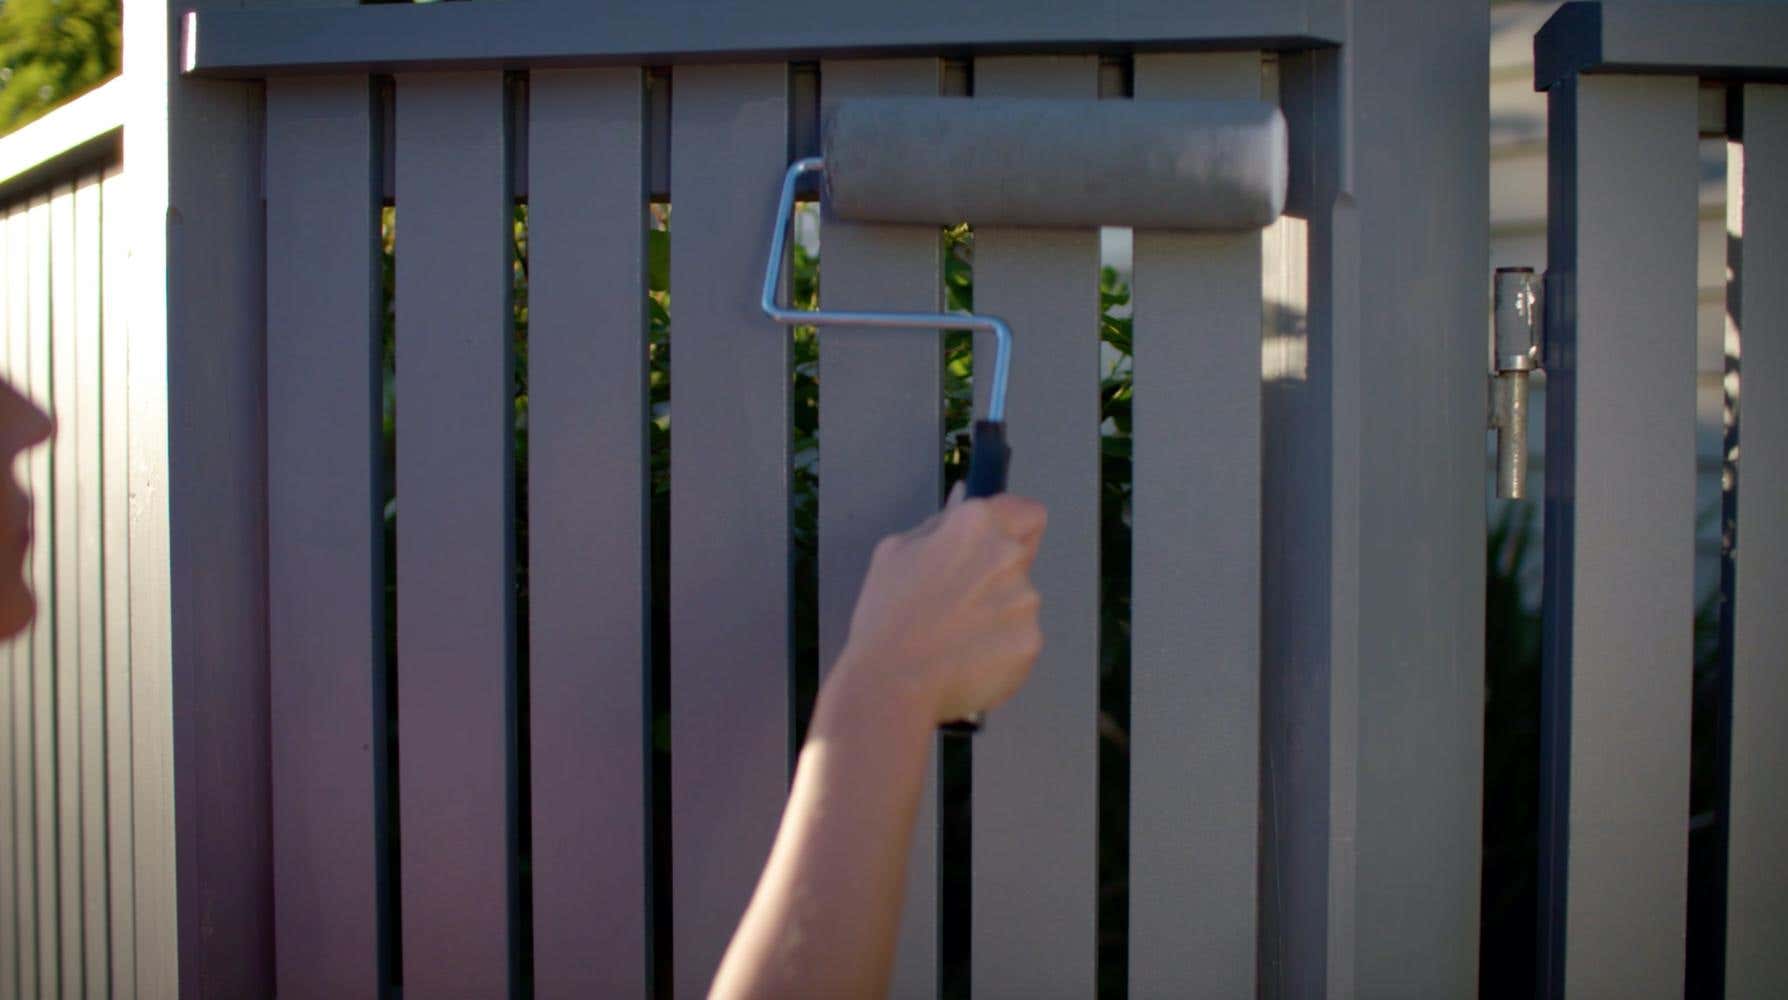
7. Filling in the gaps
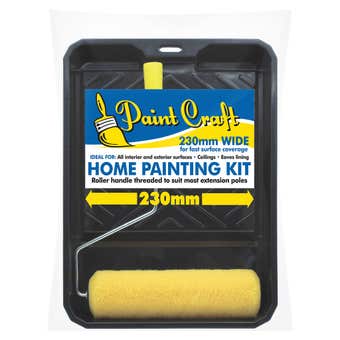
Once you’ve painted all three sides of the valley with an even coat, you can use a roller in a vertical up and down motion to paint the vertical panels. Remember to keep a wet edge on the roller to ensure an even finish.
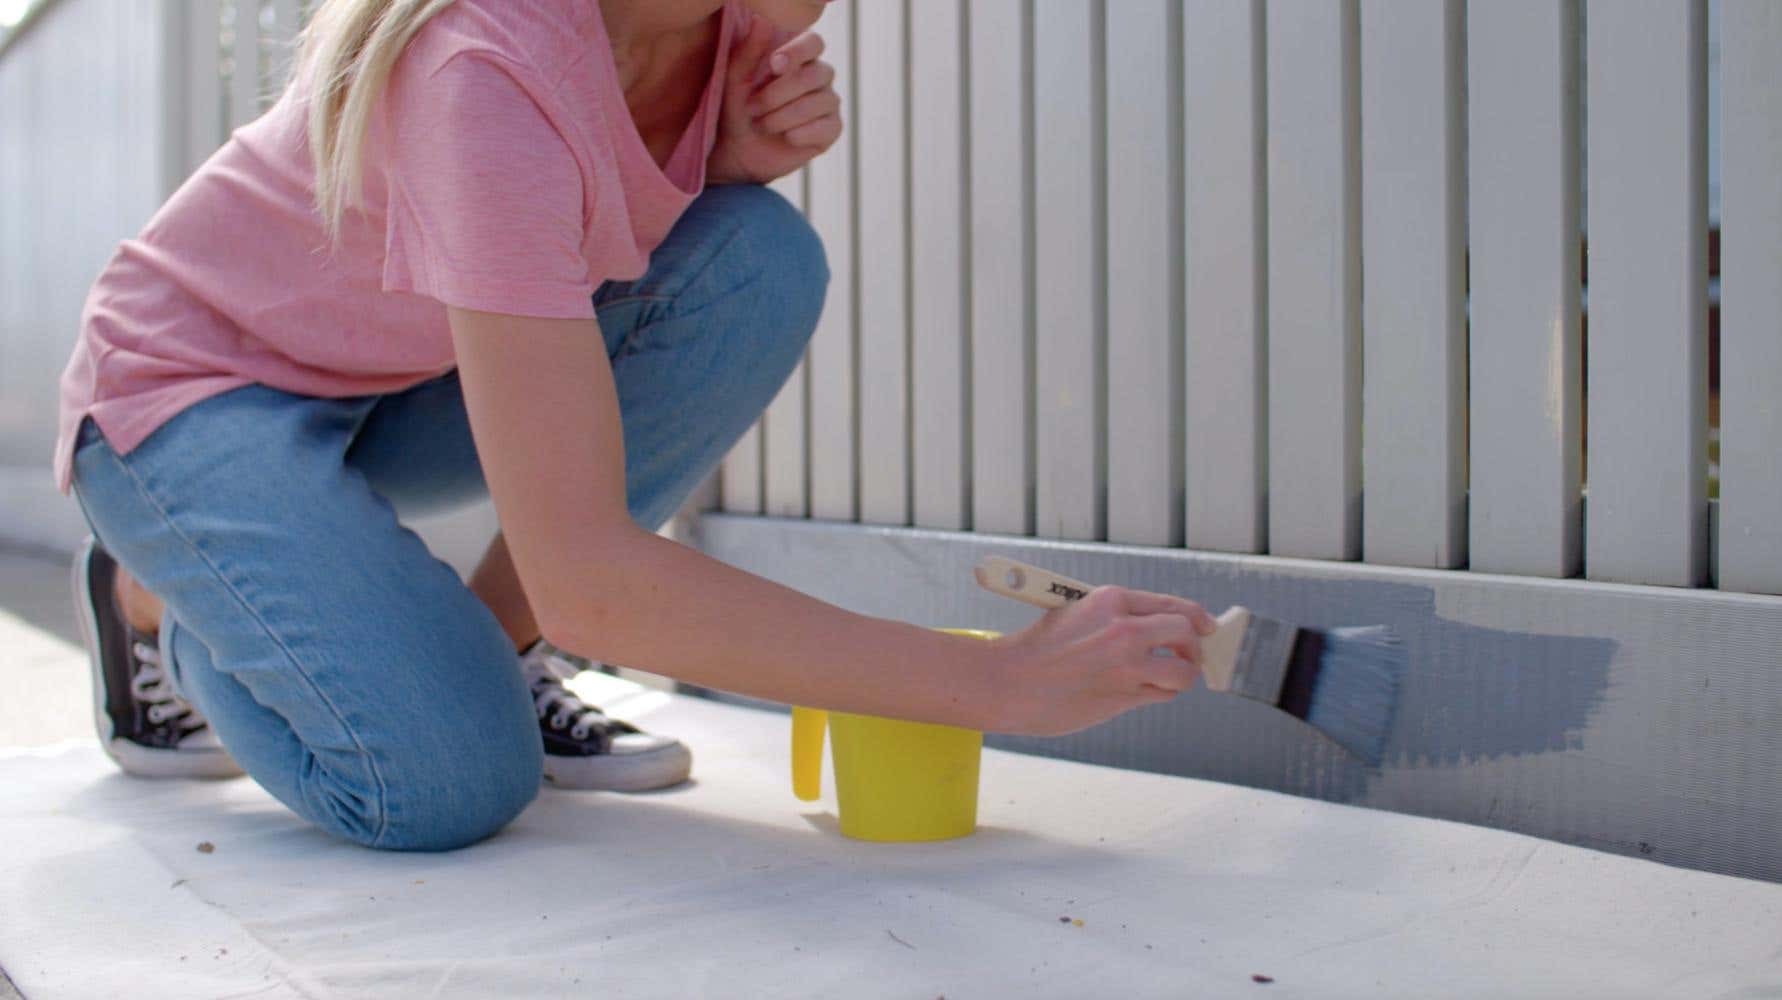
8. Paint the bottom panel
Finish by painting the board that runs along the bottom of your fence with your paintbrush. Be careful not to pick up any dirt from the ground

9. Dry and re-coat
After you’ve finished applying the first coat, wait at least 2 hours before recoating
10. Recoat
Once dry, follow the same process for the second coat. A third coat will need to be applied if the surface is bare timber.