


- 24 October 2023
Rethreading a whipper snipper, also known as a line trimmer, is quite straightforward once you know how. The following steps will guide you through the process of rethreading the trimmer head with a fresh trimmer line:


DIY Project Steps
1. Measure the trimmer line
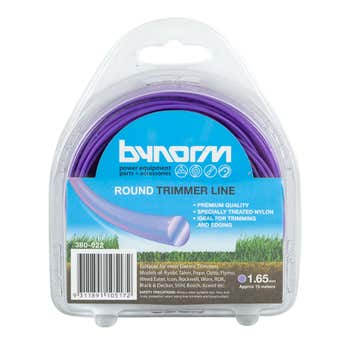
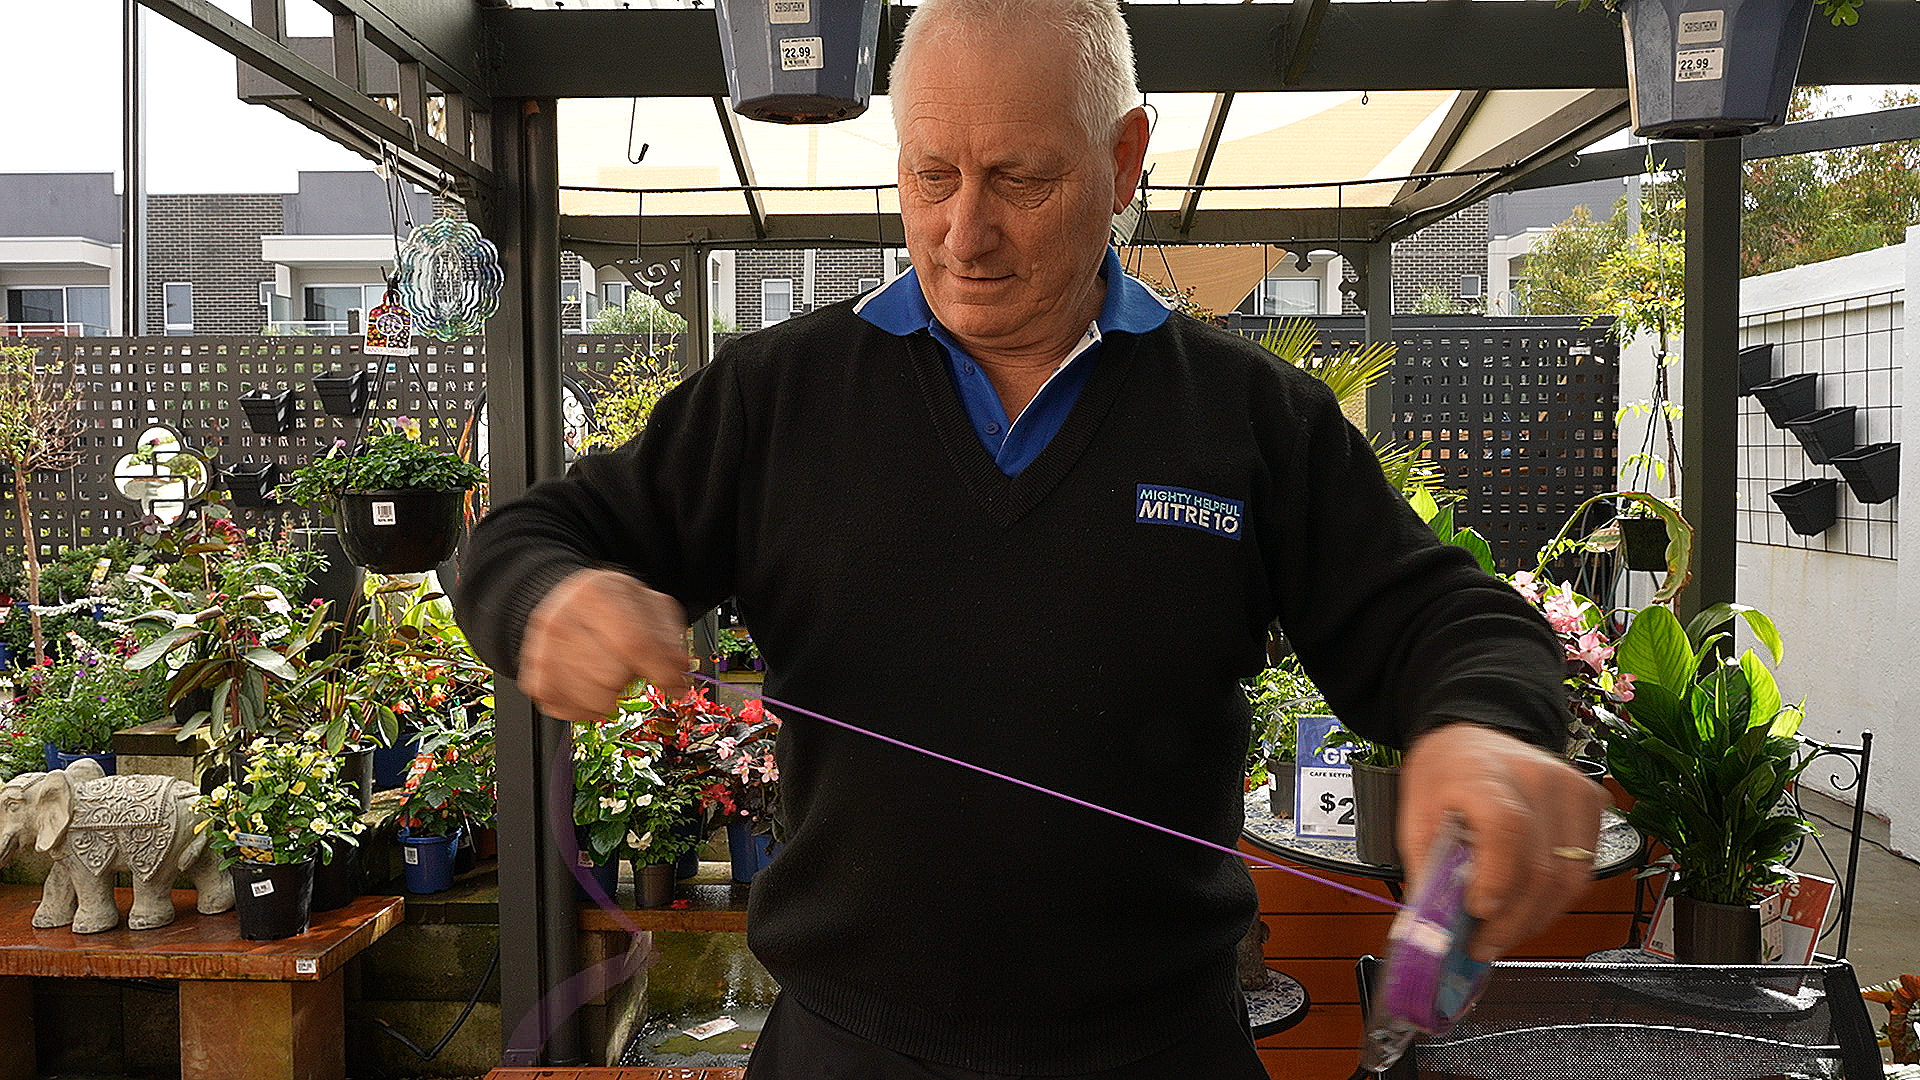
First things first, grab the correct line from your local Mitre 10 store. Next decide how much trimmer line you'll need. The length can vary depending on your machine and your personal preference.
In this case we used 3 meters of round 1.65mm line.
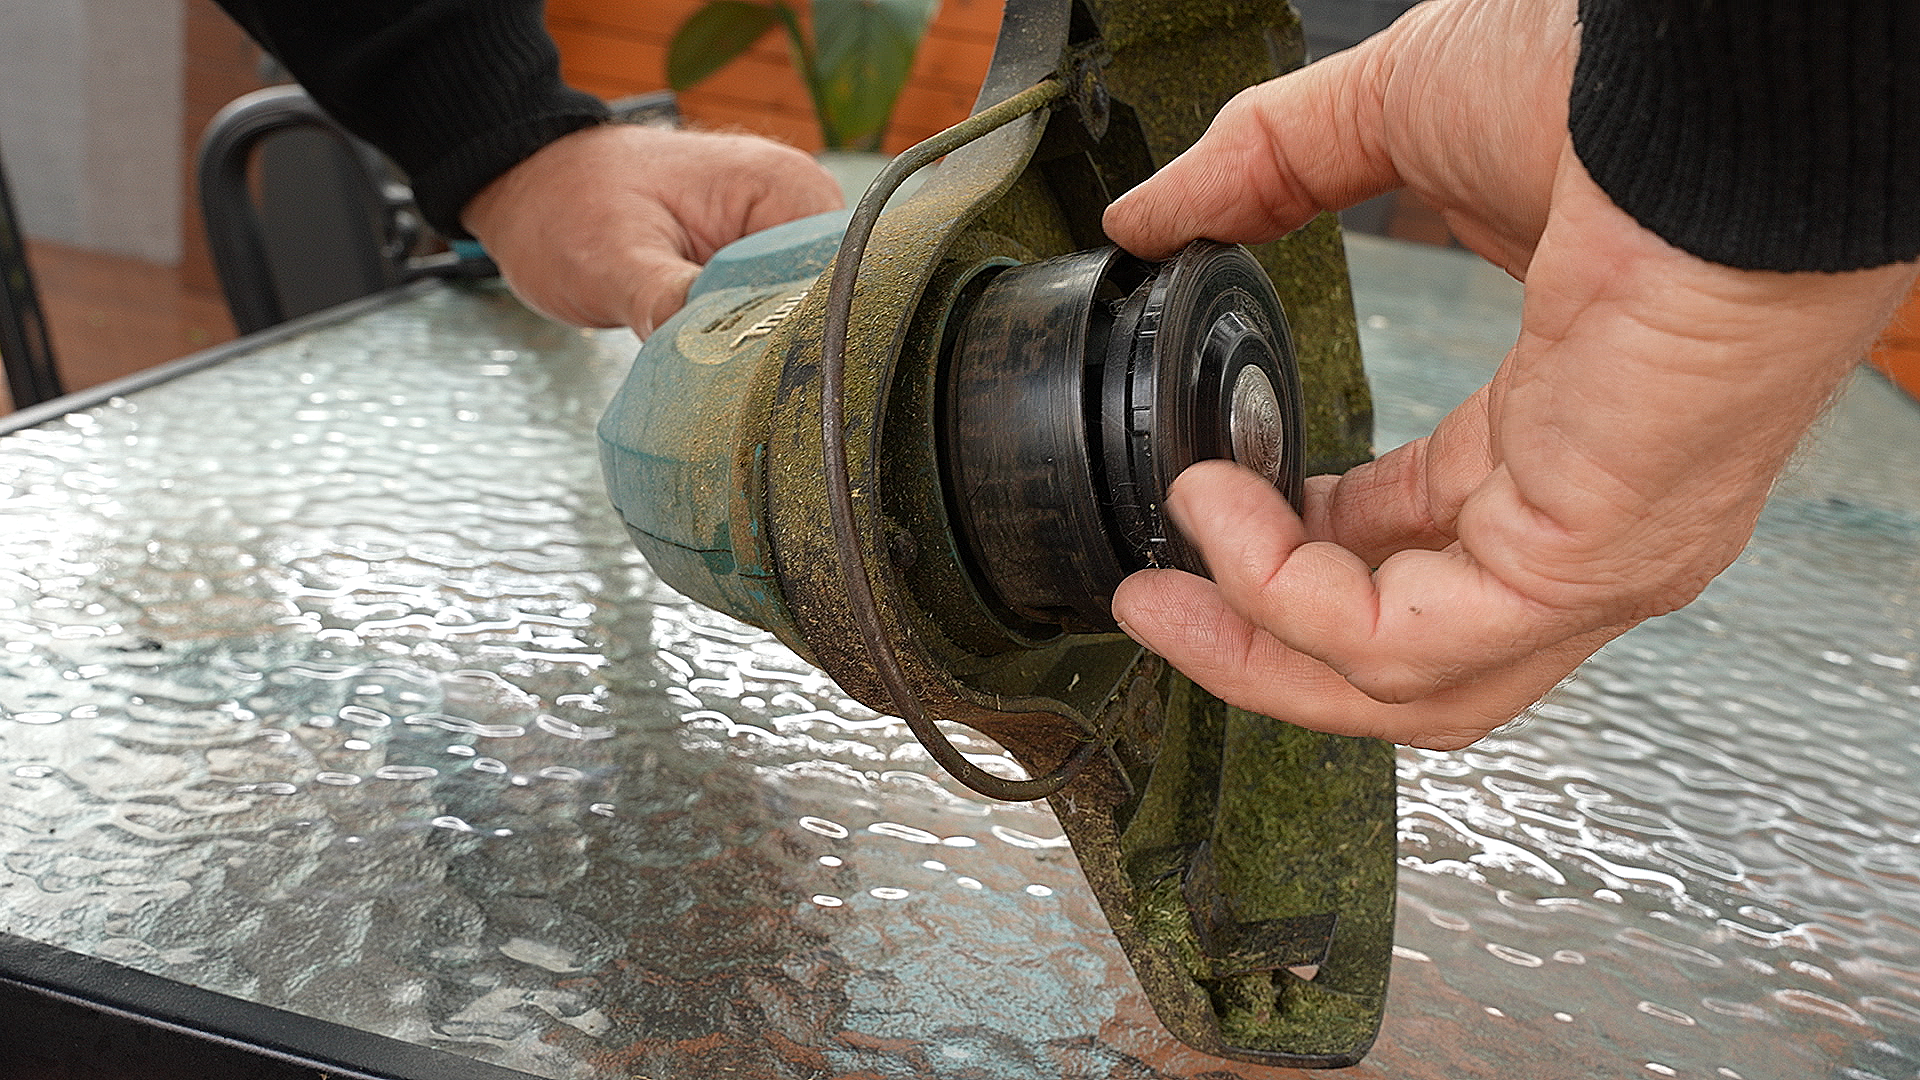
2. Push and release the latch
Find the latch on the whipper snipper's head and give it a gentle push or slide to release the head assembly. This will give you access to the line spool.
3. Mind the spring
Carefully separate the head assembly to expose the spool and the spring, be cautious not to misplace the spring. It's essential to keep everything intact.
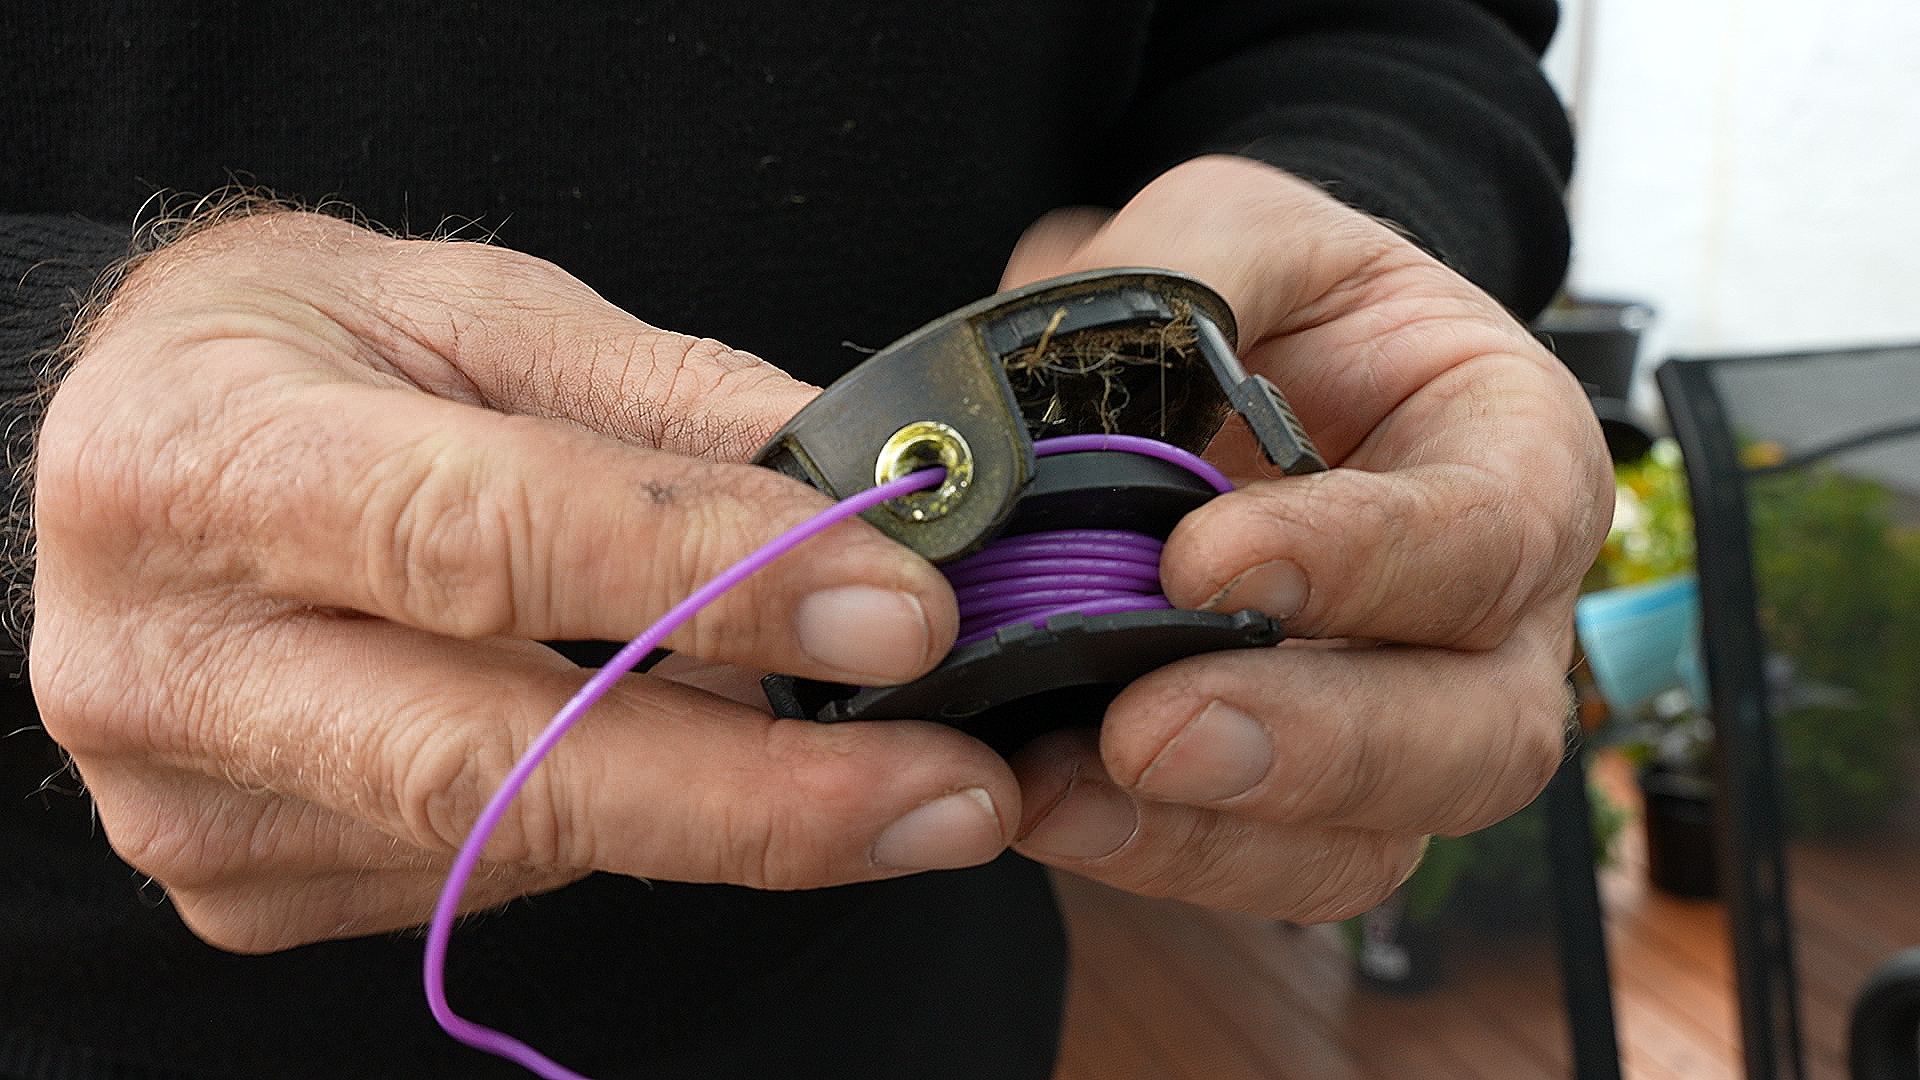
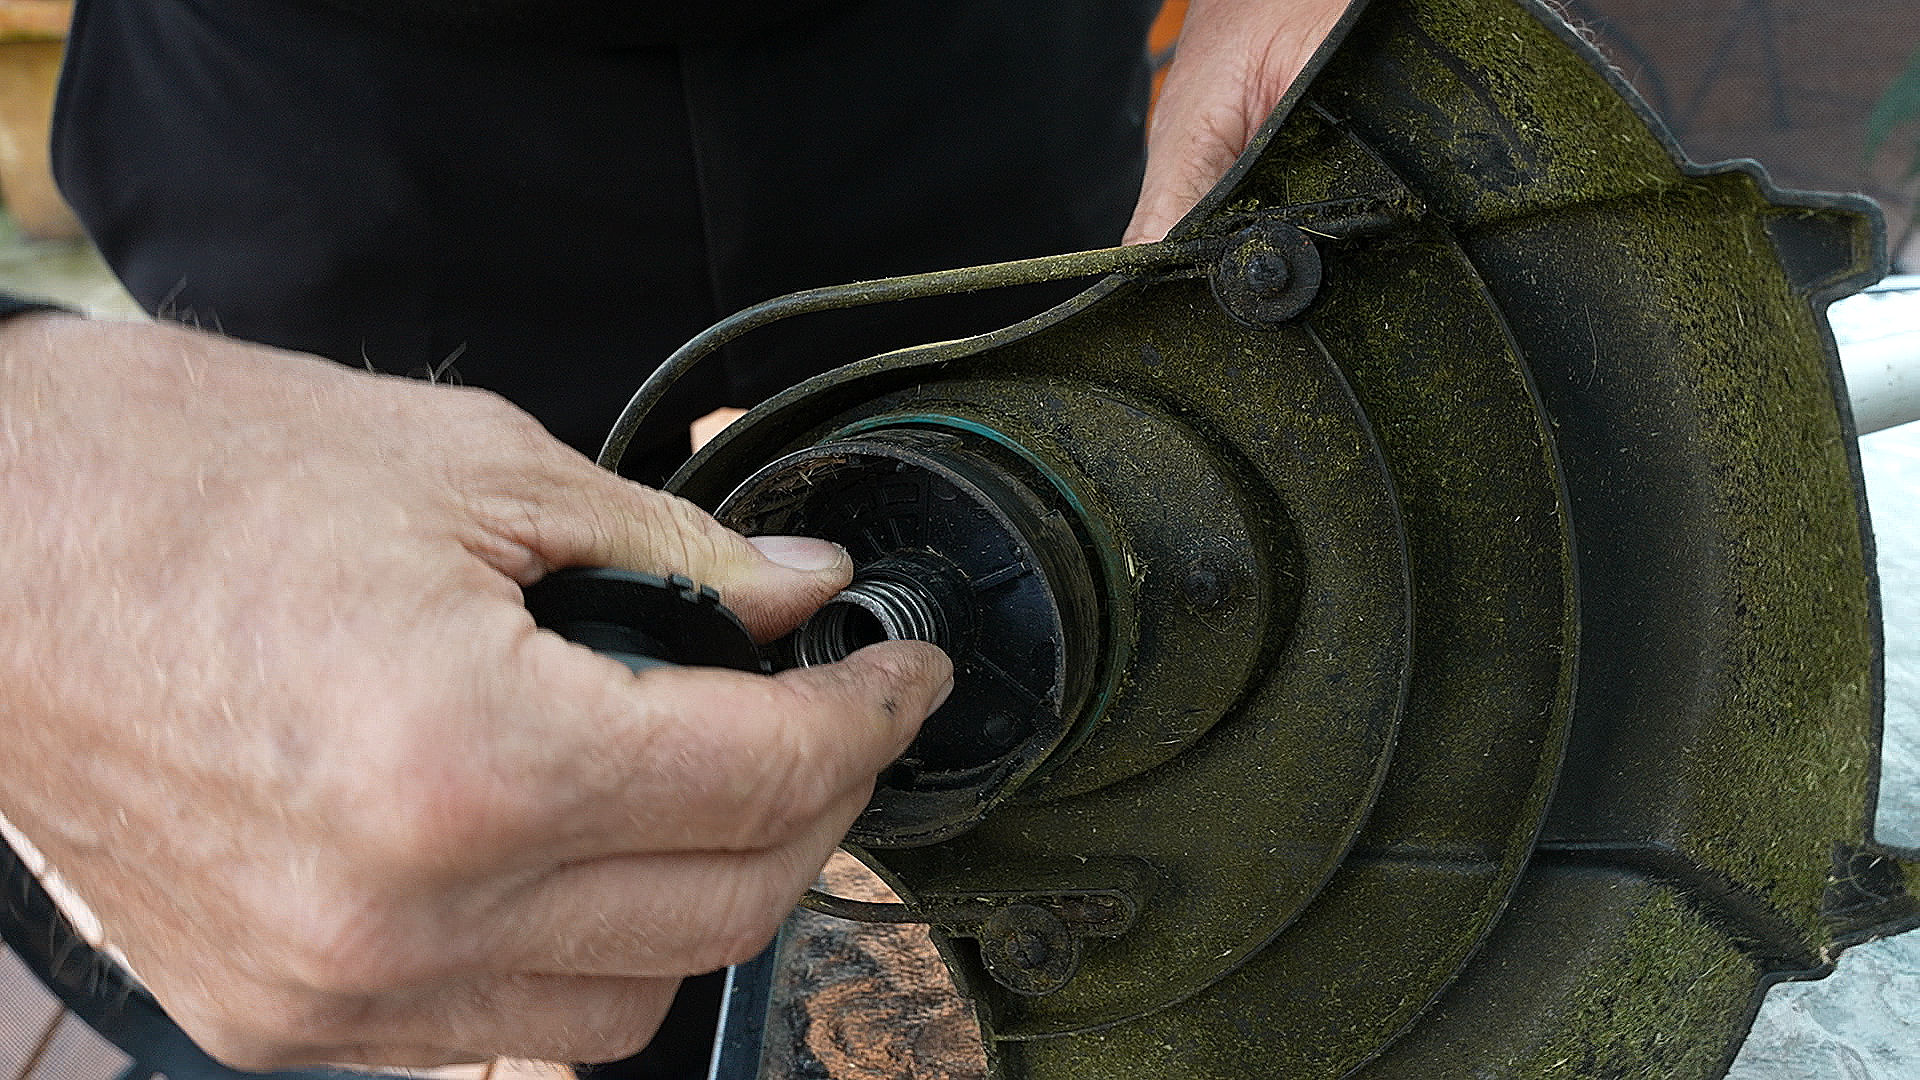
4. Thread the line
Take the measured trimmer line and slip one end into the hole or slot on the spool. Follow any directional guides or arrows on the spool for the right direction. Start rolling the trimmer line onto the spool in a clockwise motion, keeping it taut and evenly wound.
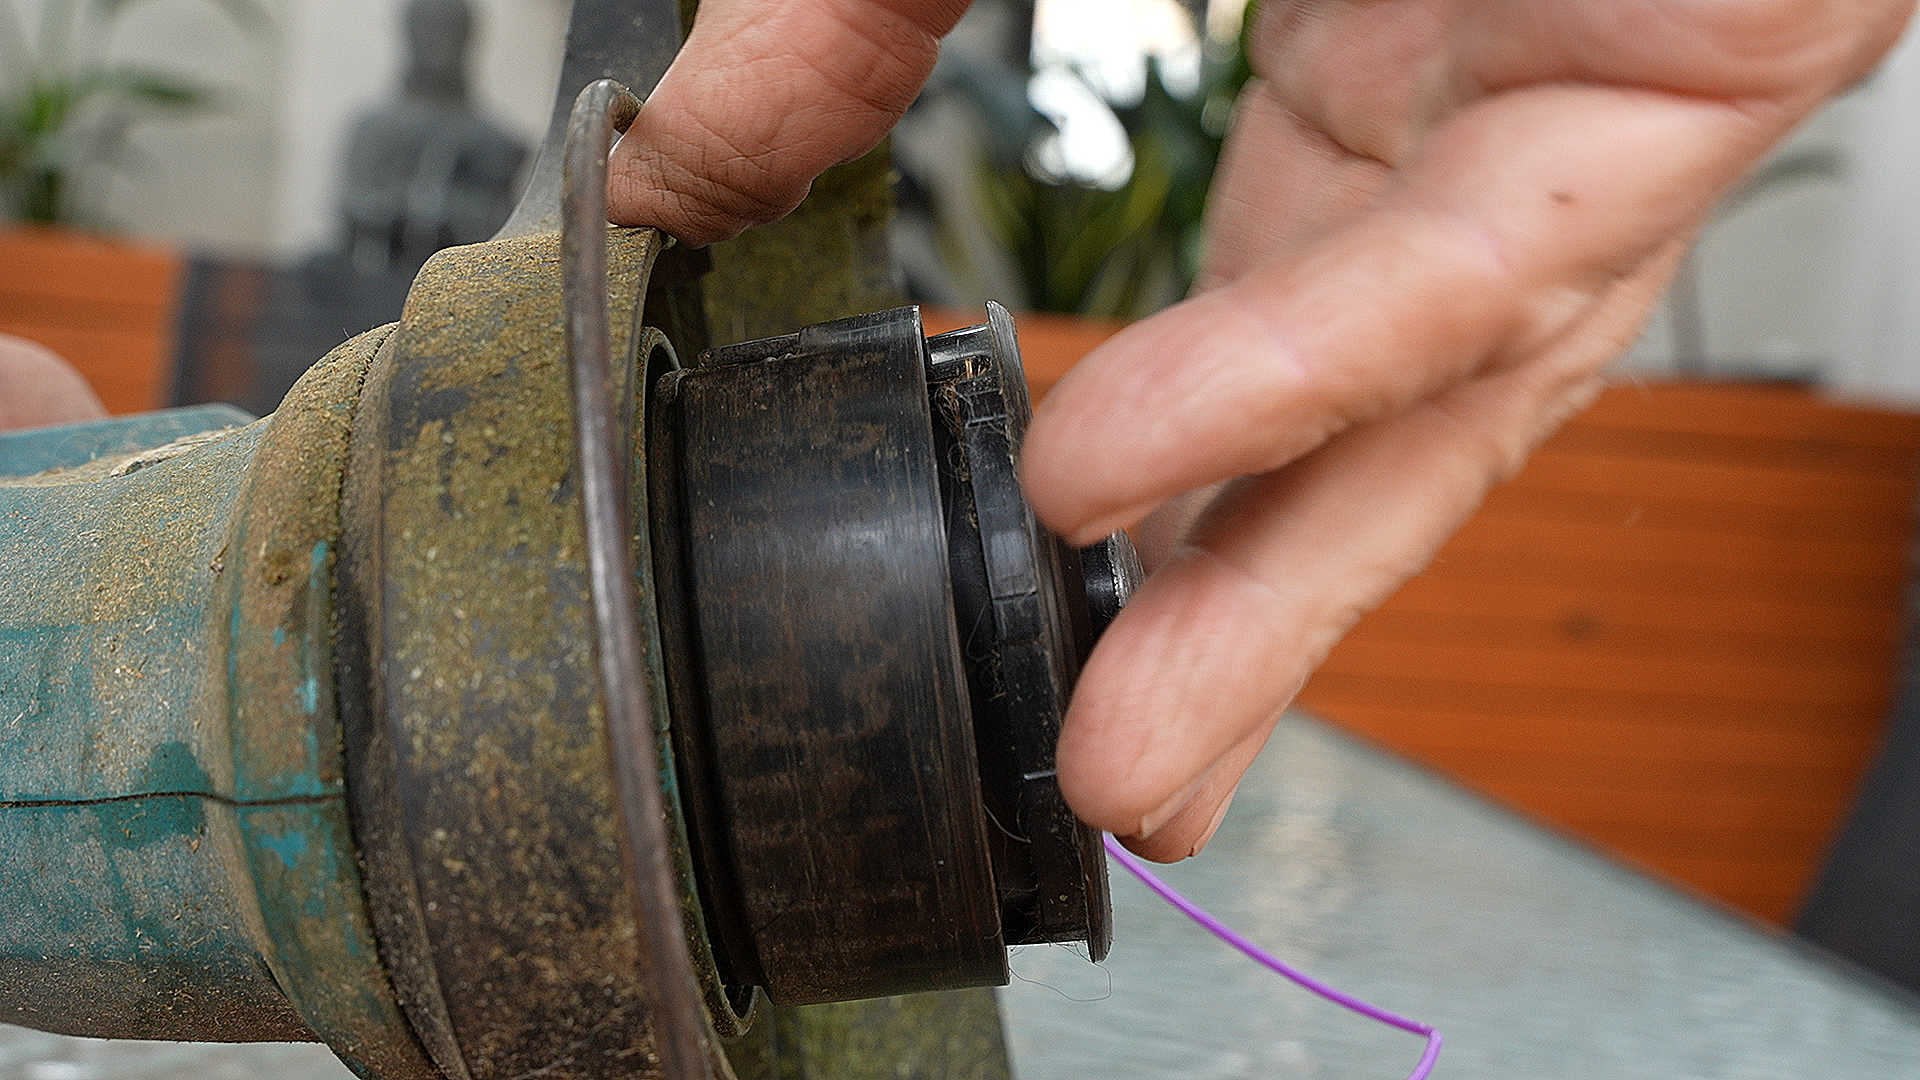
5. Click it back
Once you've wound the line neatly, align the spool with the head assembly and gently insert it. Press down until you hear or feel a click, indicating it's securely in place. Give it a light tug to confirm it's snug.
Keep in mind that these steps might have slight variations depending on your whipper snipper model. It's always a good idea to refer to your user manual or the manufacturer's guidelines for precise instructions tailored to your specific machine. Happy trimming!


