- 12 October 2022
Sharpening your lawn mower blades is an essential part of maintaining your mower. A dull blade will make your mower work harder, leading to more frequent repairs and replacements down the road.
The tips below will help you sharpen your blades correctly and minimize the time necessary.

Why You Should Sharpen Your Blades
Sharpening your lawn mower blades is essential because it helps keep them in good working condition. Over time, the metal on the blade becomes dull and loses its ability to cut grass evenly. This makes the blade more likely to catch on objects or tear up the grass while cutting, which can lead to uneven growth patterns in your lawn.
It is also important to sharpen lawn mower blades because a dull blade also puts extra wear and tear on other mower components. A dull blade requires more energy from the engine, which can cause it to overheat or stall more frequently than usual. When this happens, you must stop what you are doing and let things cool off before continuing with your yard maintenance activities.
DIY Project Steps

1. Remove the Lawn Mower Blade
Remove the spark plug. This will ensure that you do not accidentally start the lawn mower while working on it.
Tip the mower on its side. This allows you to easily remove and replace blades without leaning over or reaching high.
Use a socket wrench to remove your blade from its hub. Do not attempt to use pliers or any other tool because these may damage your blade or hub.
Then mark your blade, using a permanent marker, mark your blade at the halfway point (12 o'clock) so you can line up your new edge with the old one when you reinstall it.
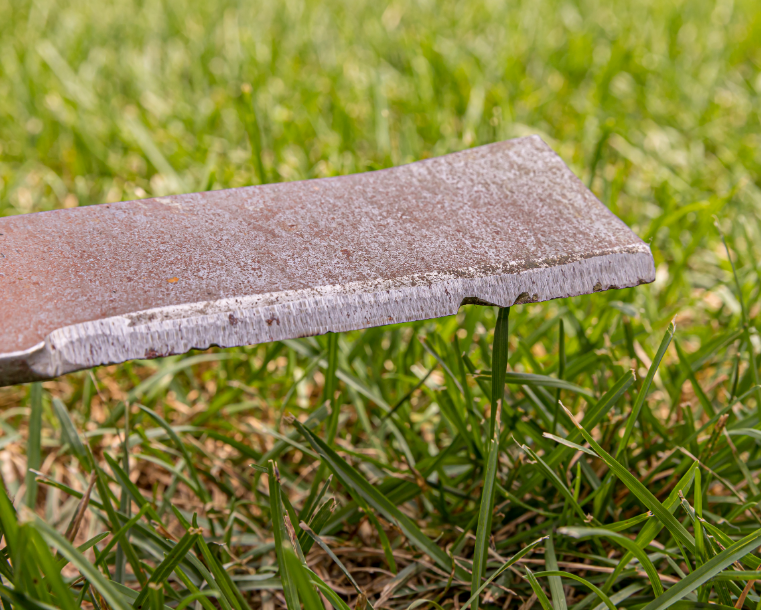
2. Check for the Proper Filing Angle
Check the angle of the blade at its highest point with a file gauge before filing. Use a file gauge and place it next to the cutting edge on top of the blade. Then file in the direction of the original cutting angle as much as possible without changing its pitch.

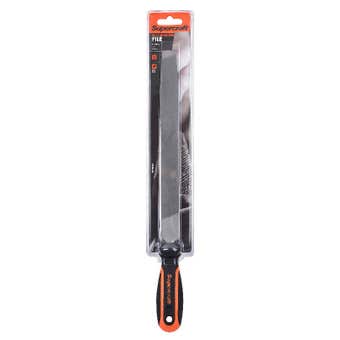
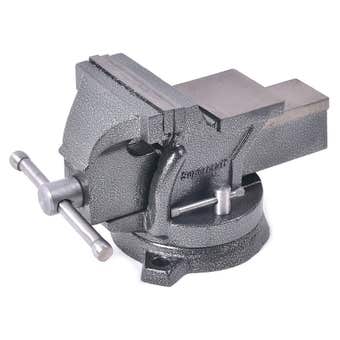
3. Sharpen the Blade with a File
Clamp the blade in a vice and sharpen the cutting edge with a mill bastard file held at the same cutting angle as before. Use only light pressure and stroke both sides of the blade several times until you have restored its original sharpness.
Always sharpen from the top side of the cutting edge; this will give you the longest-lasting edge on the blade. Do not file on both sides because it will be challenging to hold the file only when filing in one direction (top side).

4. Clean your mower
Clean off any buildup of grass clippings and dirt from the outside of your new blade with a rag, but do not wash it with water or solvent, as this may loosen rust or accelerate corrosion.

5. Reinstall the blade
Reinstall the blade and screw in the bolt. Tighten it by hand until it is snug, then use a wrench to tighten it further. When you are done, check for any loose screws or bolts on your lawn mower deck or engine housing before using the machine again.
The maintenance of your lawn mower blades, like anything else on your mower, can make a significant difference in how well the machine works. It is no fun to have to replace a blade, whether you do it yourself or you take your mower into a shop to get the job done. You can avoid that hassle down the line by trying to spend a little bit of money on regular maintenance. And when Spring comes around again, and it is time to start mowing again, you will have that same great feeling from your first Spring mow—everything will run smoothly, and you will not need to worry about that blade.