- 9 April 2024
Give your laundry a facelift and get a stylish new look that is functional too. Here are some tips to make that happen!


1. Plan for success
Think about what you need from your laundry in terms of function and organisation. When planning, factor in appliances, such as washing machine and dryer. Think storage options and make the most of designer finishes for your splashback. (Principal at Mitre 10 has a huge range of styles and colours). Use every available space, consider an over sink hanging rail and floating shelves for extra storage.
If you need some help with the initial design, bring your room measurements to the Mitre 10 in-store designers who can design the space with you.

2. Set the scene
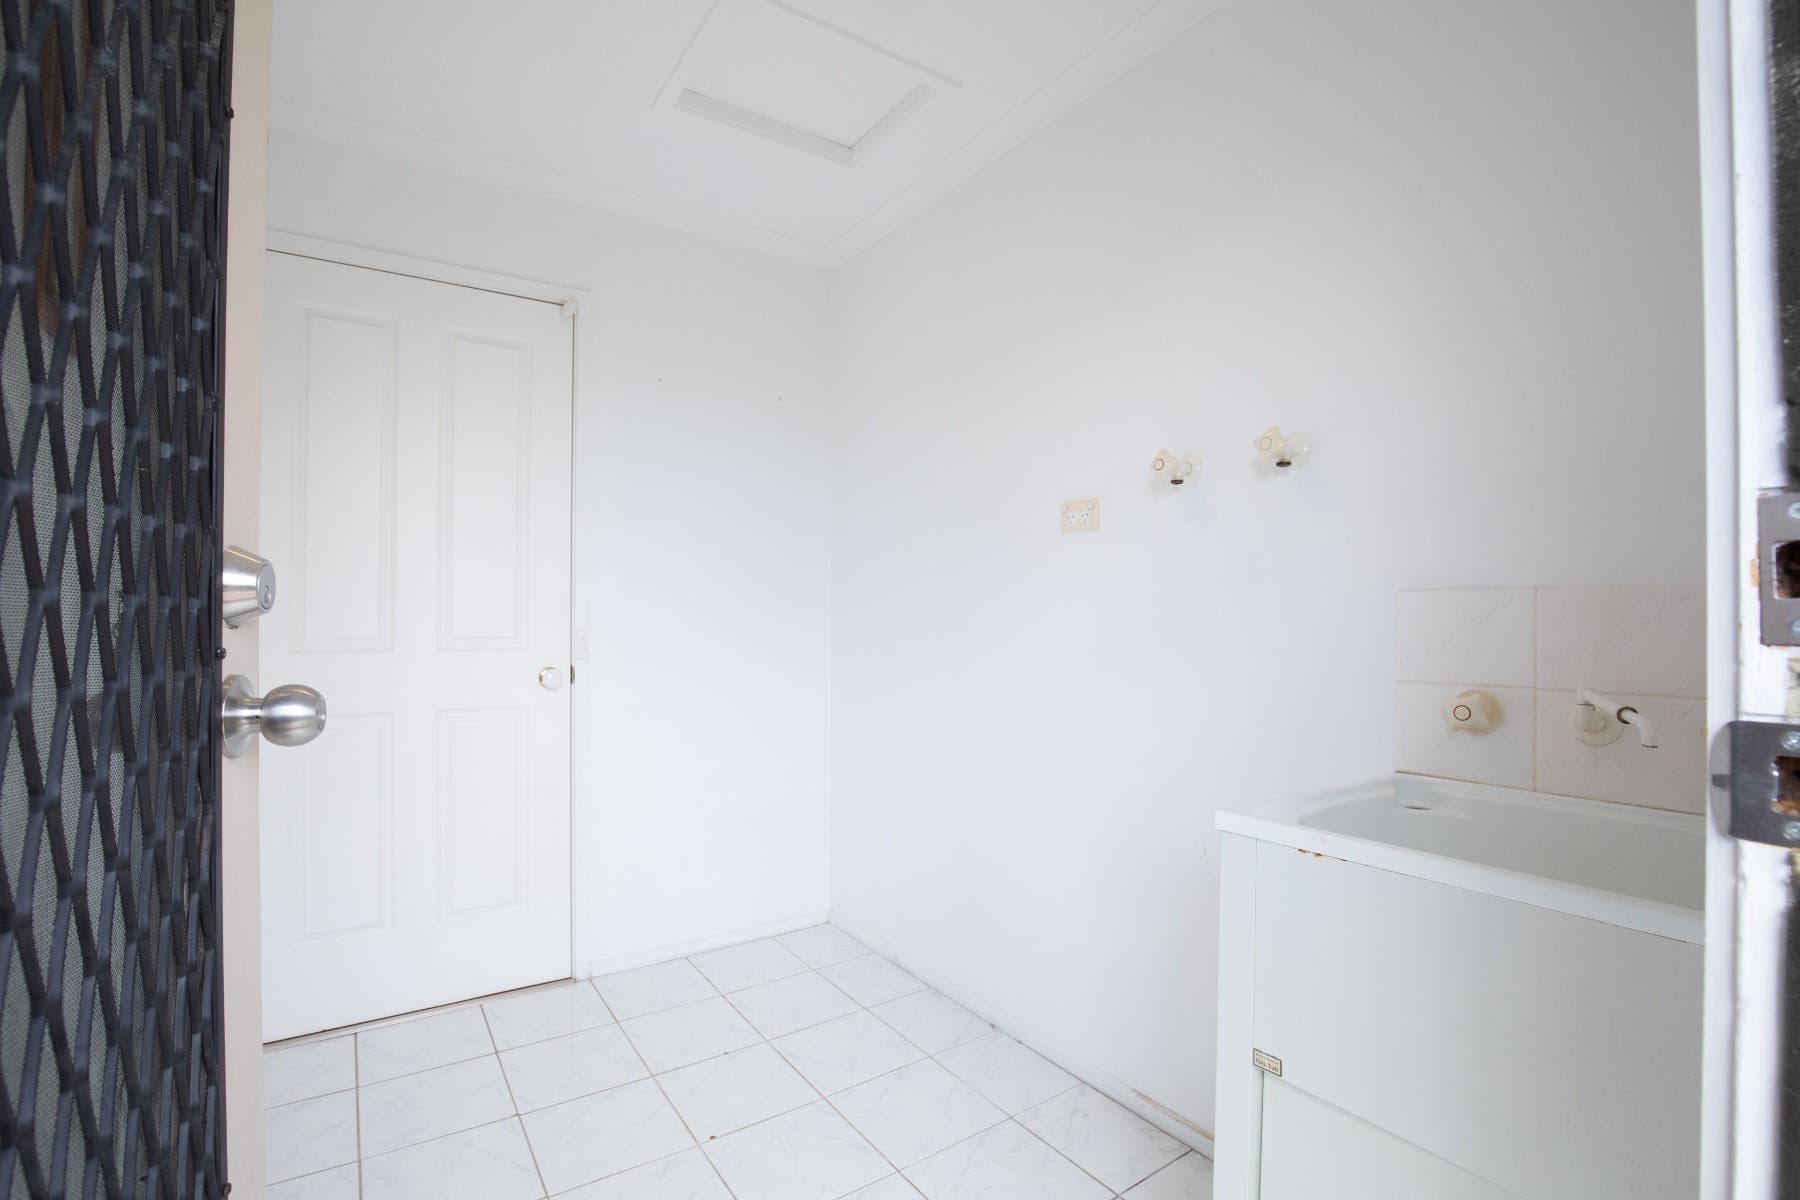
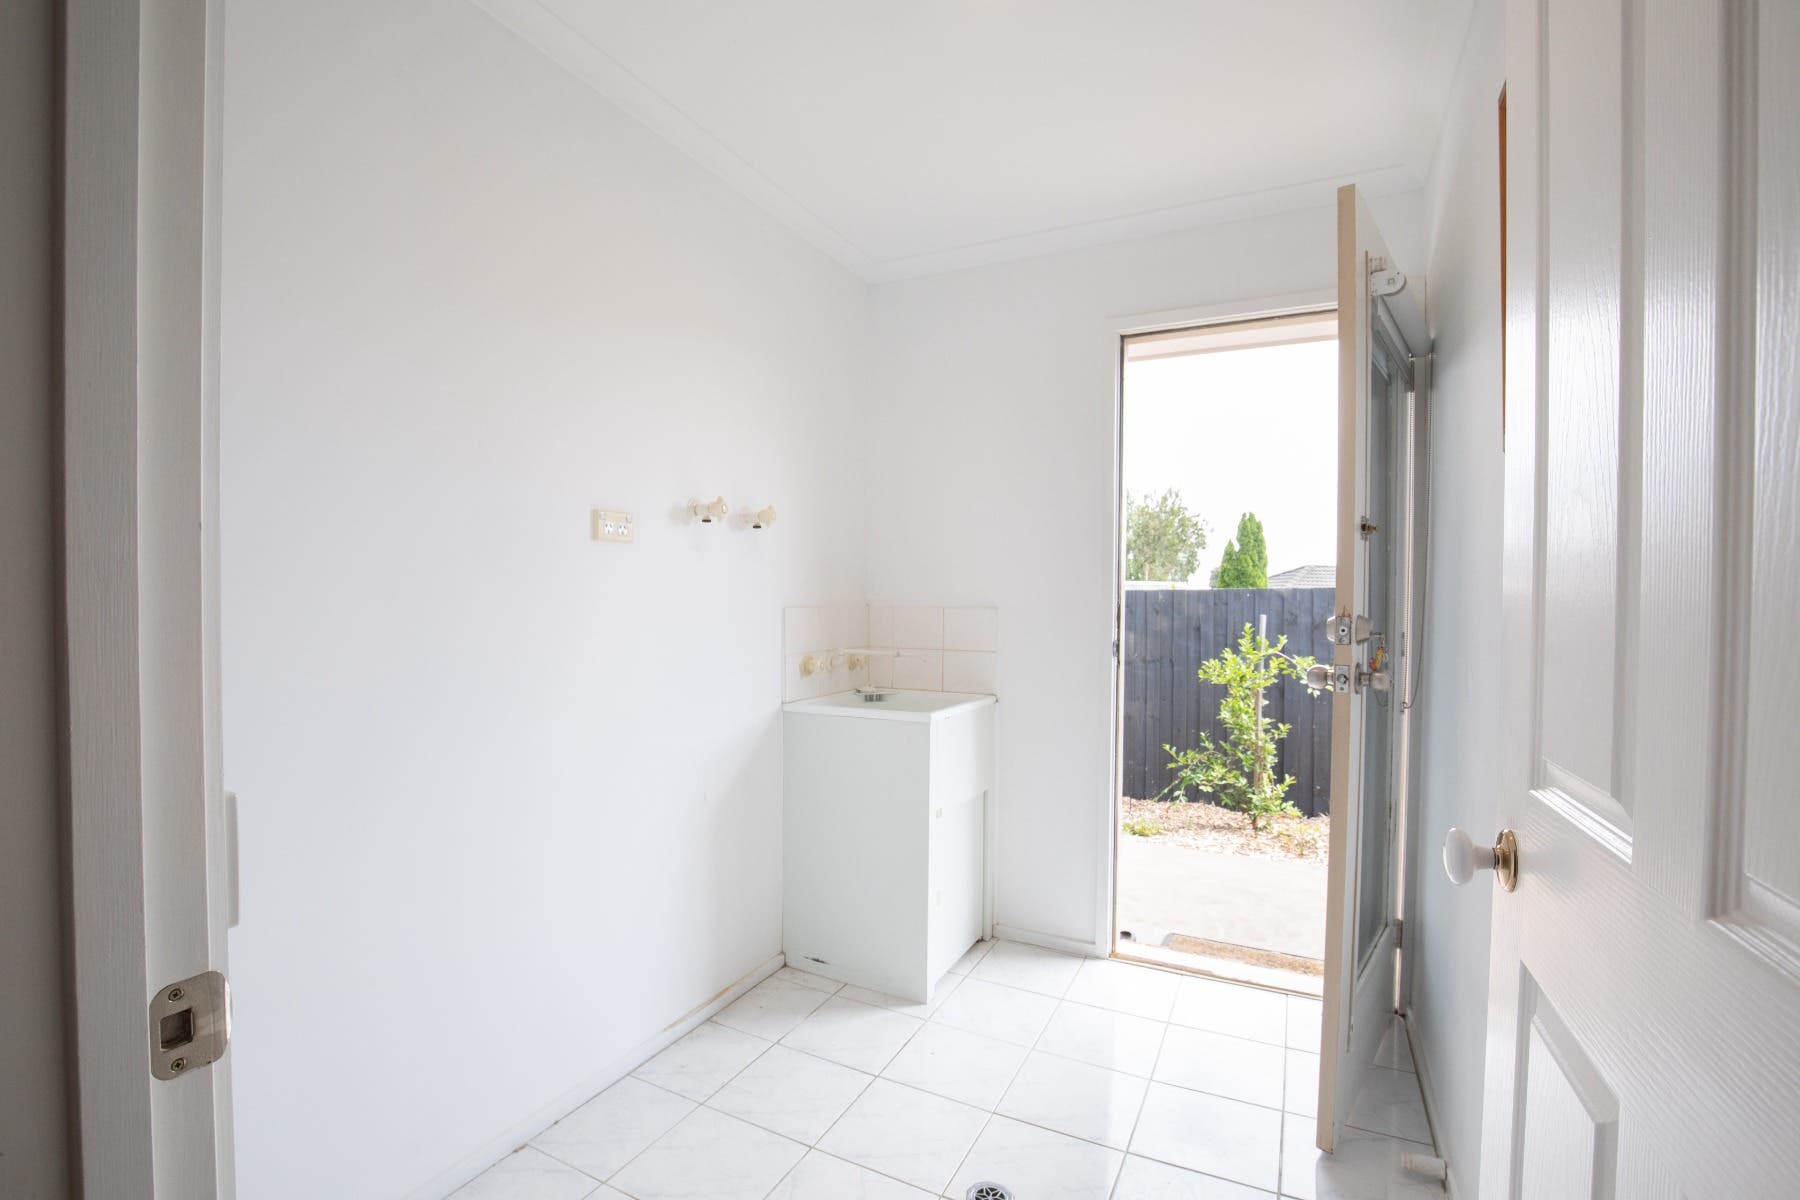
Remove the old fittings, fixtures and everything that’s not staying. Once everything is gone, give the space a good clean. Sweep up dust and dirt. Wipe the walls. You might even give the space a quick paint.
All electrical and plumbing work should be undertaken by a qualified plumber and electrician.
3. Measure, mark and select storage
Review your Principal plan and this is the time to pencil the location of cabinets, drawers and other fixtures.

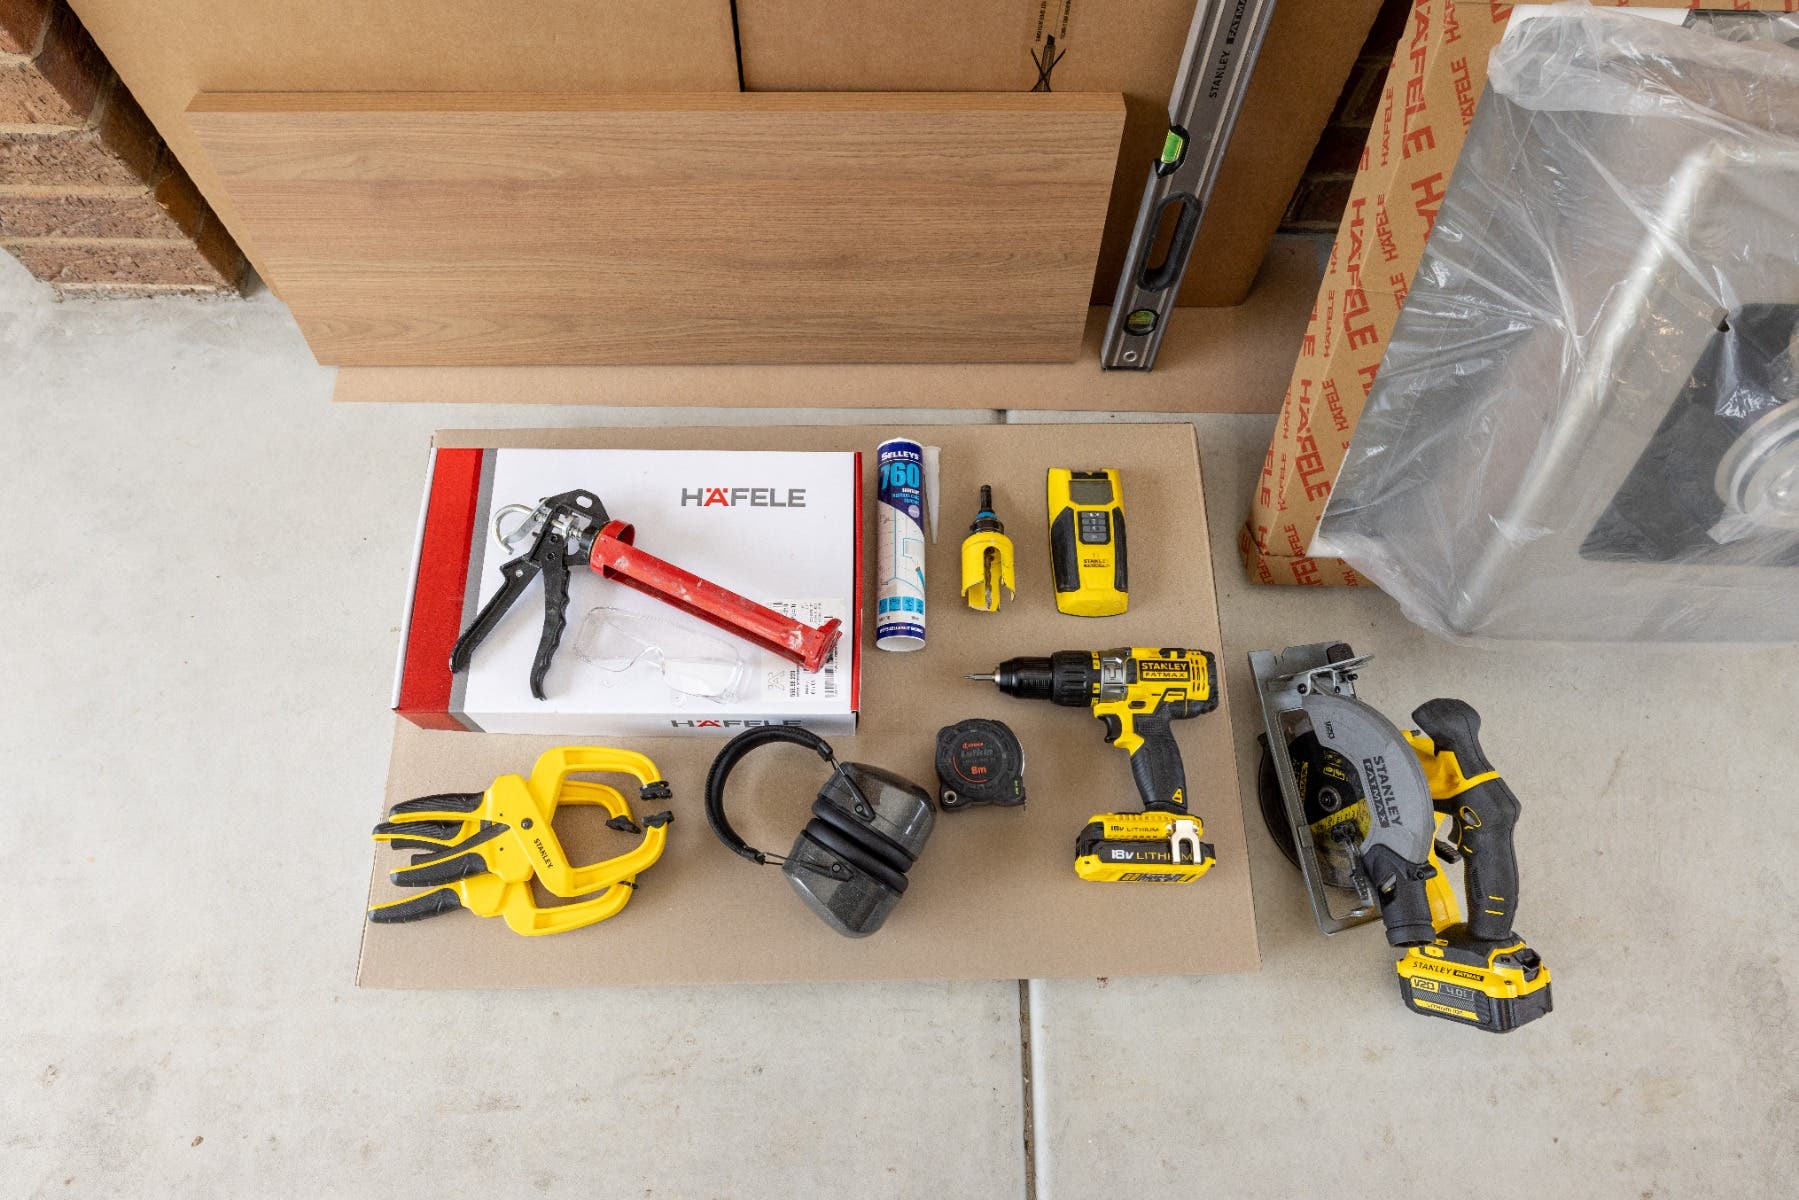
4. Tips to assemble
Plan your assembling strategy. You’ll need space to make the cabinets and drawers before installing them into place. The garage is a good space to do this. And enlist a friend to help.
Remove everything from the packaging and be sure you have all the items you need.
A good tip is to place panels on a protective surface when assembling. Cardboard or a rug with a non-slip surface is ideal for this.


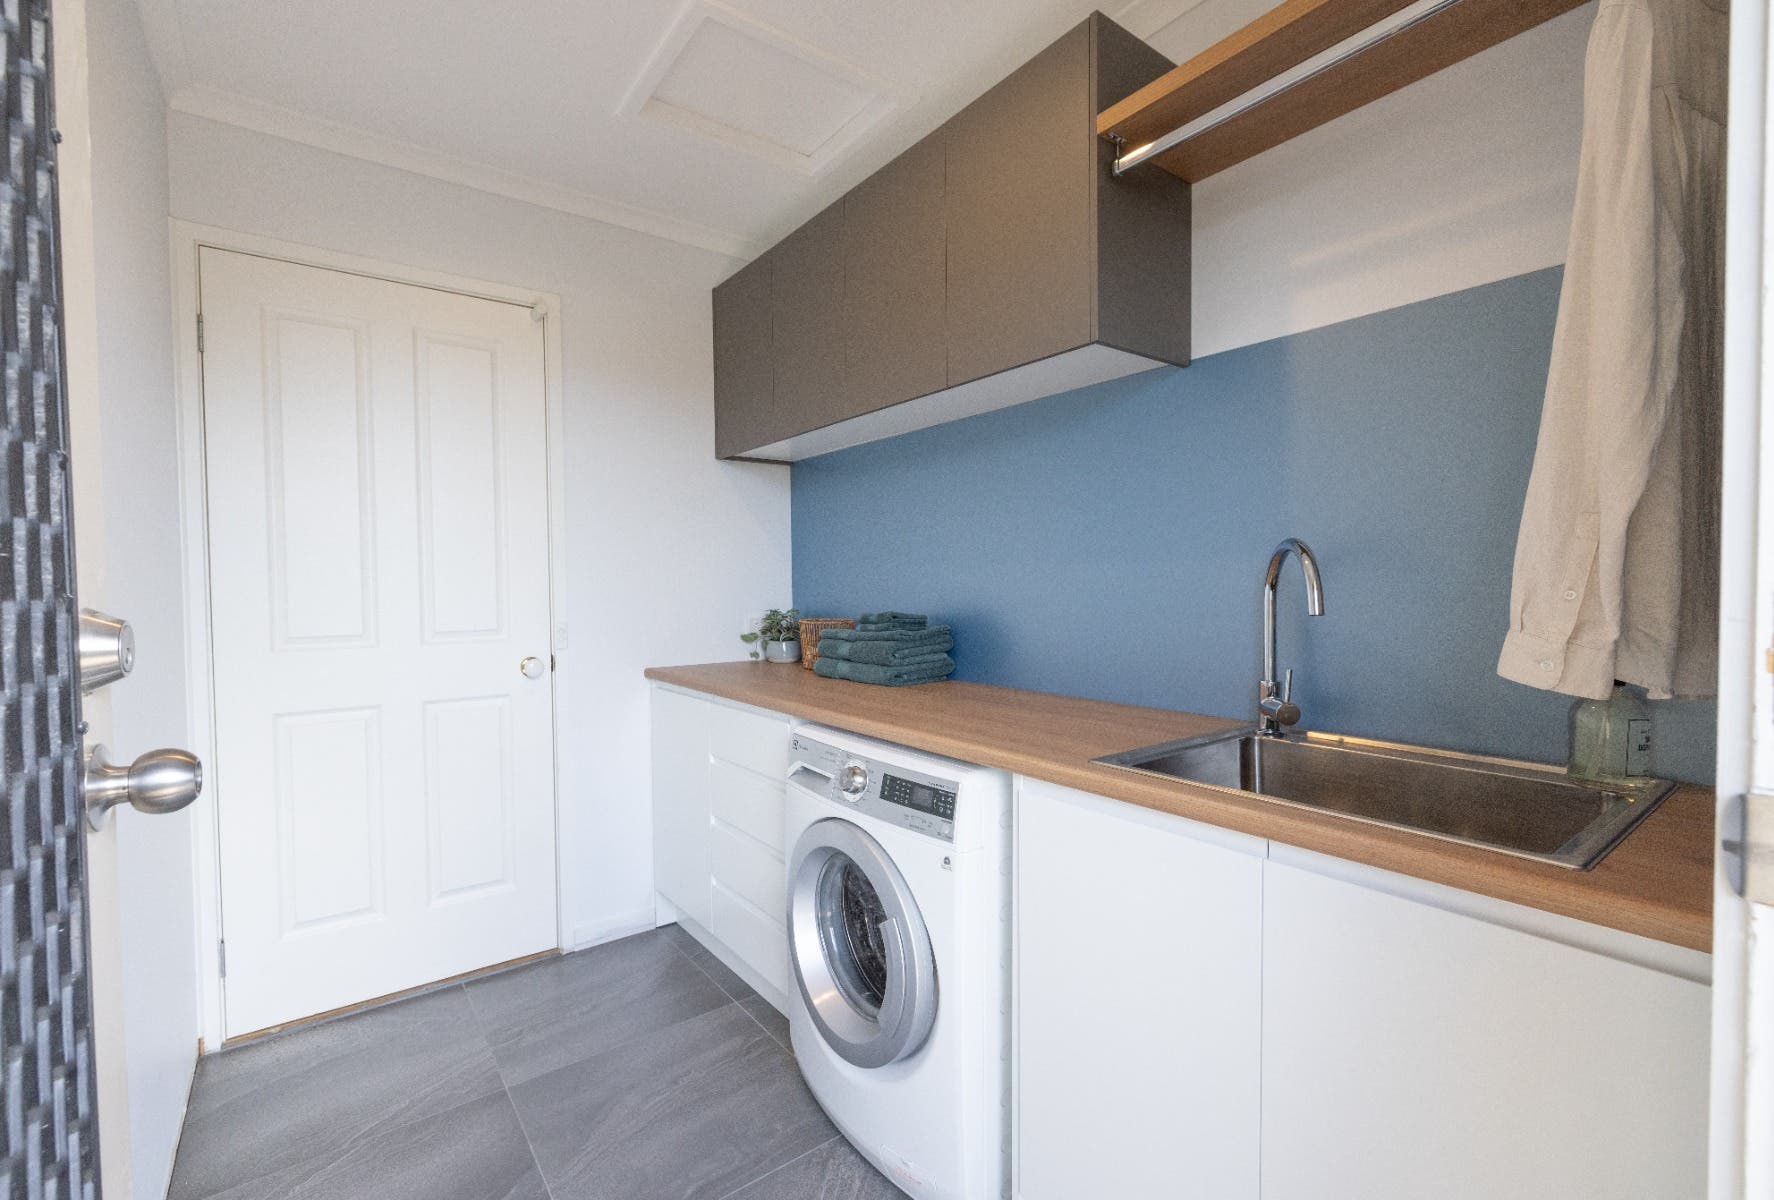
5. Loving the look
First up, Install the lower cabinets. Remember, when installing cabinets and fixtures start from a corner and work out.
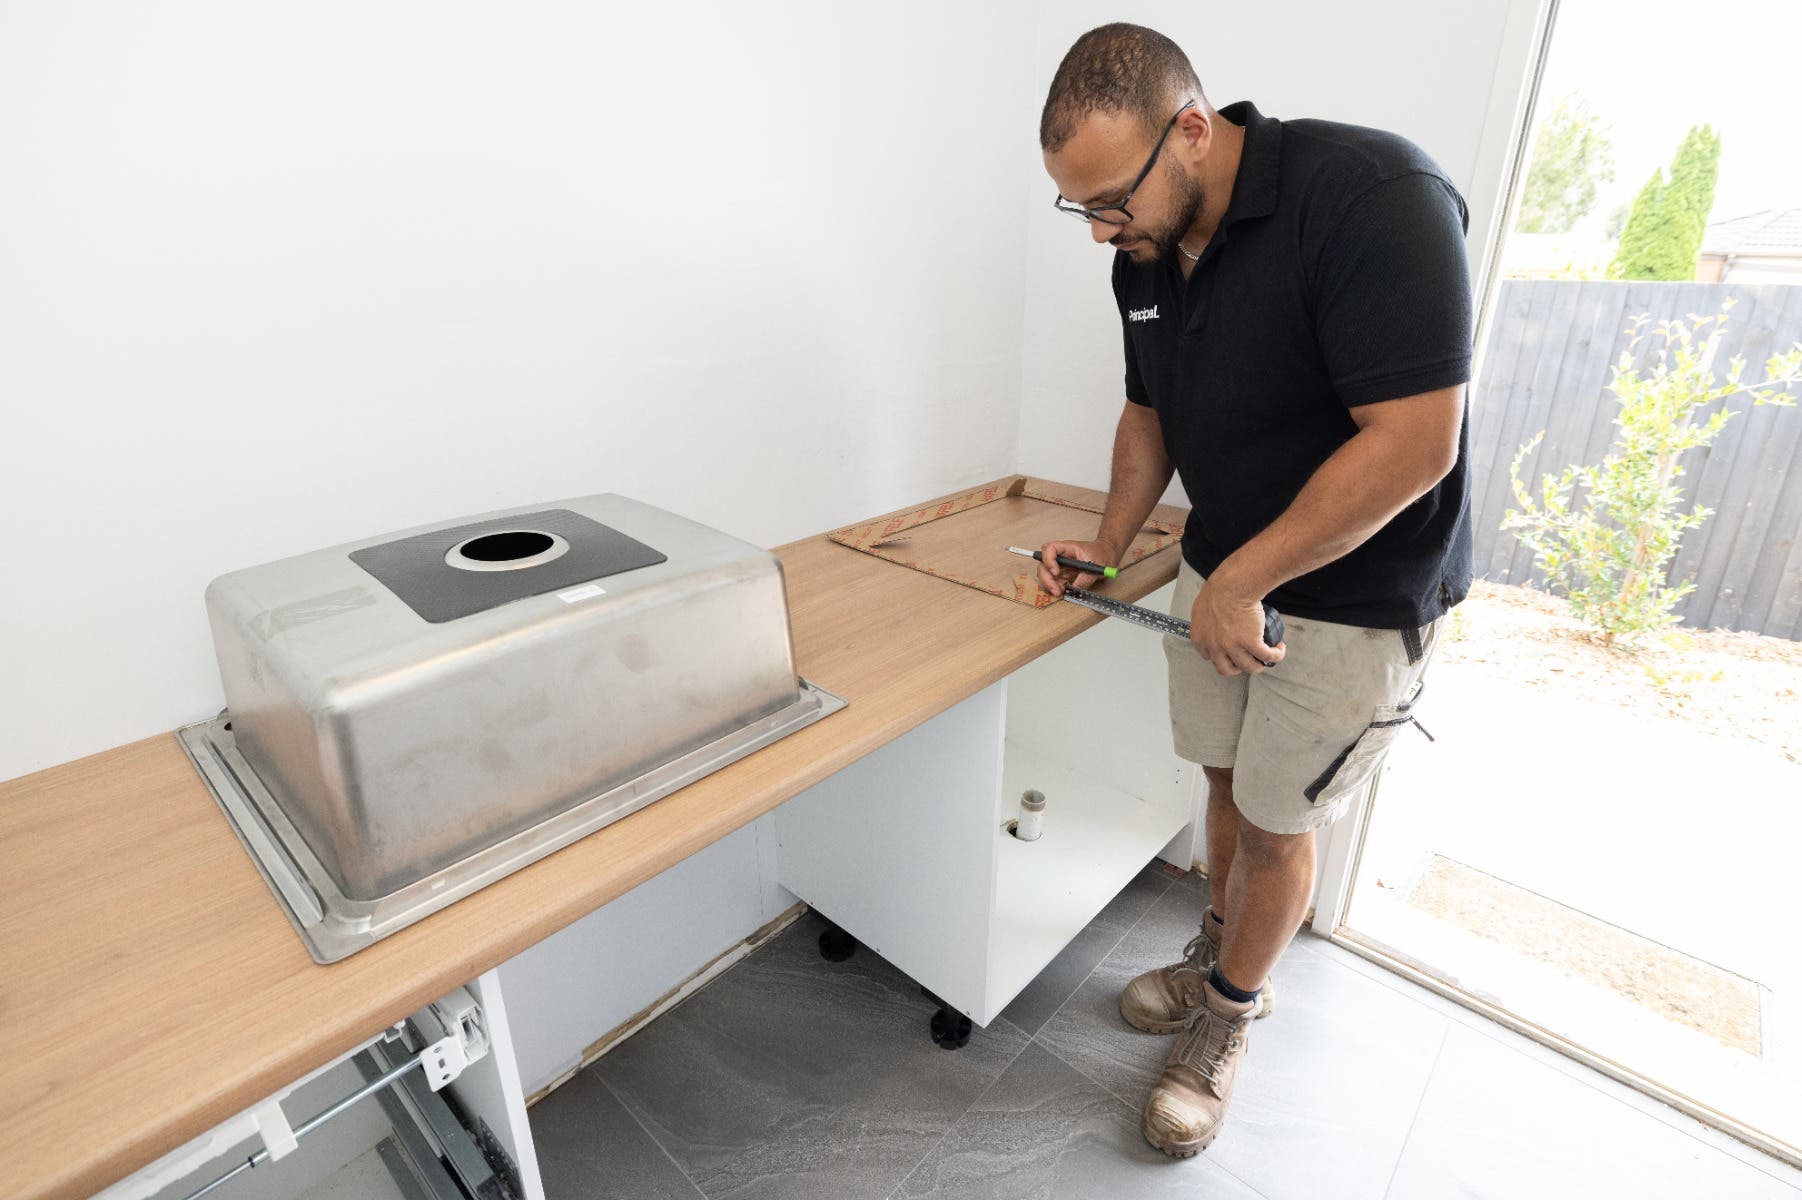
Measure and mark for the benchtop. The timber for these can be cut to size in store. Install the bench. Once this is done, you may need to factor in cutting a hole for the sink. Use a circular saw to cut out for your sink. When cutting timber, always use the appropriate PPE – safety glasses, earmuffs and a dust mask. Fit the sink into place.
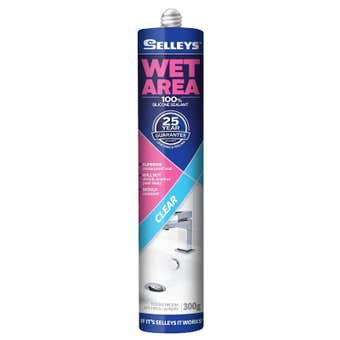
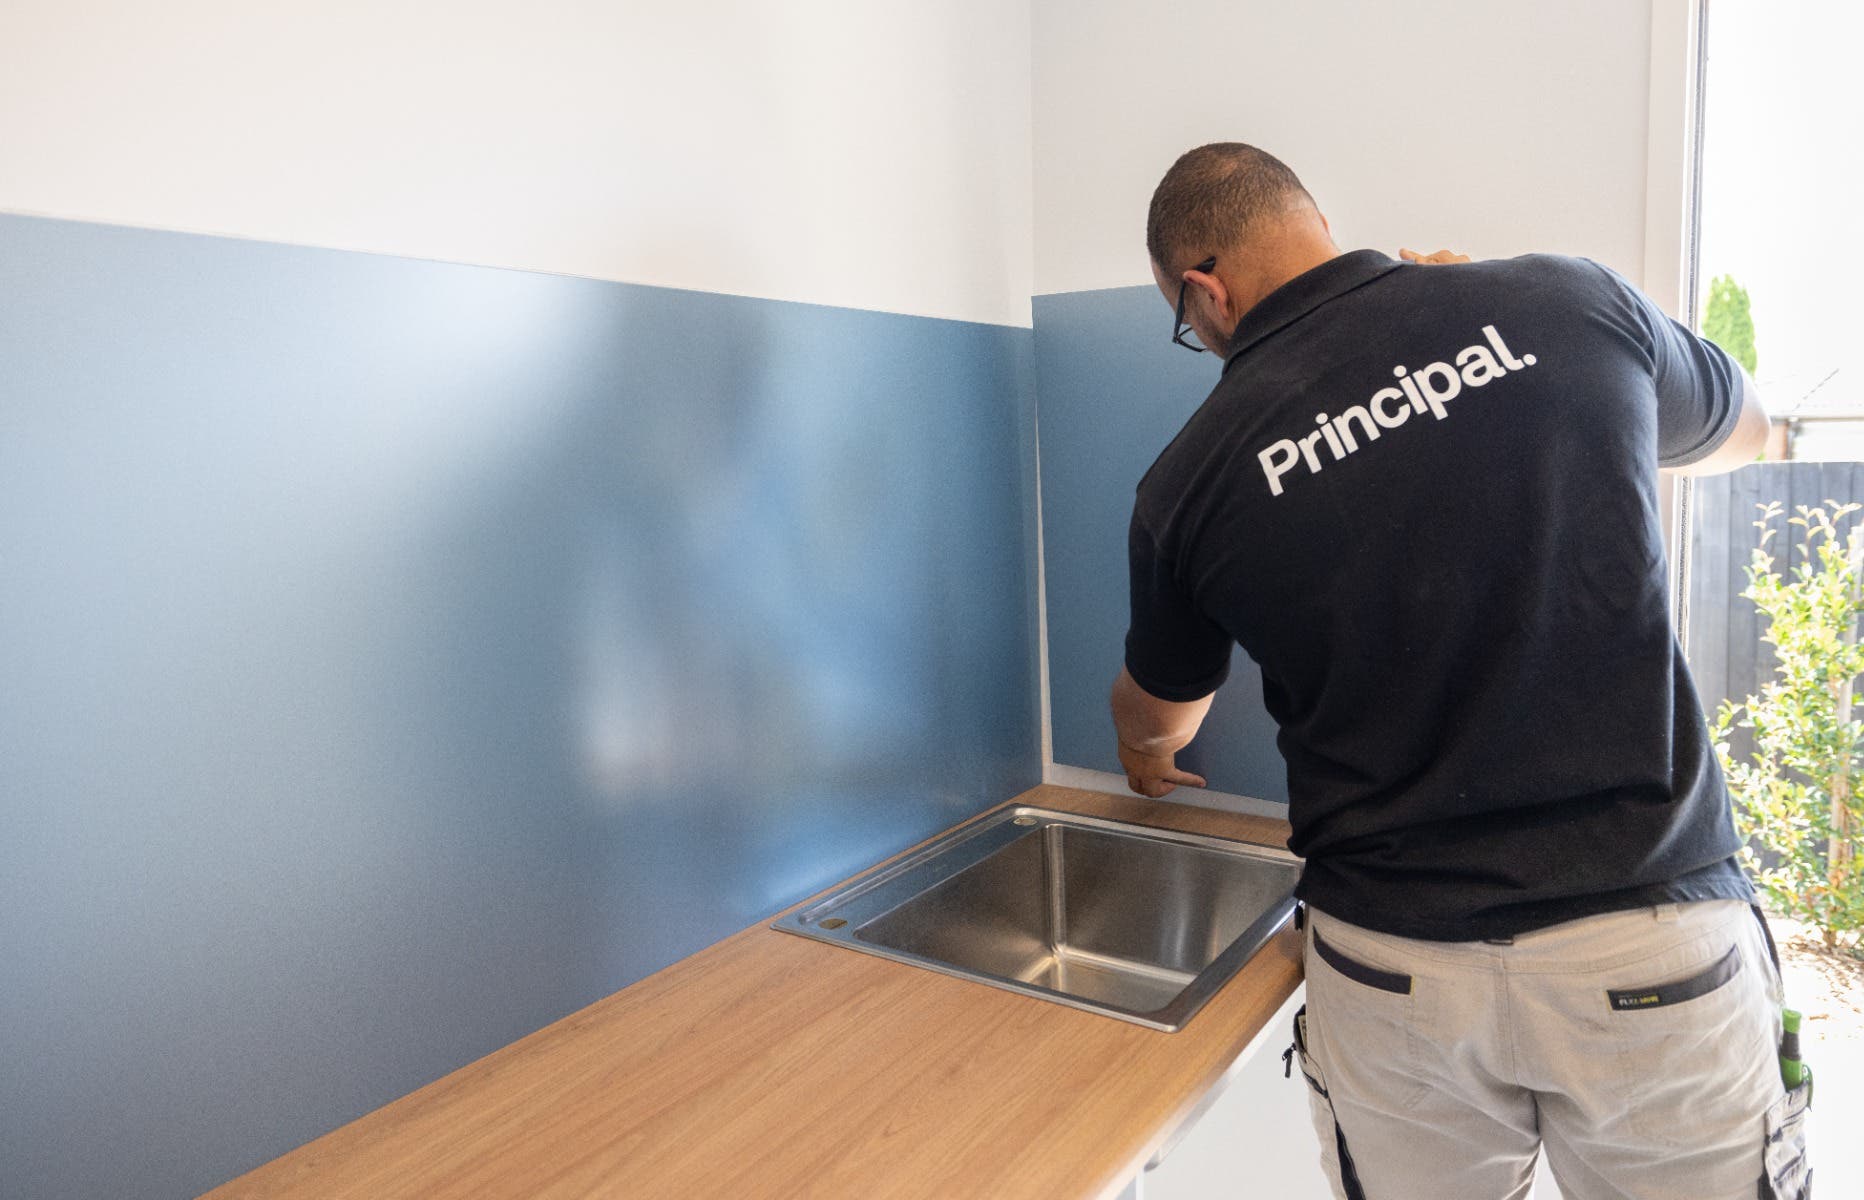
Apply neutral cured adhesive to the splashback and install it. We selected blue for our splashback, but there are many other colours and designs available.
Install the overhead cabinets.
6. Finish with fittings and fixtures
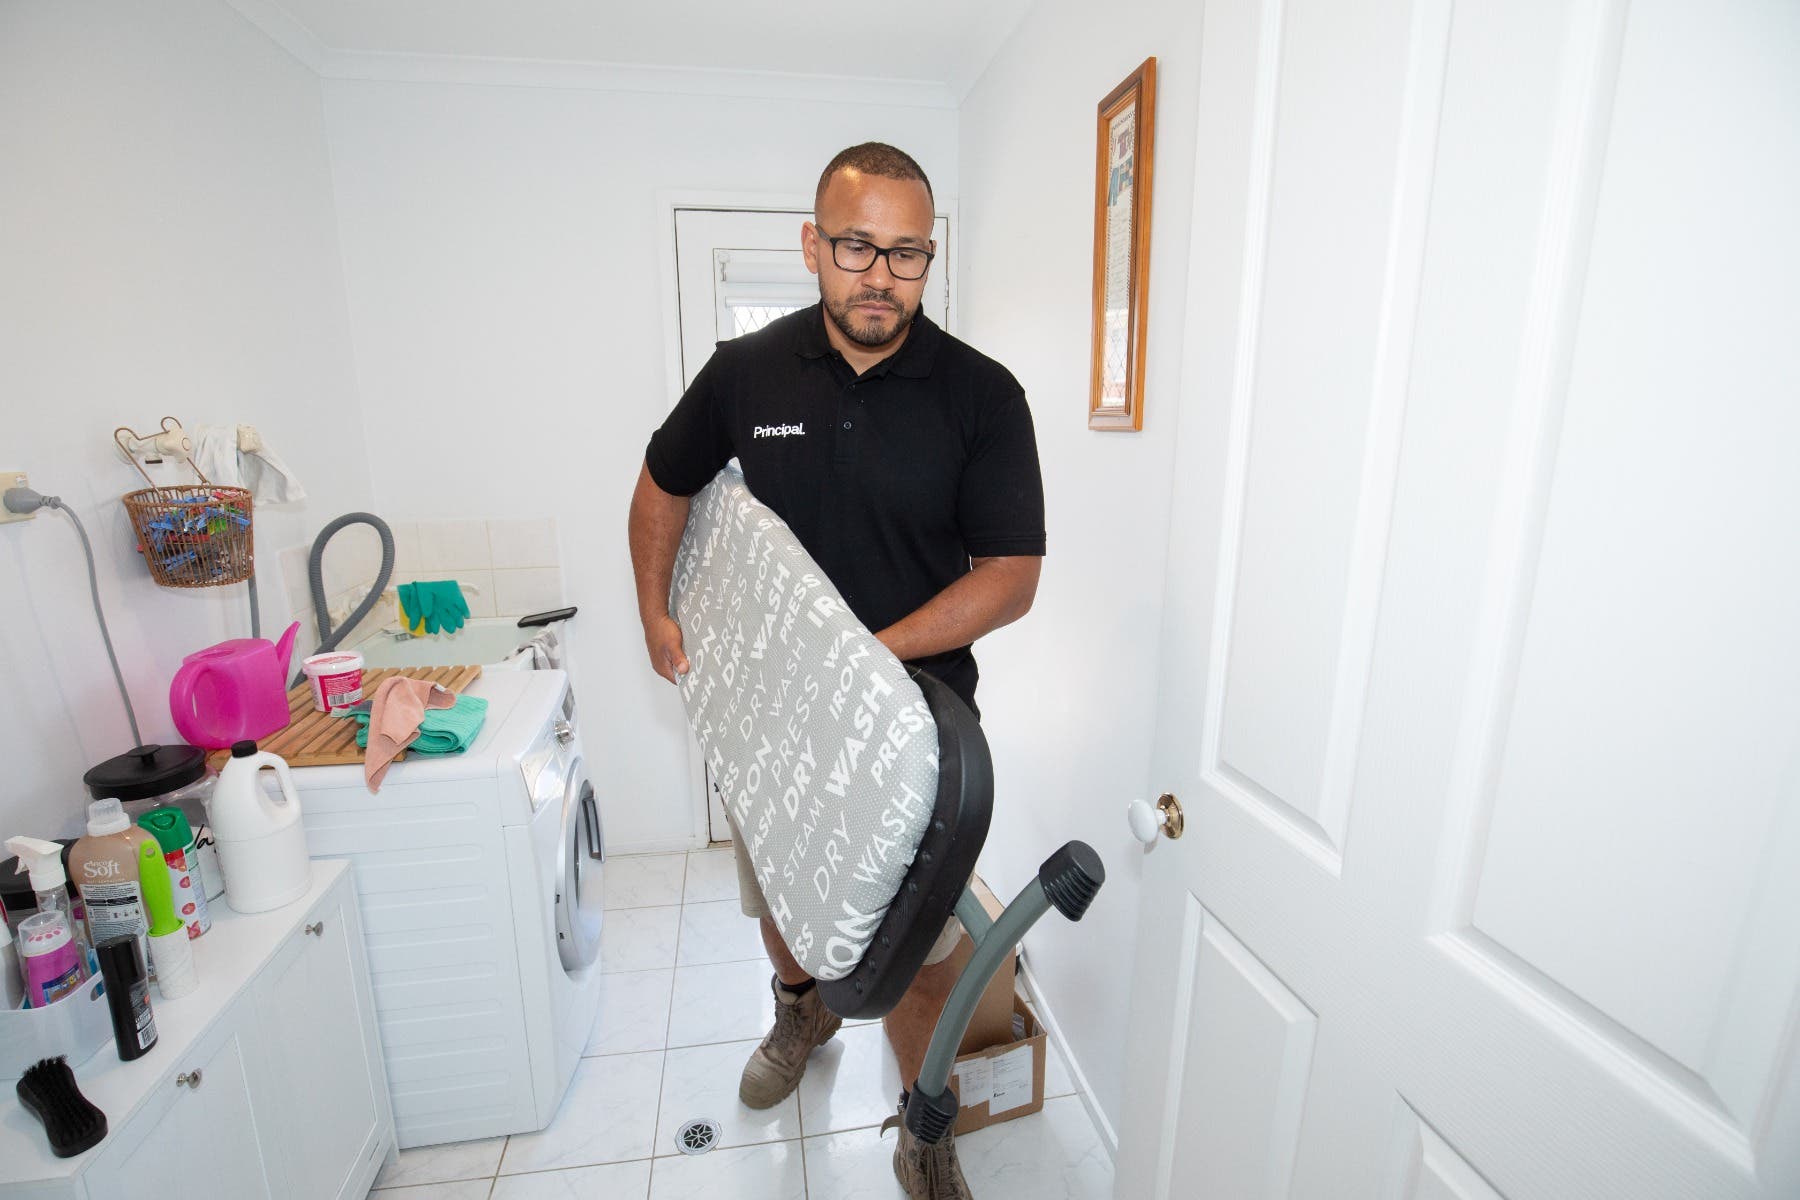
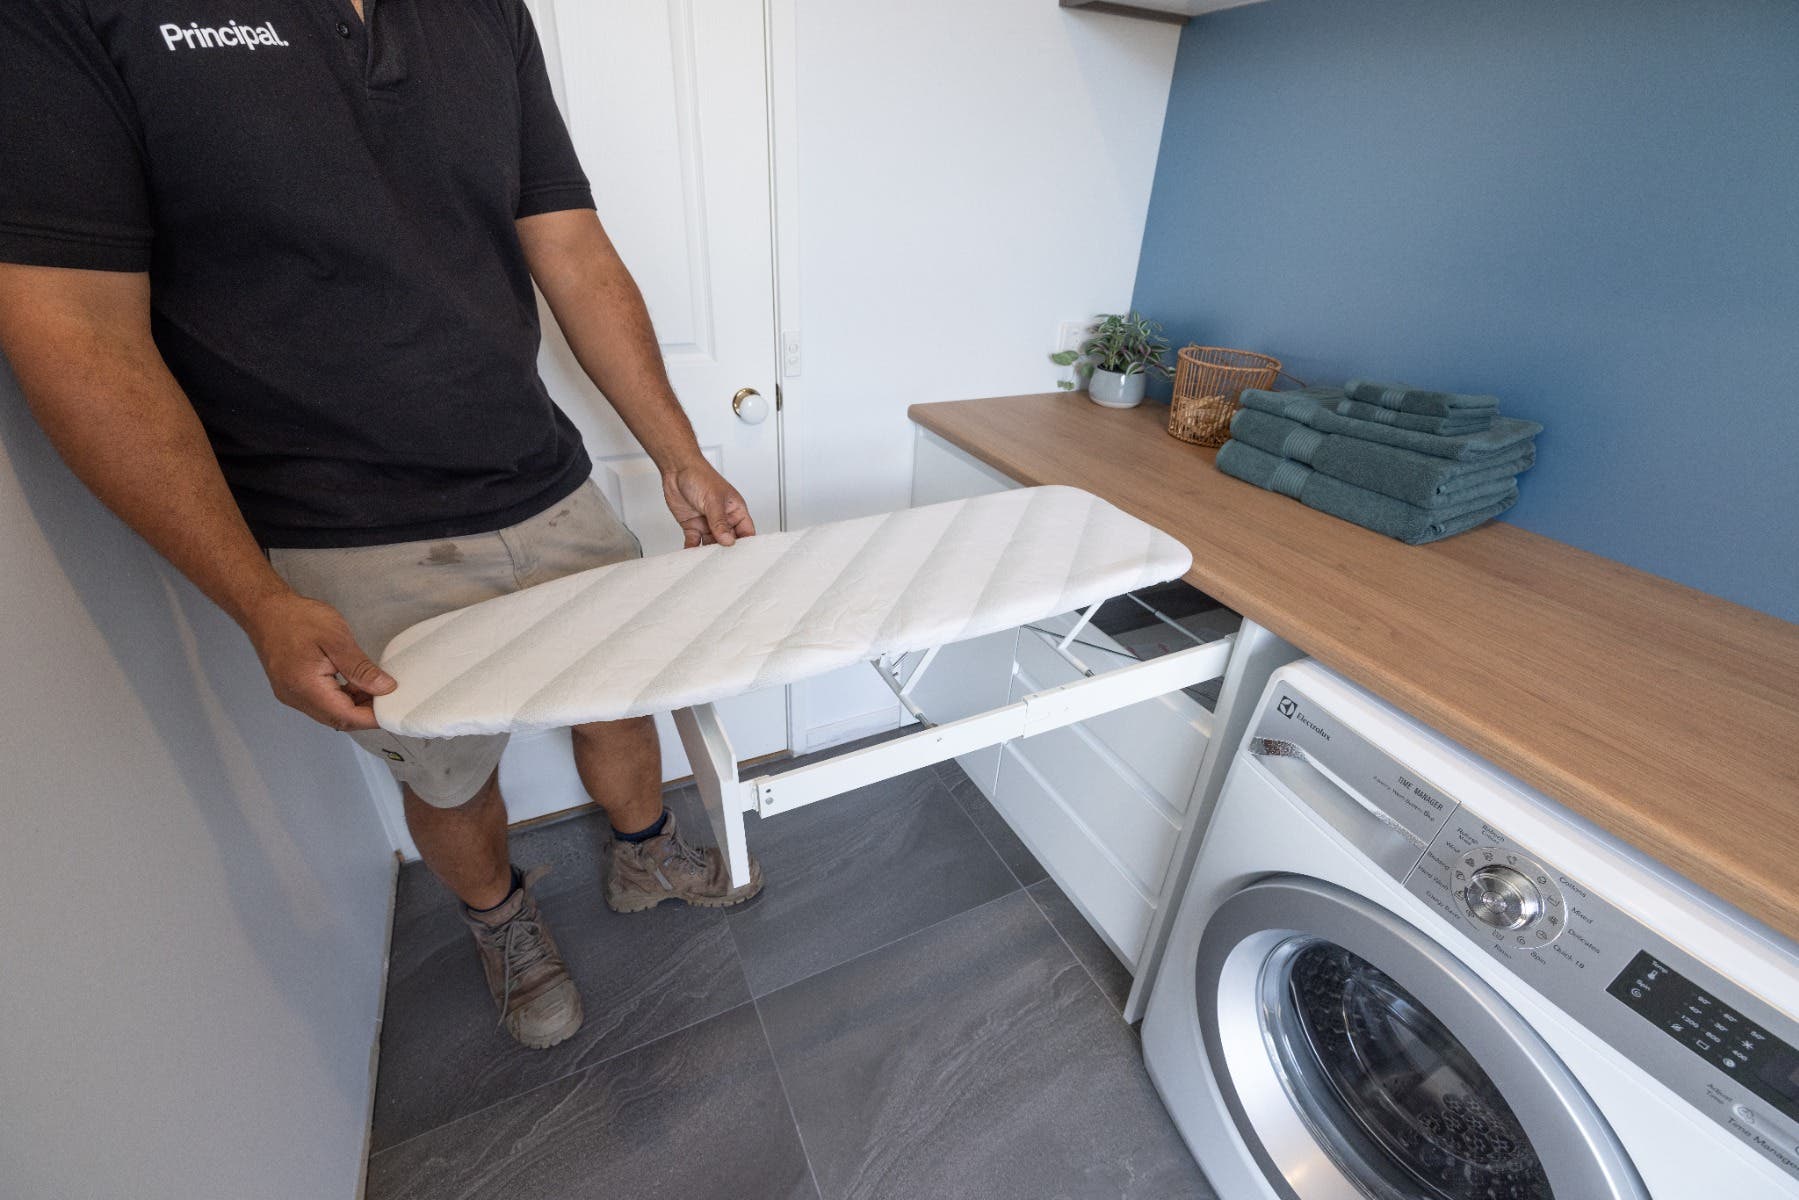
Next up, it’s time to add fittings and fixtures. Our design featured a floating shelf and for drip drying clothes, we installed a handy overhead hanging rail above the sink. To help make your laundry clutter-free, Hafele also offers a range of accessories, such as a fold away ironing board, laundry hampers and pull-out in-cupboard shelving.
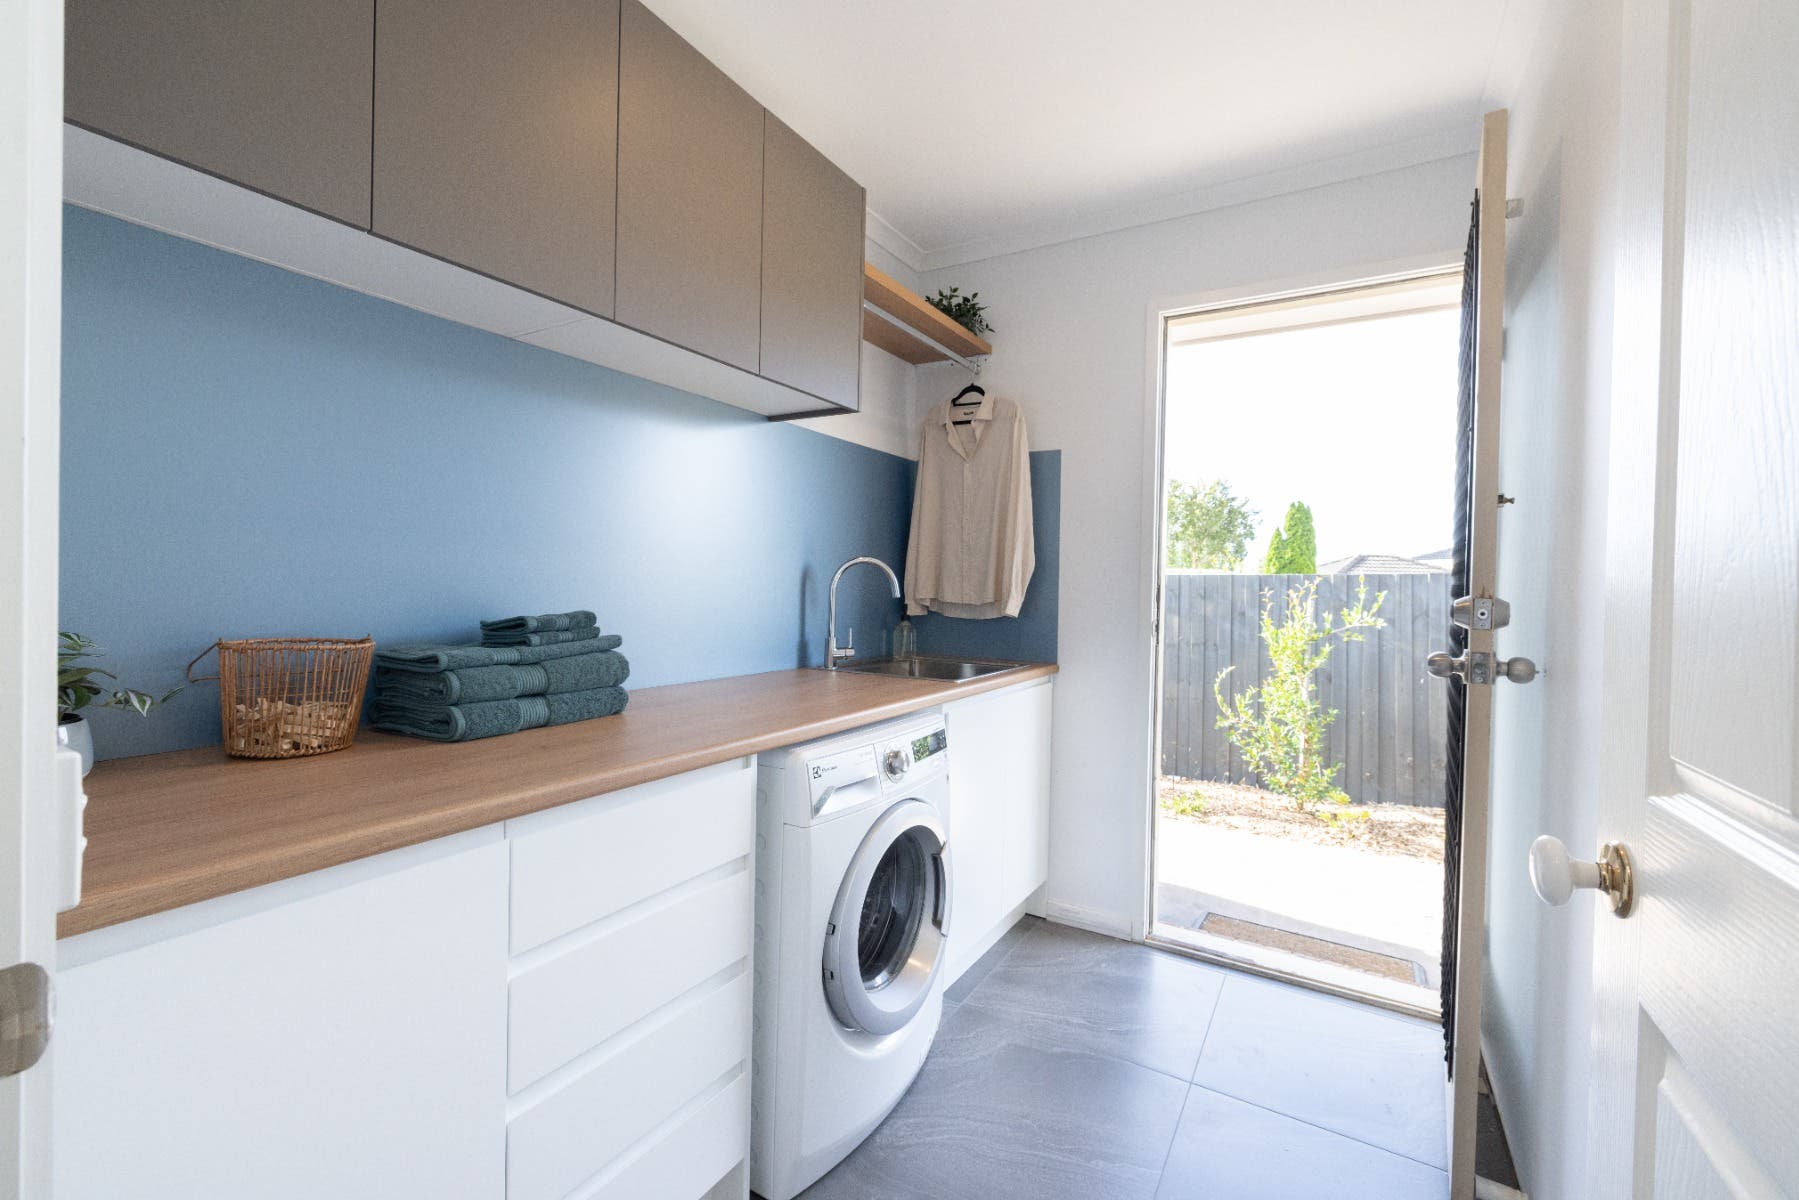
The result, a laundry with a fresh new look that is both organised and clutter-free.
Before
After