


- 27 January 2024
How to grow seedlings successfully
Starting your plants from seeds can be a rewarding journey, offering a greater sense of accomplishment as you watch your tiny seedlings grow into flourishing plants. Whether you're looking to cultivate a bountiful vegetable garden or a vibrant flower bed, using a seedling tray or starter kit is a fantastic way to control the environment and give your plants the best start.
Easy Plants to Start From Seed
If you're new to gardening or looking for quick wins, consider starting with these easy-to-grow options:
- Vegetables & Herbs: Basil, Tomato, Spinach, Lettuce
- Flowers & Foliage: Marigolds, Sunflowers, Nasturtium
These selections are not only forgiving for beginners but also provide a vibrant and diverse garden.
What You Need to Start Seeds
Before you begin, ensure you have the following:
- A high-quality seed raising mix
- A seedling tray or starter kit
- A watering can or mister
- Labels to mark your plants
Choosing the right materials from the start can make a significant difference in the success of your seedlings.


DIY Project Steps
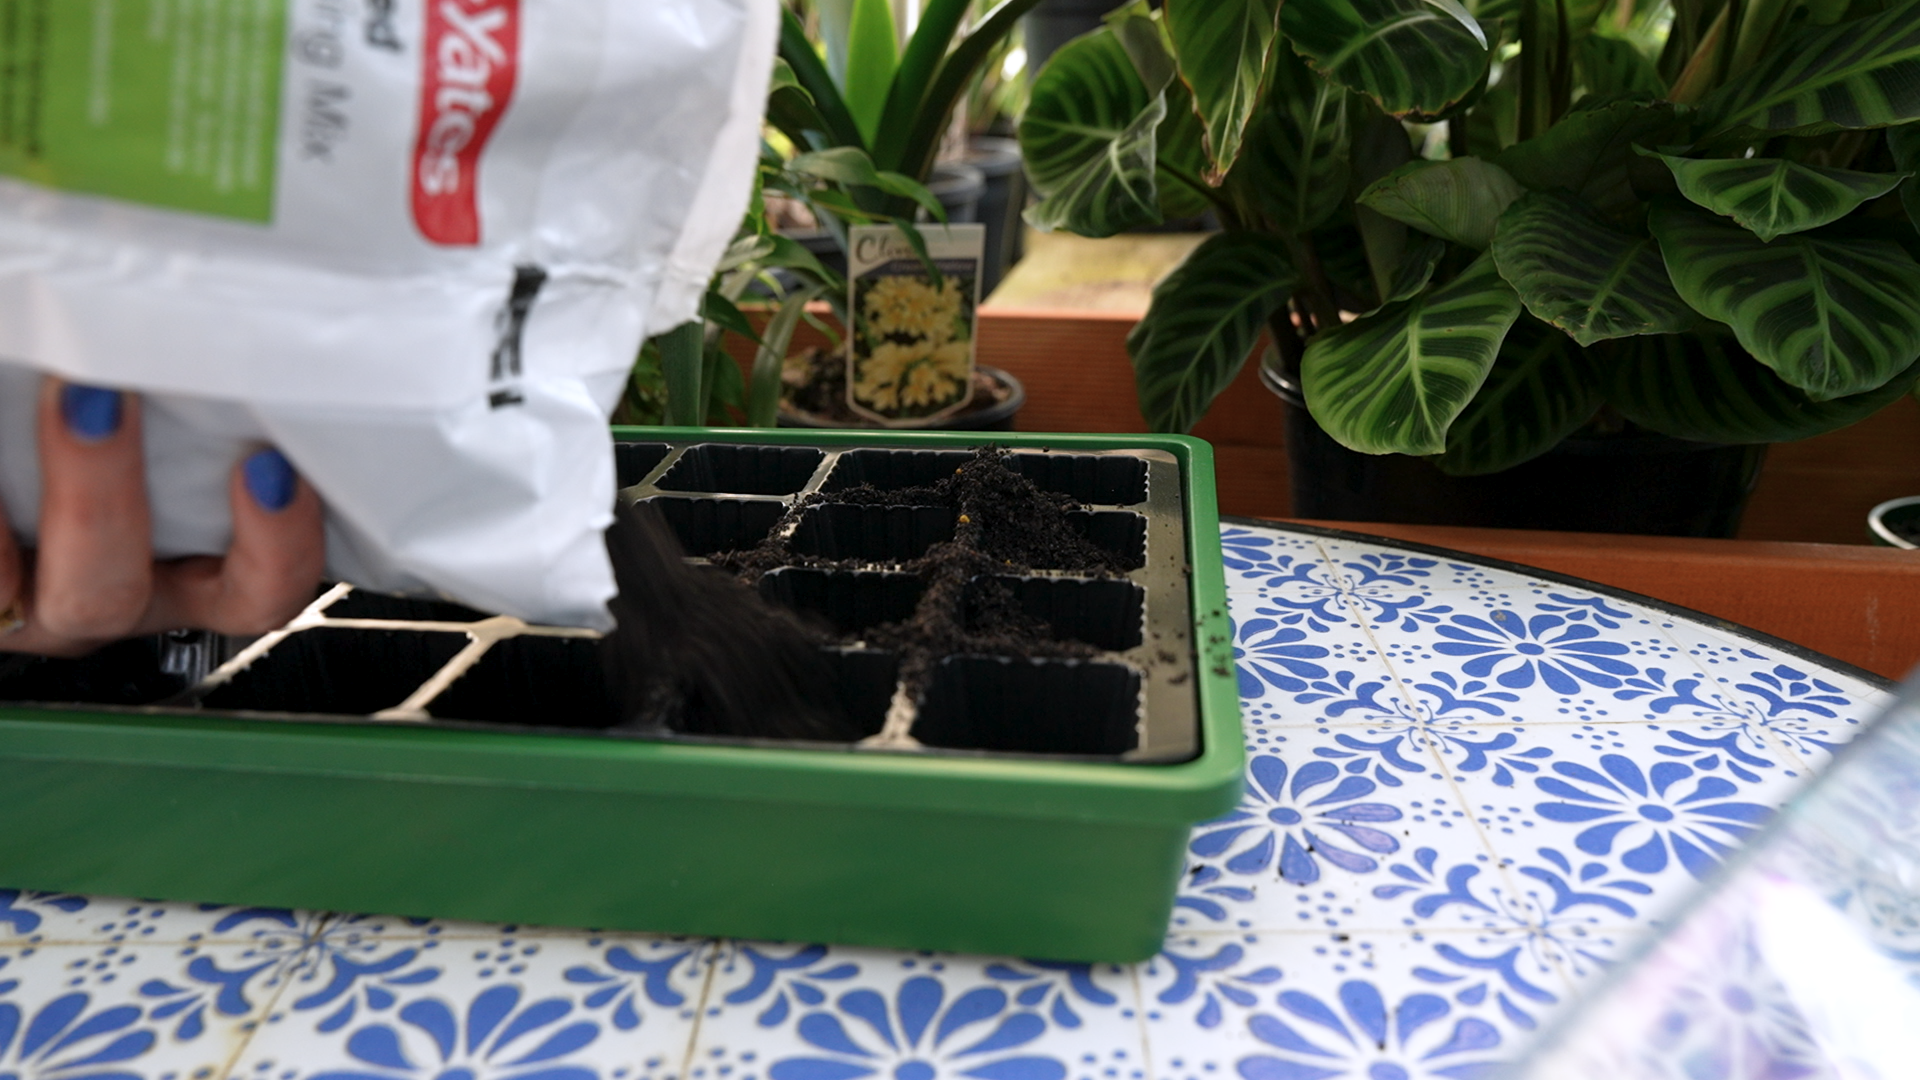
1. Fill growing tray
Alright, let's get things started! First things first, grab yourself a top-notch seed raising mix. Now, pour that mix into each cell of your trusty growing tray, making sure to fill each compartment just right. Oh, and don't forget to leave a little breathing room at the top.
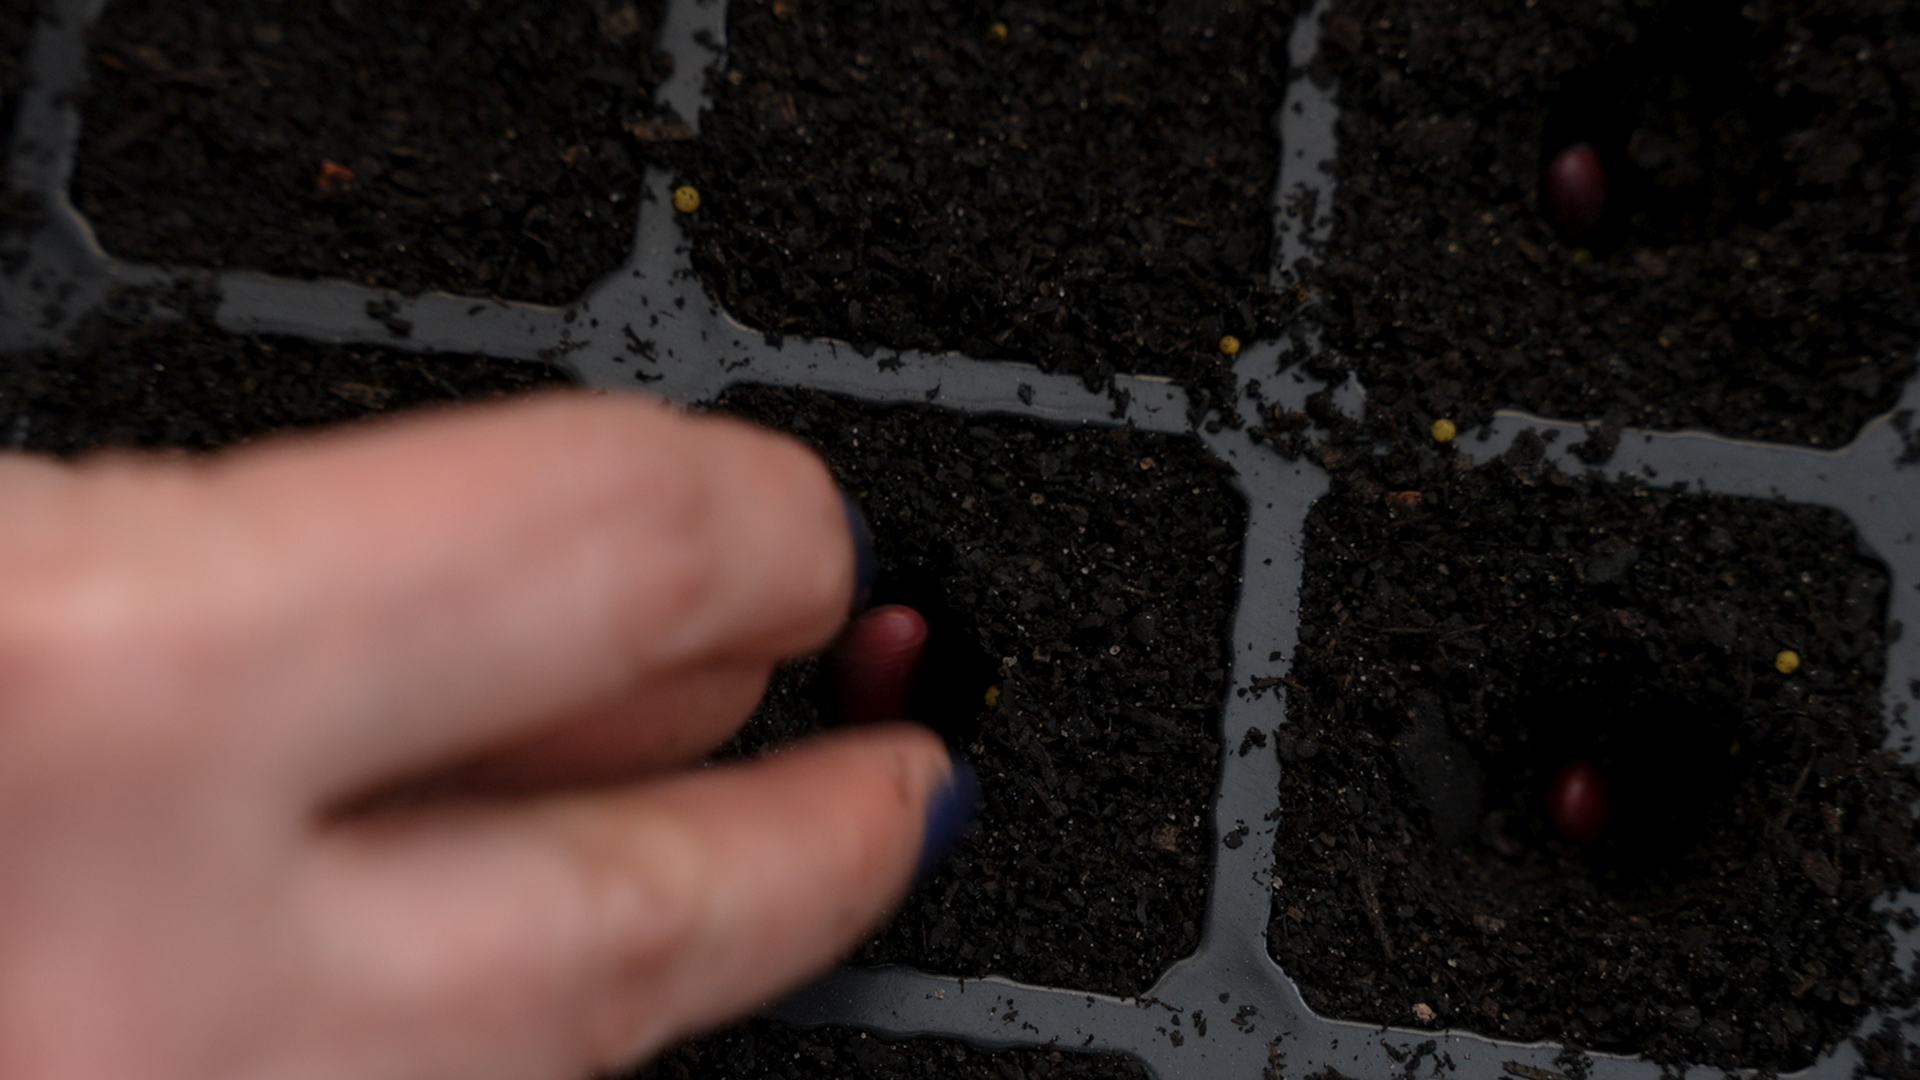
2. Sow the seeds
Let's make room for our tiny seedlings! Use your finger or a handy dibber to create a small hole in the seedling mix of each compartment. Now, carefully drop one or two seeds into each hole.
Tip: Take a moment to check the seed packet instructions. It's important to follow the guidelines provided, especially when it comes to sowing the seeds and determining the number of seeds per hole. Those seed packets have the inside scoop to help you sow your seeds just right!
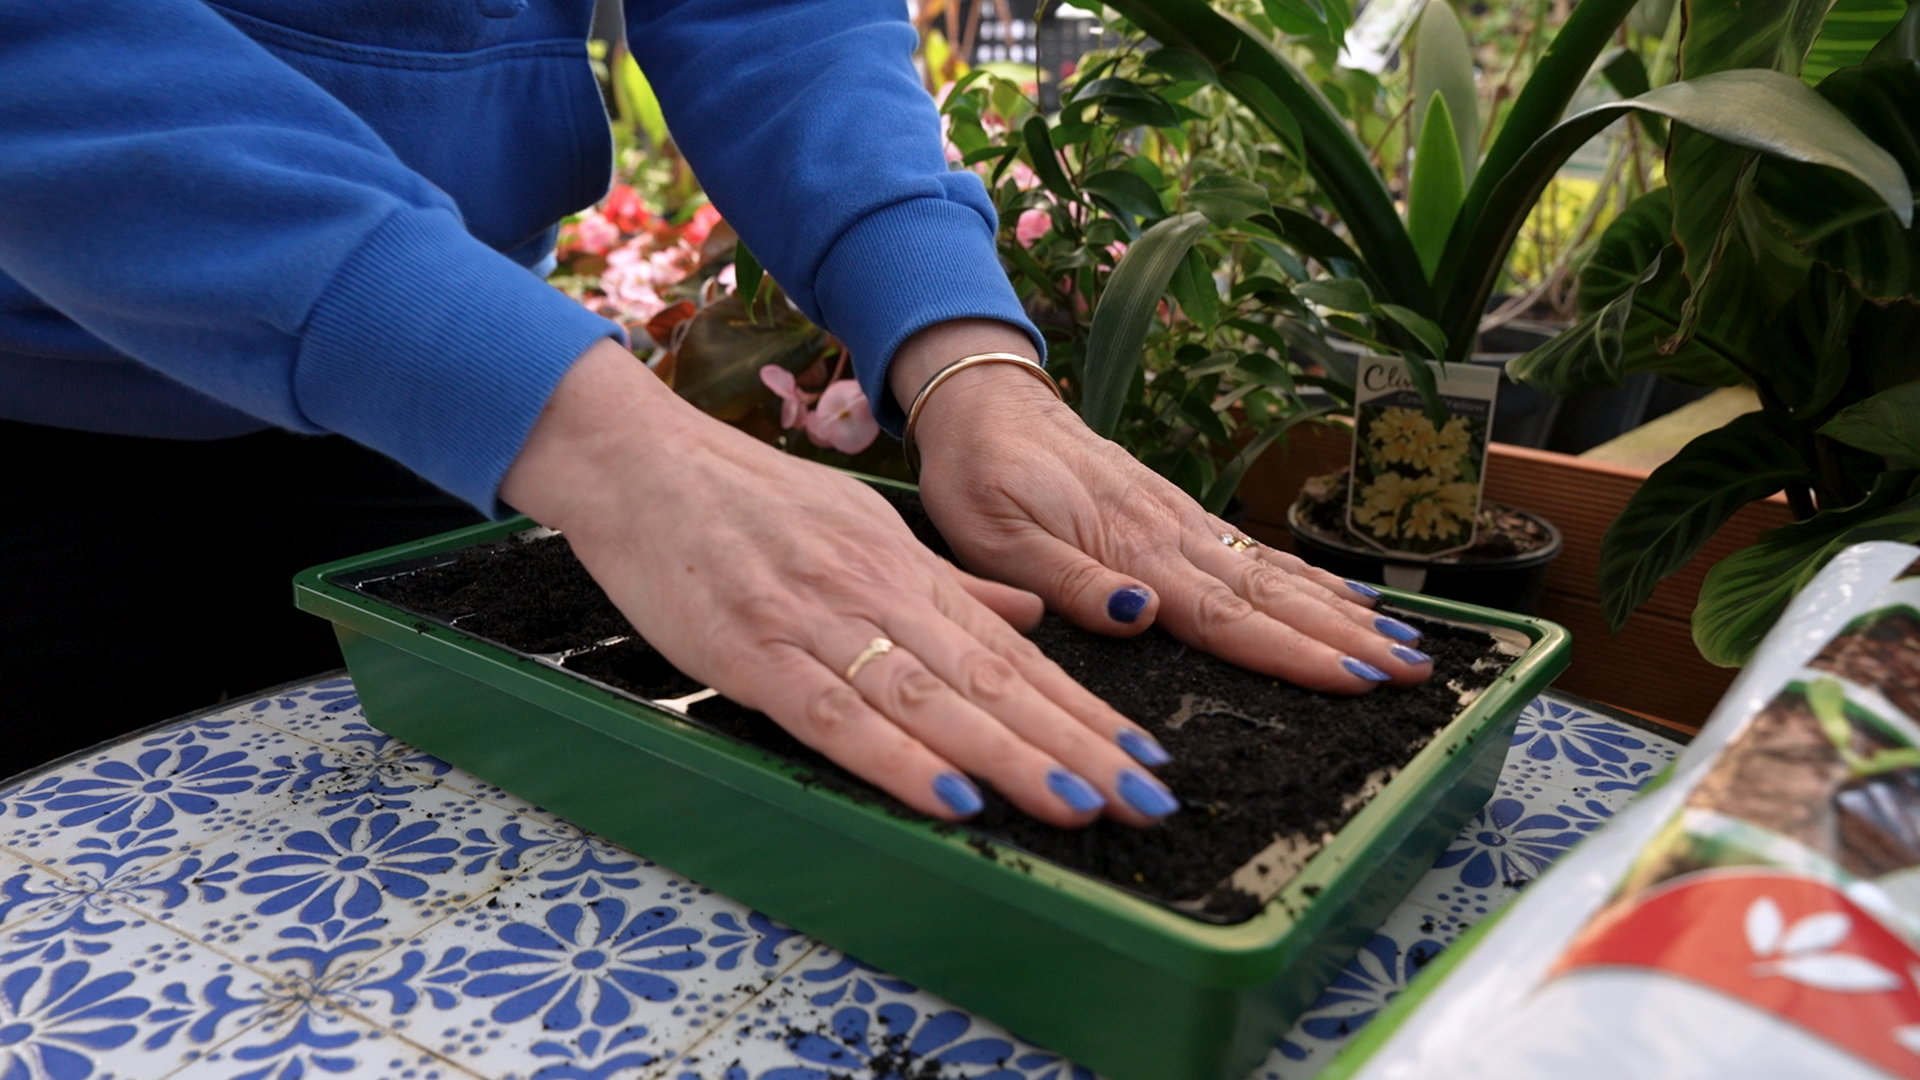
3. Cover with extra seed raising mix
Grab a handful of the seed raising mix and gently sprinkle a thin layer over the seeds, making sure to cover them snugly. Make sure each compartment in the growing tray gets topped up with this protective layer. Now, lightly press down the mix. It's all about creating a nurturing environment for those little seedlings.
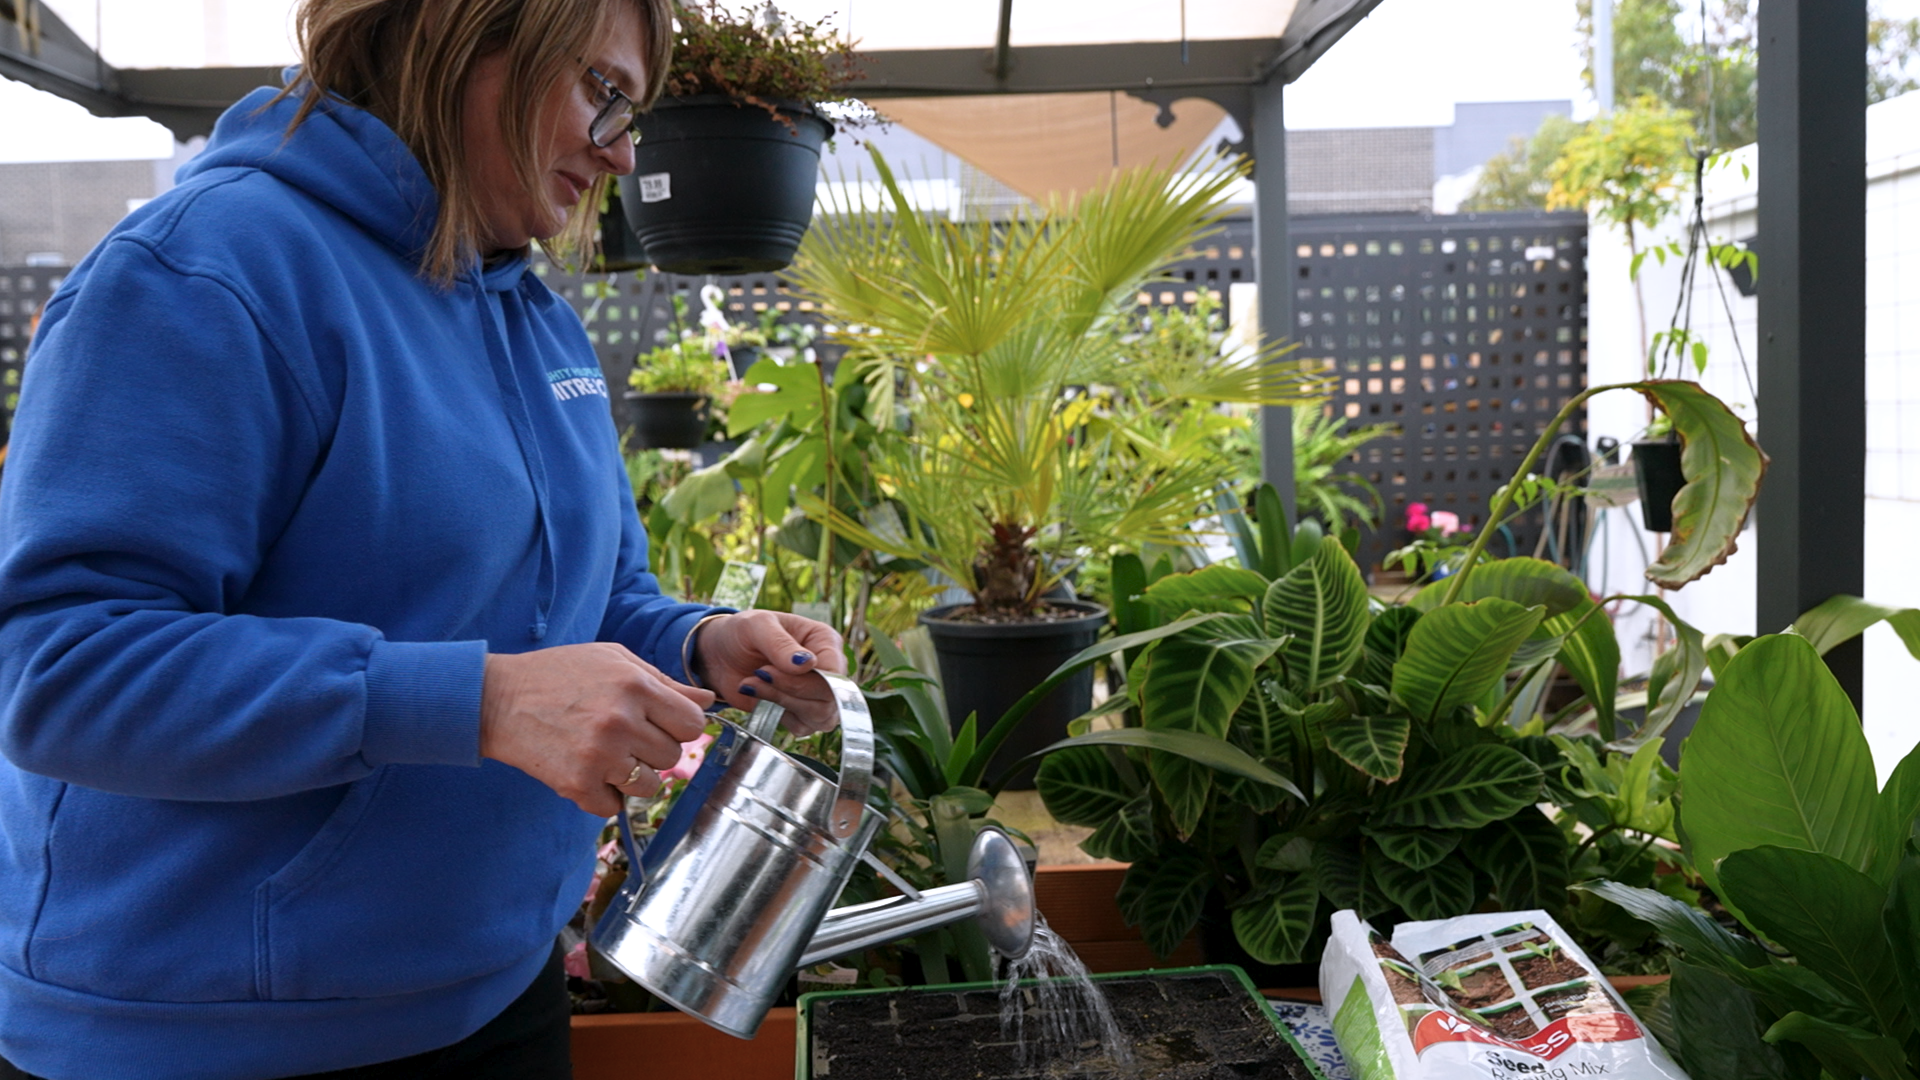
4. Water the seeds
Time to give those seeds a drink! Grab your trusty watering can and thoroughly water the seeds in the growing tray. Be sure to wet the seed raising mix evenly, making sure it's moist but not waterlogged.
Cover and watch them grow!
Seed Starting FAQs
Why are my seedlings so leggy?
Leggy seedlings are often a sign of insufficient light. Make sure your seedlings are placed in a well-lit area or use a grow light to provide them with the necessary brightness for healthy growth.
How often should I water my seedlings?
Water your seedlings when the top layer of soil feels dry to the touch. It's important to keep the soil consistently moist but not waterlogged to prevent root rot.
When should I transplant my seedlings outdoors?
Transplant your seedlings outdoors after the last frost when they've developed strong roots and are hardy enough to withstand outdoor conditions. Gradually acclimatise them to the outside environment over a week or so through a process called hardening off.
Additional Tips and Tricks
- Maximise Your Space: Consider vertical gardening if you're limited on space. Many seedlings, especially climbing plants like peas and beans, thrive when allowed to grow upwards.
- Recycle and Reuse: Household items like yoghurt containers, egg cartons, or toilet paper rolls can be repurposed as seed starting pots. Just ensure they have proper drainage.
- Label Everything: It's easy to forget what you've planted where. Use labels to keep track of different seedlings, including their planting date and expected germination time.
Troubleshooting Common Issues
- Mould on Soil Surface: This is usually a sign of overwatering or poor air circulation. Allow the soil to dry out a bit more between waterings, and consider using a fan to improve air flow around your seedlings.
- Seedlings Dying Suddenly: If your seedlings wilt and die unexpectedly, they might be victims of "damping off," a fungal disease. Ensure your seed starting mix is sterile and avoid overwatering to prevent this issue.
- Seeds Not Germinating: Seeds might not germinate if they're too old, the soil temperature isn't ideal, or they've been planted too deep. Always check the seed packet for specific requirements and test seed viability if you're using seeds from a previous year.
Prepping for the Great Outdoors: Hardening Off
- Gradual Introduction: Start by placing your seedlings outside in a shaded, sheltered spot for a few hours each day, gradually increasing their exposure to sunlight and outdoor temperatures over a week.
- Watch the Weather: Avoid putting seedlings outside on extremely windy days or when temperatures are expected to drop significantly.
- Stay Vigilant: Keep an eye on your seedlings' moisture levels during the hardening off process, as they may dry out more quickly outdoors.
Embarking on your seed-starting journey is the first step towards a flourishing garden. Remember, each seedling has the potential to grow into something beautiful and rewarding. For more gardening tips and how-to guides, explore our comprehensive resources at Mitre 10's Planting & Growing section. Happy gardening!


