- 14 October 2023
Creating a Timber Gate for Your Home
When it comes to crafting an impressive front entrance, a beautiful timber gate can be the crowning touch. It not only enhances your home's aesthetics but also provides security and functionality. In this step-by-step guide, we'll show you how to construct a timber gate that suits your style, whether you prefer a classic look, a modern design, or something unique and creative.
Materials Checklist
- Laminated Sheet Standard Sizes
- Kiln-Dried Hardwood 65 x 42mm or 90 x 32mm
- Treated Pine 70 x 45mm or 90 x 35mm
- 19mm Dowel
- Selected Cladding
- Galvanised Nails or Screws
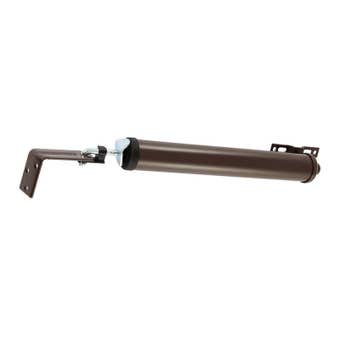
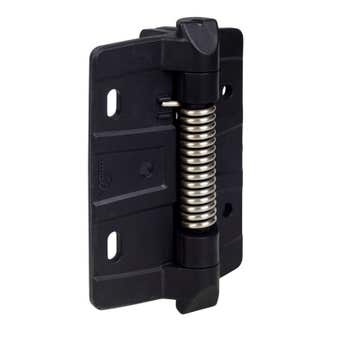
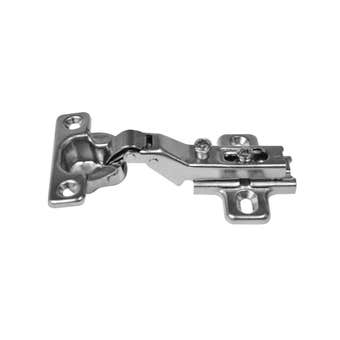
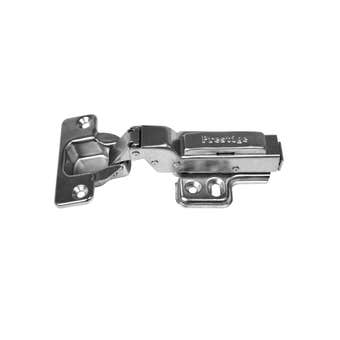
- Gate Hinges
- Padbolt or Ornamental Ringlatch
OPTIONAL
- Masonry Anchors for attaching timber jambs to brick walls
- Bag of Concrete Mix for setting gate posts
Tools for the job
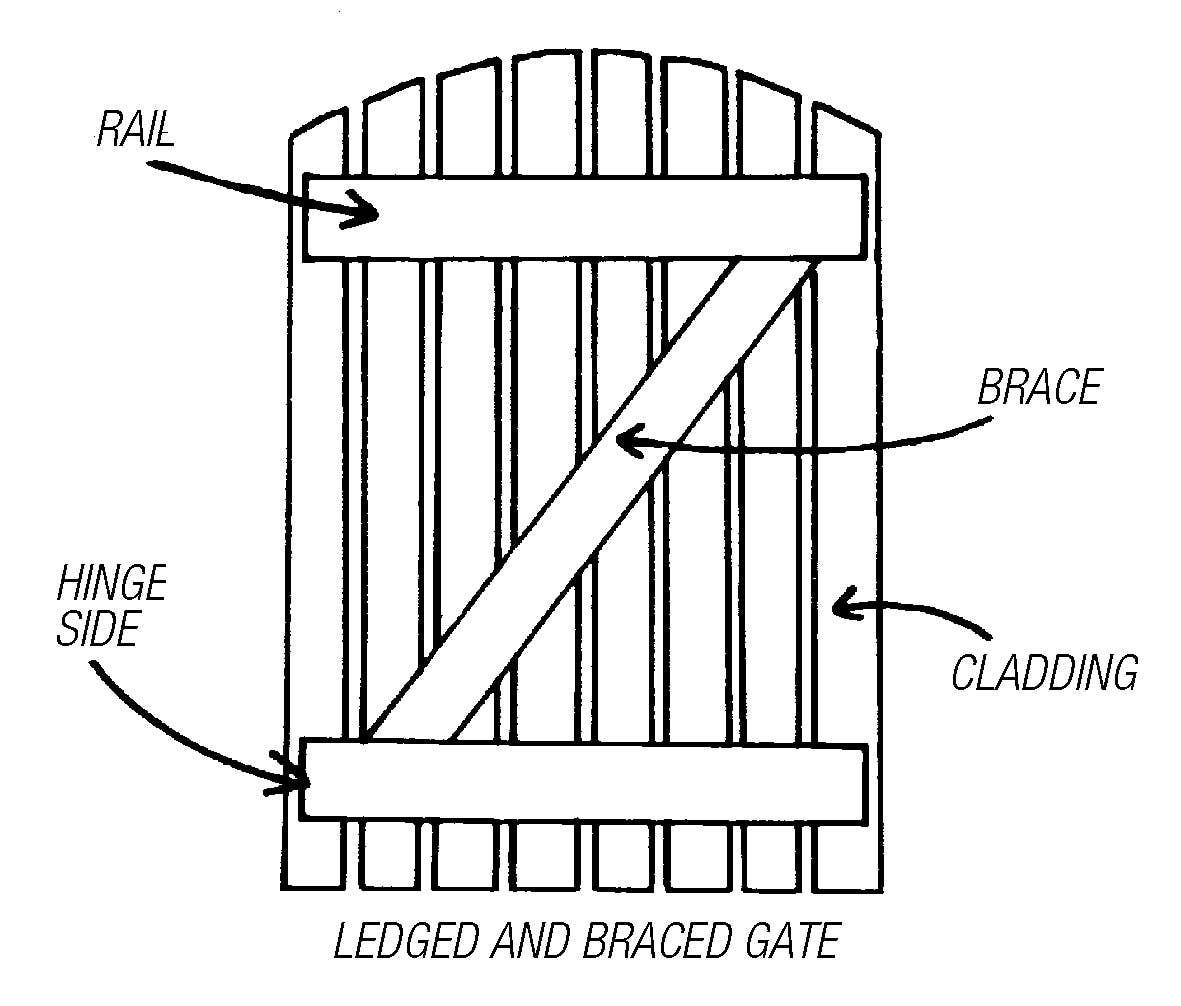
Step 1: Get Acquainted with Gate Terms
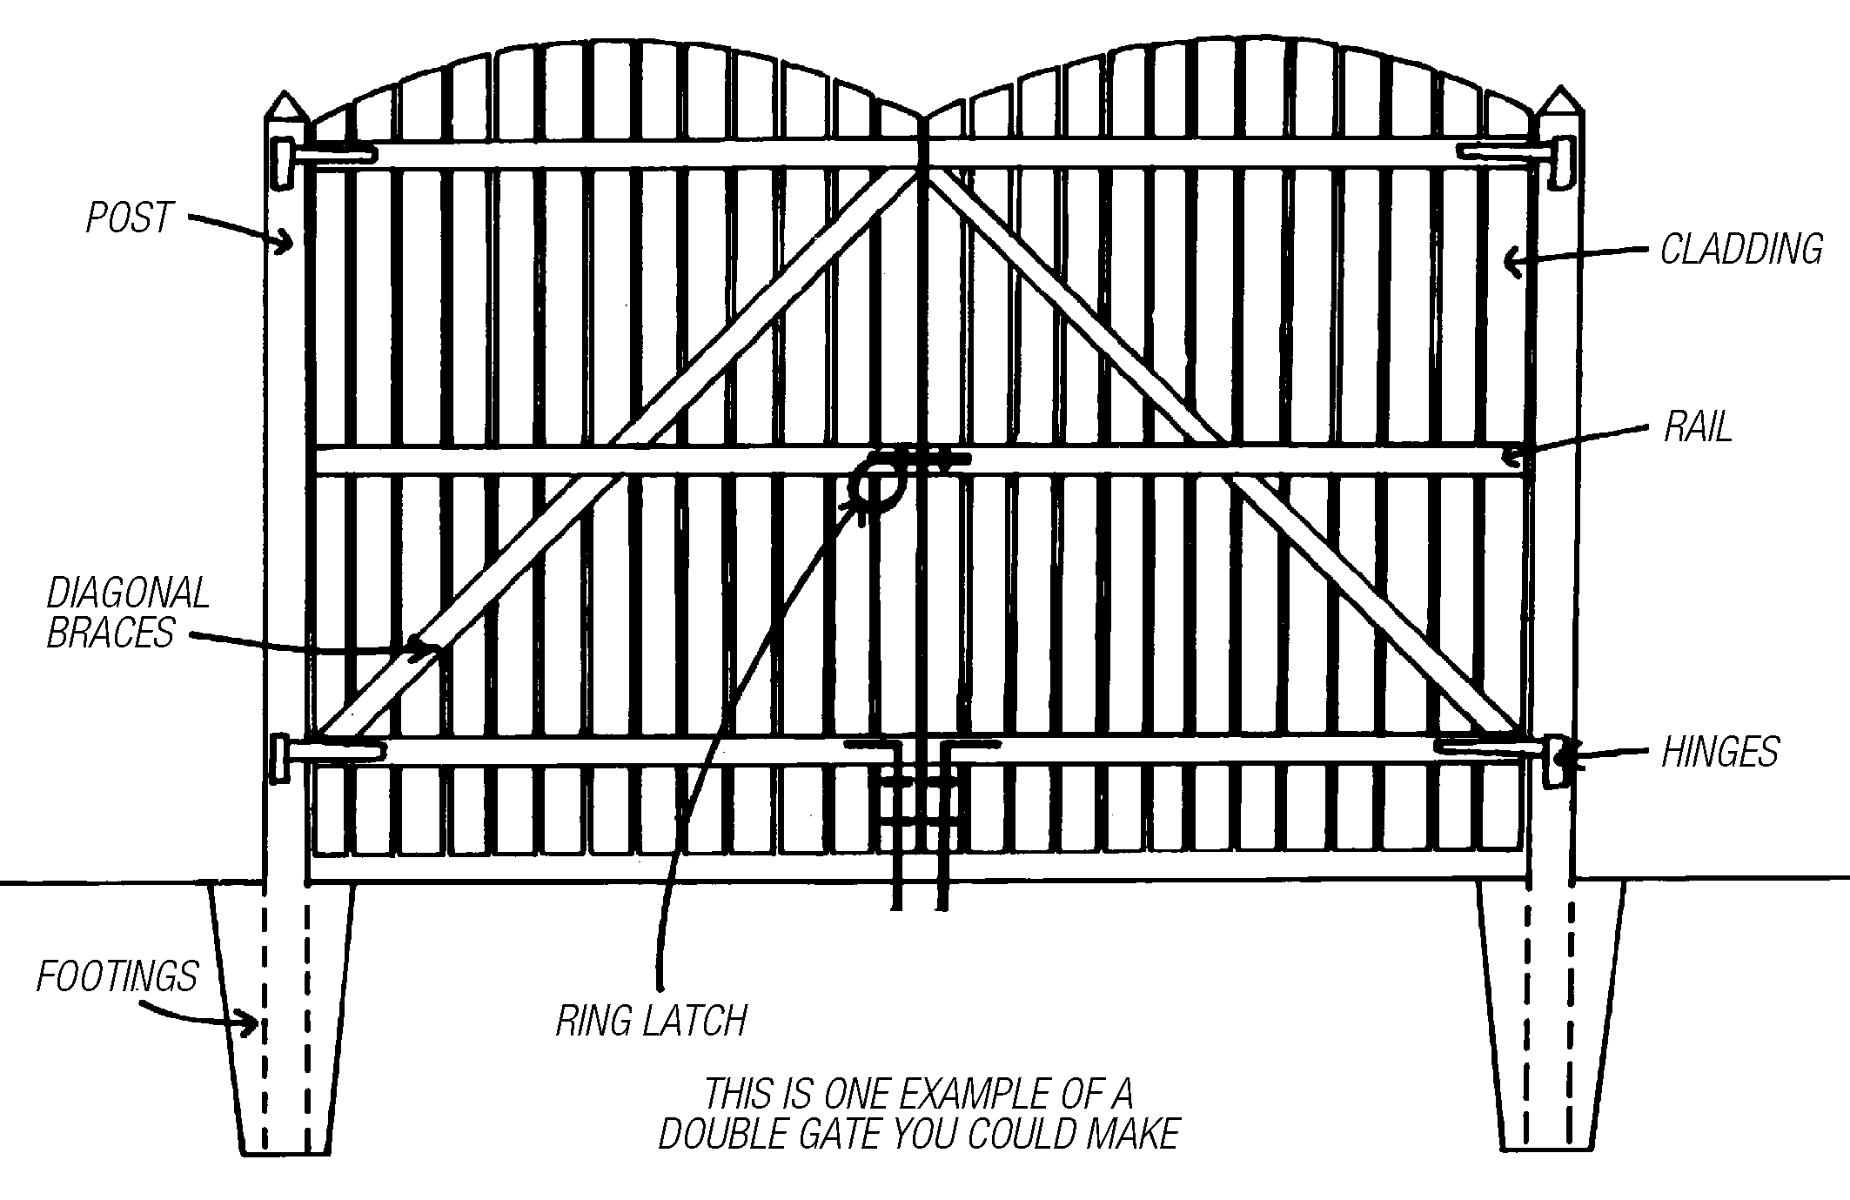
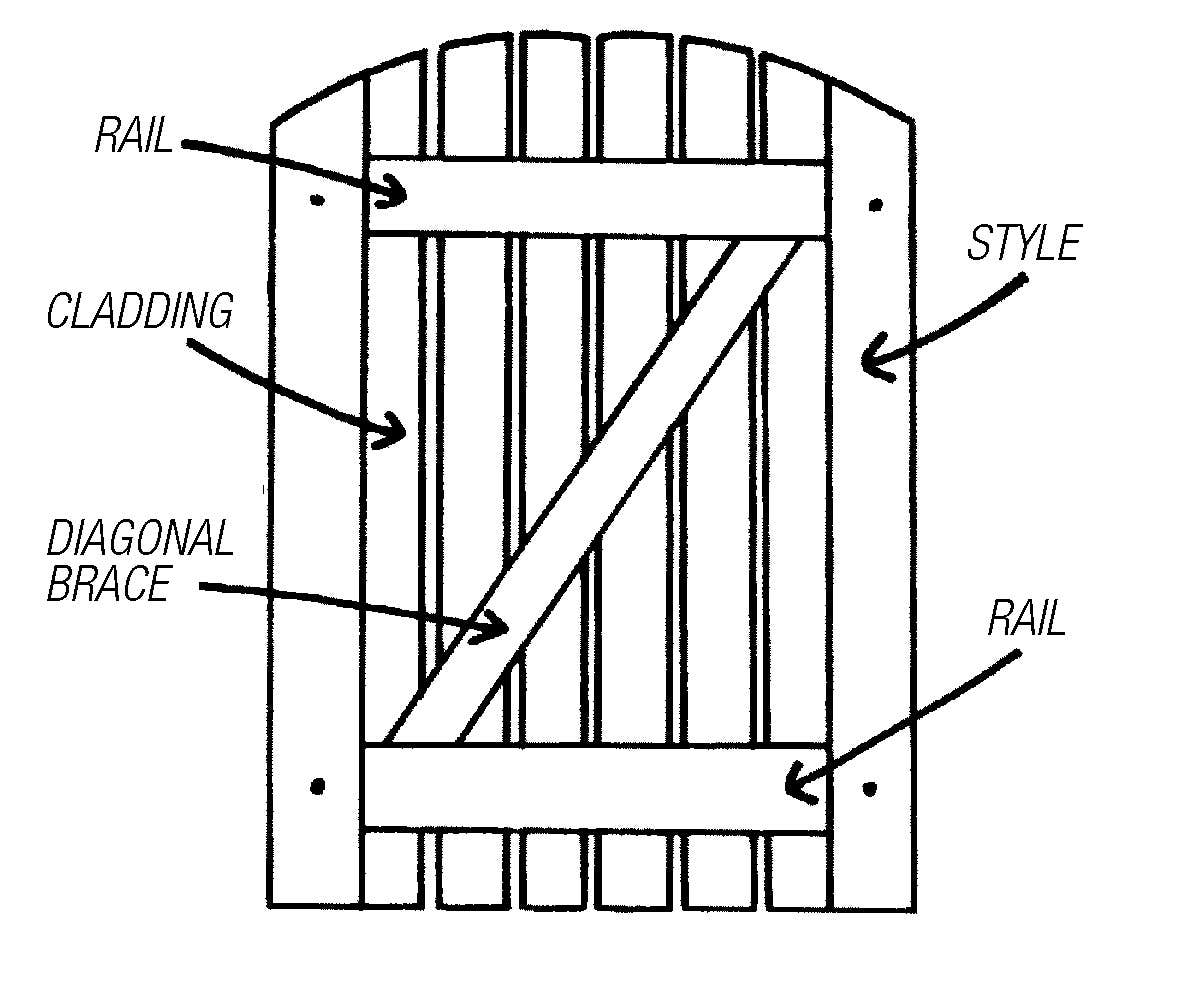
Before we dive in, let's understand some key terms (Fig. 1).
Stiles: These are the vertical posts on each side of the frame.
Rails: These are the cross members at the top, middle, and bottom.
Diagonal Brace: It transfers the weight of the frame back to the gate post with the hinges.
Cladding: This includes pickets, palings, boards, and more.
You'll also need to decide on your construction method, which will determine the materials you need. Mortise and Tenon is a superior method, while Ledged and Braced is quicker but may require more materials. For gate design options, refer to the bottom of the content.
Step 2: Precise Measurements are Key
Making the frame is straightforward but requires precision:
- Measure the actual height from the top of the post to the ground and the fill width of the gate opening.
- Then subtract 50-75mm from the height for ground clearance, and, for side clearance, subtract 20mm (for double gates) or 10mm (for single gates) from the width (Fig. 2).
- To calculate the number of cladding boards or pickets needed, simply divide the width of the cladding pieces into the gate opening, remembering to allow for the appropriate clearance. However, if you plan to space them apart, decide on the amount of space you want between them and then multiply it by the number of boards or pickets, less one.
- Next, subtract this figure from the opening and divide again by the width of the cladding. This will tell you how many boards or pickets you need, but you may have to adjust the spacing and recalculate so that you come up with a number of whole boards. Your gate will not look as attractive if you have to vertically cut a board or picket to make it fit.
Step 3: Making the frame
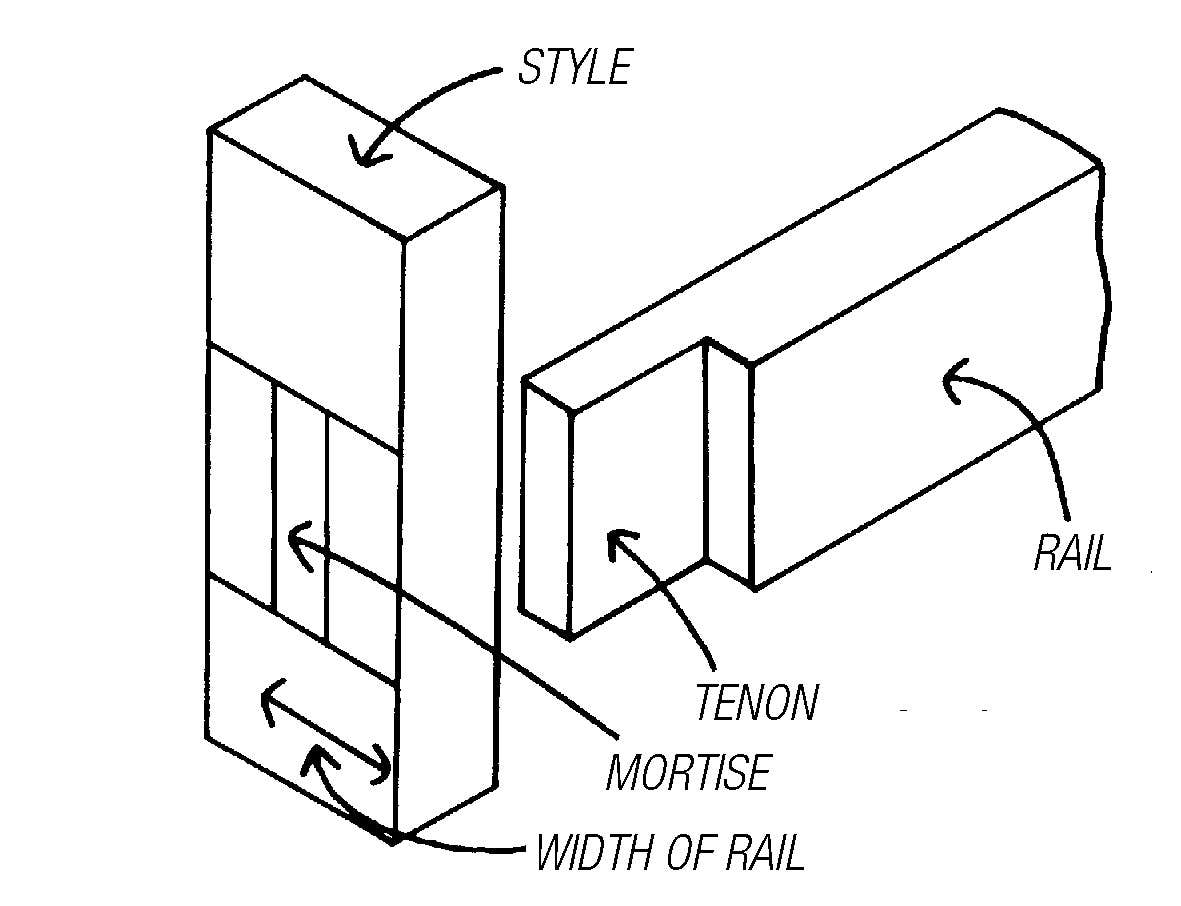
In making a mortise and tenon joint, the end of one piece of timber is cut to form a ‘tongue’ which is then fitted into a matching slot in the side of another piece. The ‘tongue’ is the tenon and the mortise is the slot (Fig. 3). There are a number of variations, but the one used in gate construction is known as Barefaced Mortise and Tenon. The tenon is cut with only one side shoulder instead of two (Fig. 4).
Making the tenon.
- Start by making out the tenon on both ends of each rail.
- Lay the stile on the rail and score a line where the tenon starts with a utility knife and carpenter’s square (Fig. 5). Allow about 5mm longer than the width of the stile – this is cut or planed off later giving a flush neat finish.
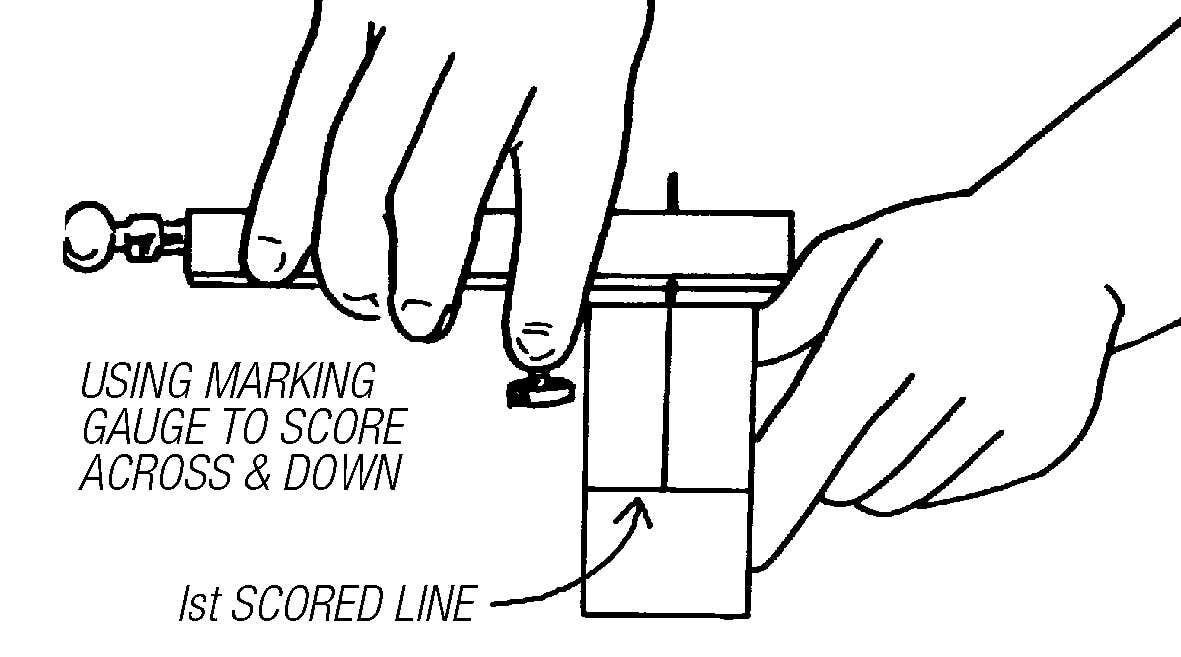
- Next, set your marking gauge to half the width of the rails and score a line across the end of the rail and down both sides (Fig. 6). Clamp the rail to a workbench or in a vice and cut down to the baseline.
- Now lay the rail flat and cut along the baseline across the face to remove the waste. Clean off the tenon with a sharp chisel if necessary.
Fig. 3
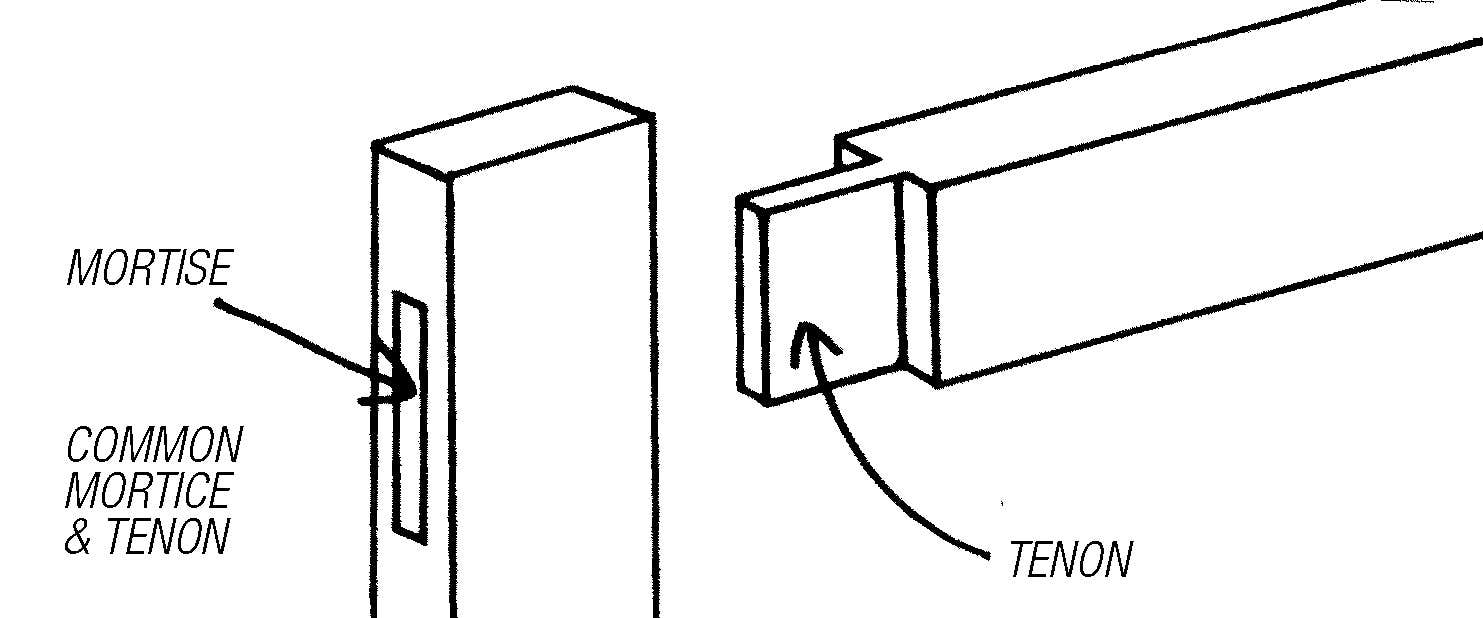
Fig. 4
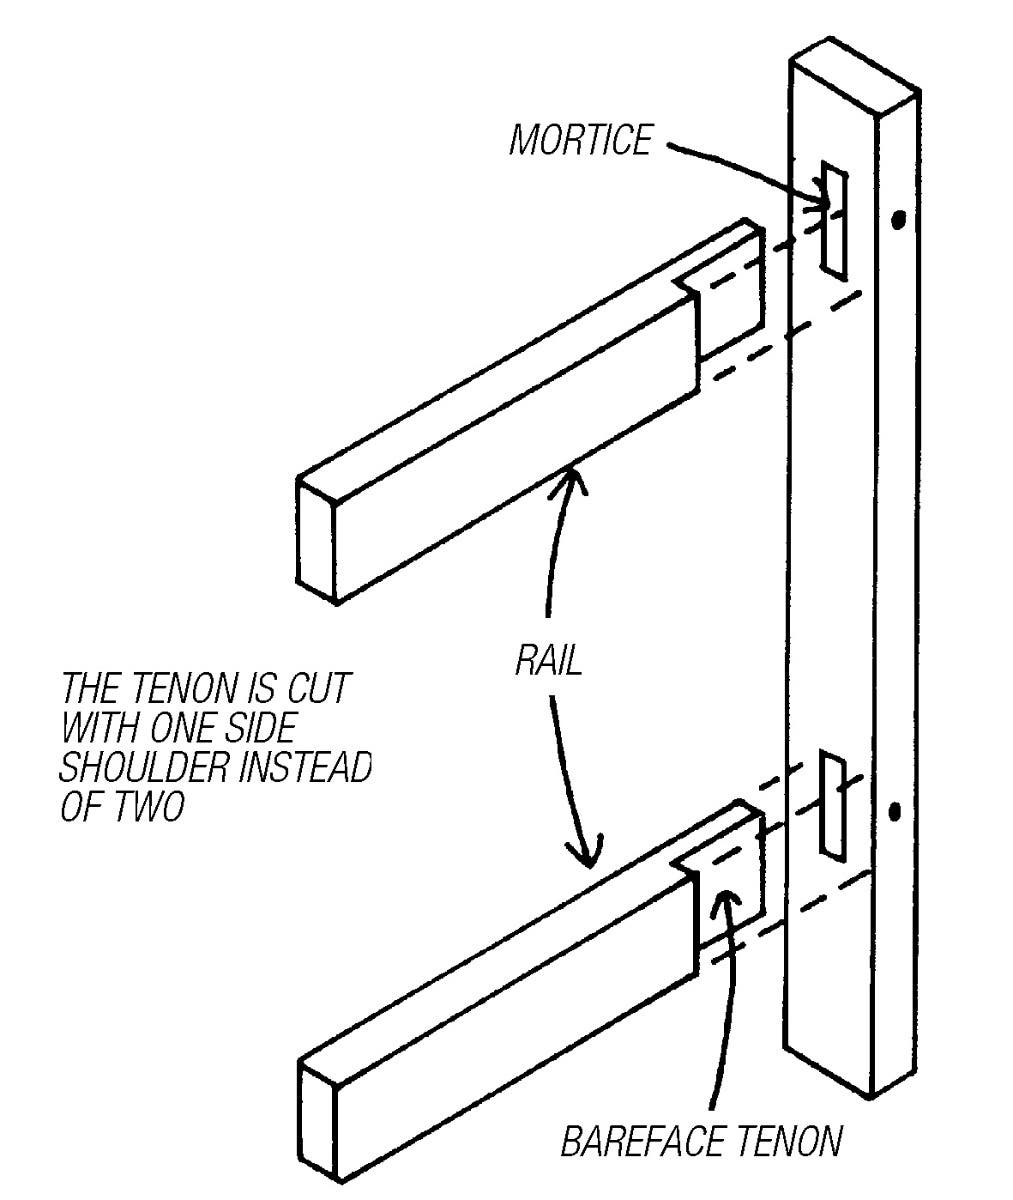
Fig. 5

Fig. 6
Making the mortise.
- Now mark out the positions of all rails on the stiles. Remember for gates higher than 1.2m, you’ll need a middle rail as well as a top and bottom rail. Lay the tenon on the stile and mark the tenon’s width on both faces of the stile.
- Square the lines across with a carpenter’s square and utility knife. Then set the marking gauge to the overall width of the rail and score a line on both faces of the stile between the rail’s two width lines.
- Next, re-set the marking gauge to the width of the tenon and score a second line to give the mortise’s width (Fig. 7).
- Using a drill bit slightly smaller than the mortise’s width, drill holes to remove the bulk of the mortise. It’s best not to drill all the way through. Instead, turn the stile over and finish the hole by drilling from the opposite side.
- Then clean out the mortise with a chisel, working carefully from each side.
Fig. 7
Assembling the joint.
- Drill a hole the size of the dowel through the centre of the mortise from each side. Fit the joint together and mark the hole’s position on the tenon inside.
- Then take the tenon out and drill a dowel hole through it about 2mm closer to the shoulder than your mark. Reassemble the joint and drive a tapered dowel through it. The tenon should draw up tightly to the stile and give a long-lasting joint without the need for nails, screws or glue.
- Now check that the frame is square by running a tape measure across the diagonally opposite corners. If they’re both the same length, it’s square. If not, exert pressure on the longer diagonal and brace temporarily to hold it square.
- Then fit the permanent brace with its lower end on the hinge side of the frame to ensure it’s weight is transferred to the post side.
- Remove the temporary brace and cut or plane off any protruding tenons or dowels and sand smooth.
- Measure the width of the gate, and cut the top, bottom and middle rails to length as detailed in Step 2. Clamp the rails together, making sure the surface the picket will be fixed to is facing upwards.
- Mark the cladding board on picket spacings as detailed in Step 2. Lay the rails out on a flat surface, in the position they will be in when the gate is complete- ensuring that they are parallel to each other.
- Start fixing the lining board or pickets from one side across the top of the gate. Fix the lining with galvanised screws or nails, regularly checking that the rails are in their correct position and that the bottom of the lining is square to the side of the gate. When complete, turn the gate over and mark out and cut a diagonal brace to fit between the rails (Fig. 8).
- Finally, check that the diagonal lengths are equal in the same way as for mortise and tenon and fit the bracing with its lower end on the hinge side.
Fig. 8
Step 4: Installing the gate
The stability of the post on which you will hang your gate is crucial – if it’s insecure, then your gate will be as well. Gate posts on timber fences should have a cone-shaped gate post hole approximately 660mm deep x 350mm at the top and 220mm at the bottom (Fig. 9).
- You’ll need to brace the post temporarily when setting it so it stays upright and straight. Then fill the hole with concrete mix. Check with a spirit level that the post is vertical and adjust the braces if necessary to hold it steady and square.
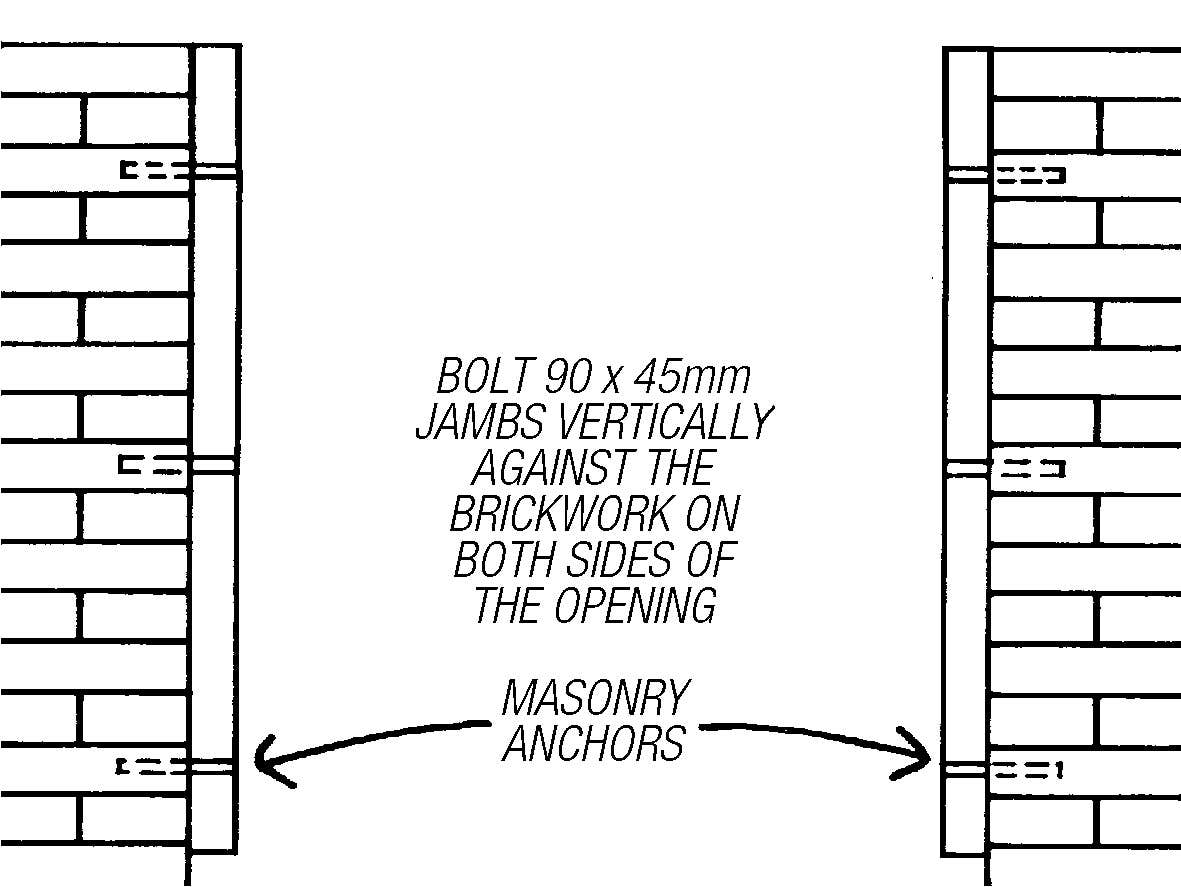
- Above ground, slope the concrete mixture away from the post to allow rainwater to run off. For brick fences, bolt 90 x 45mm jambs vertically against the brickwork on both sides of the opening using masonry anchors (Fig. 10). Be sure that the jambs are of hardwood or other durable timber.
- Position the masonry anchors 3 brick courses down from the top and 2 courses up from the bottom. A middle anchor may be needed depending on the height of your gate. Ensure that the hole is drilled into the brick and is deep enough to support the gate.
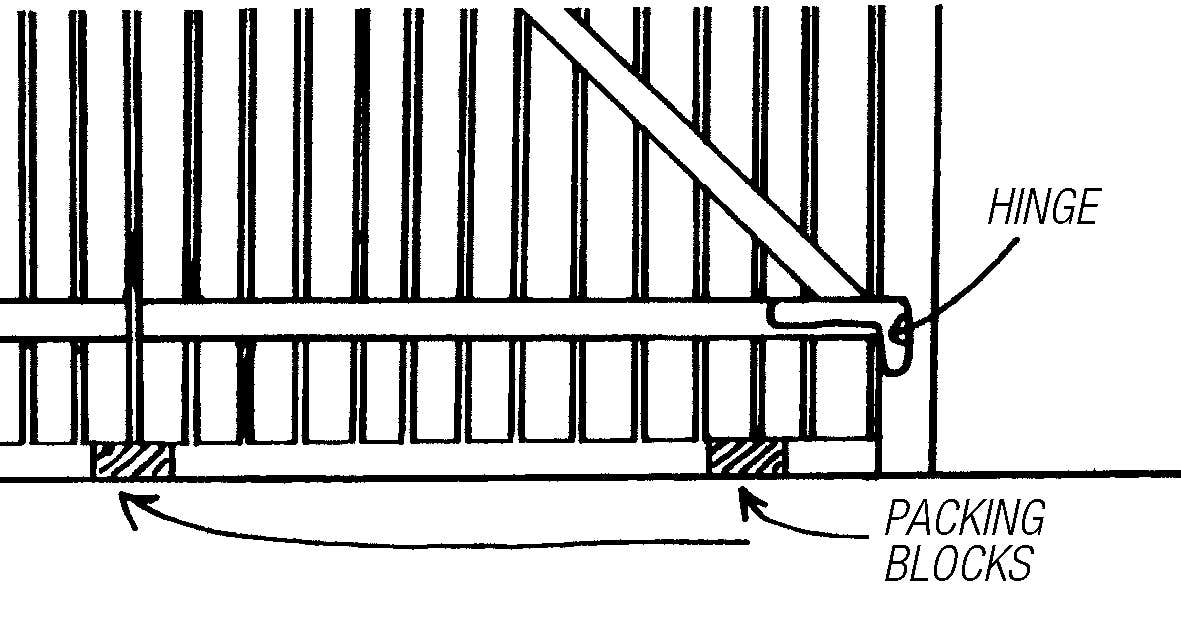
- To install, first fit the hinges to the gate. Sit the gate in the opening on timber wedges or packing blocks to line everything up.when all is correct and the gaps on each side (and in the middle for double gates) are even, drill one screw hole for each hinge and fit a screw.
- Then try out the gate, you may have to adjust the screws if it is not swinging freely. When all is well, fit the remaining screws.
Fig. 9
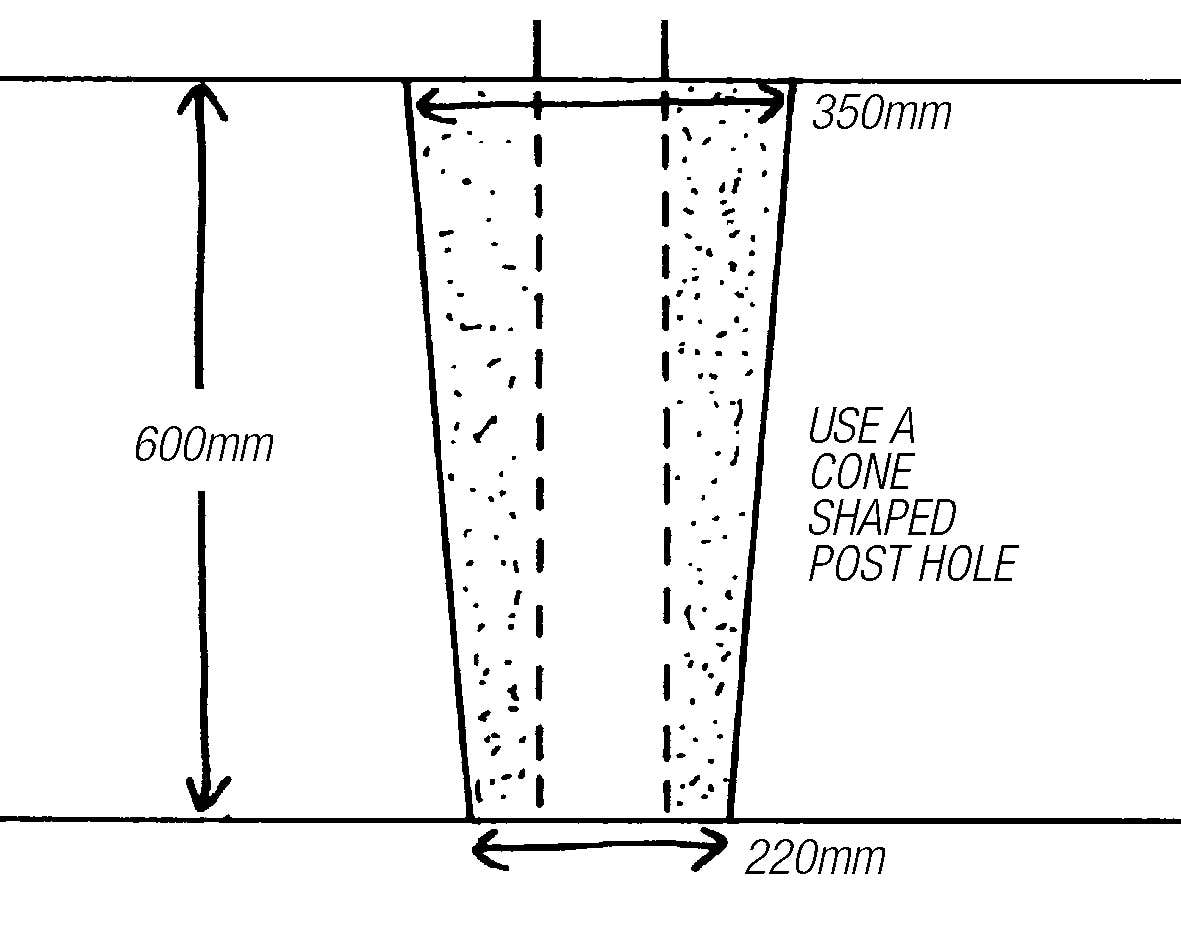
Fig. 10
Step 5: The finishing touch
Painting or staining your new gate is important for both looks and preservation of the timber. The choice of finish depends on you and the type of timber you used. For instance, if you chose treated pine, it doesn’t normally require any added protection. But it will turn a silver grey colour if left to age naturally, so you could consider painting or staining it as well. Finally, add your choice of hardware. Padbolts are an inexpensive method and can be padlocked for security. Ringlatches are available in a variety of styles. They add a decorative touch while holding gates shut but cannot be locked. Now all that’s left is to stand back, admire your handiwork and enjoy a grand entrance.