


- 16 September 2023
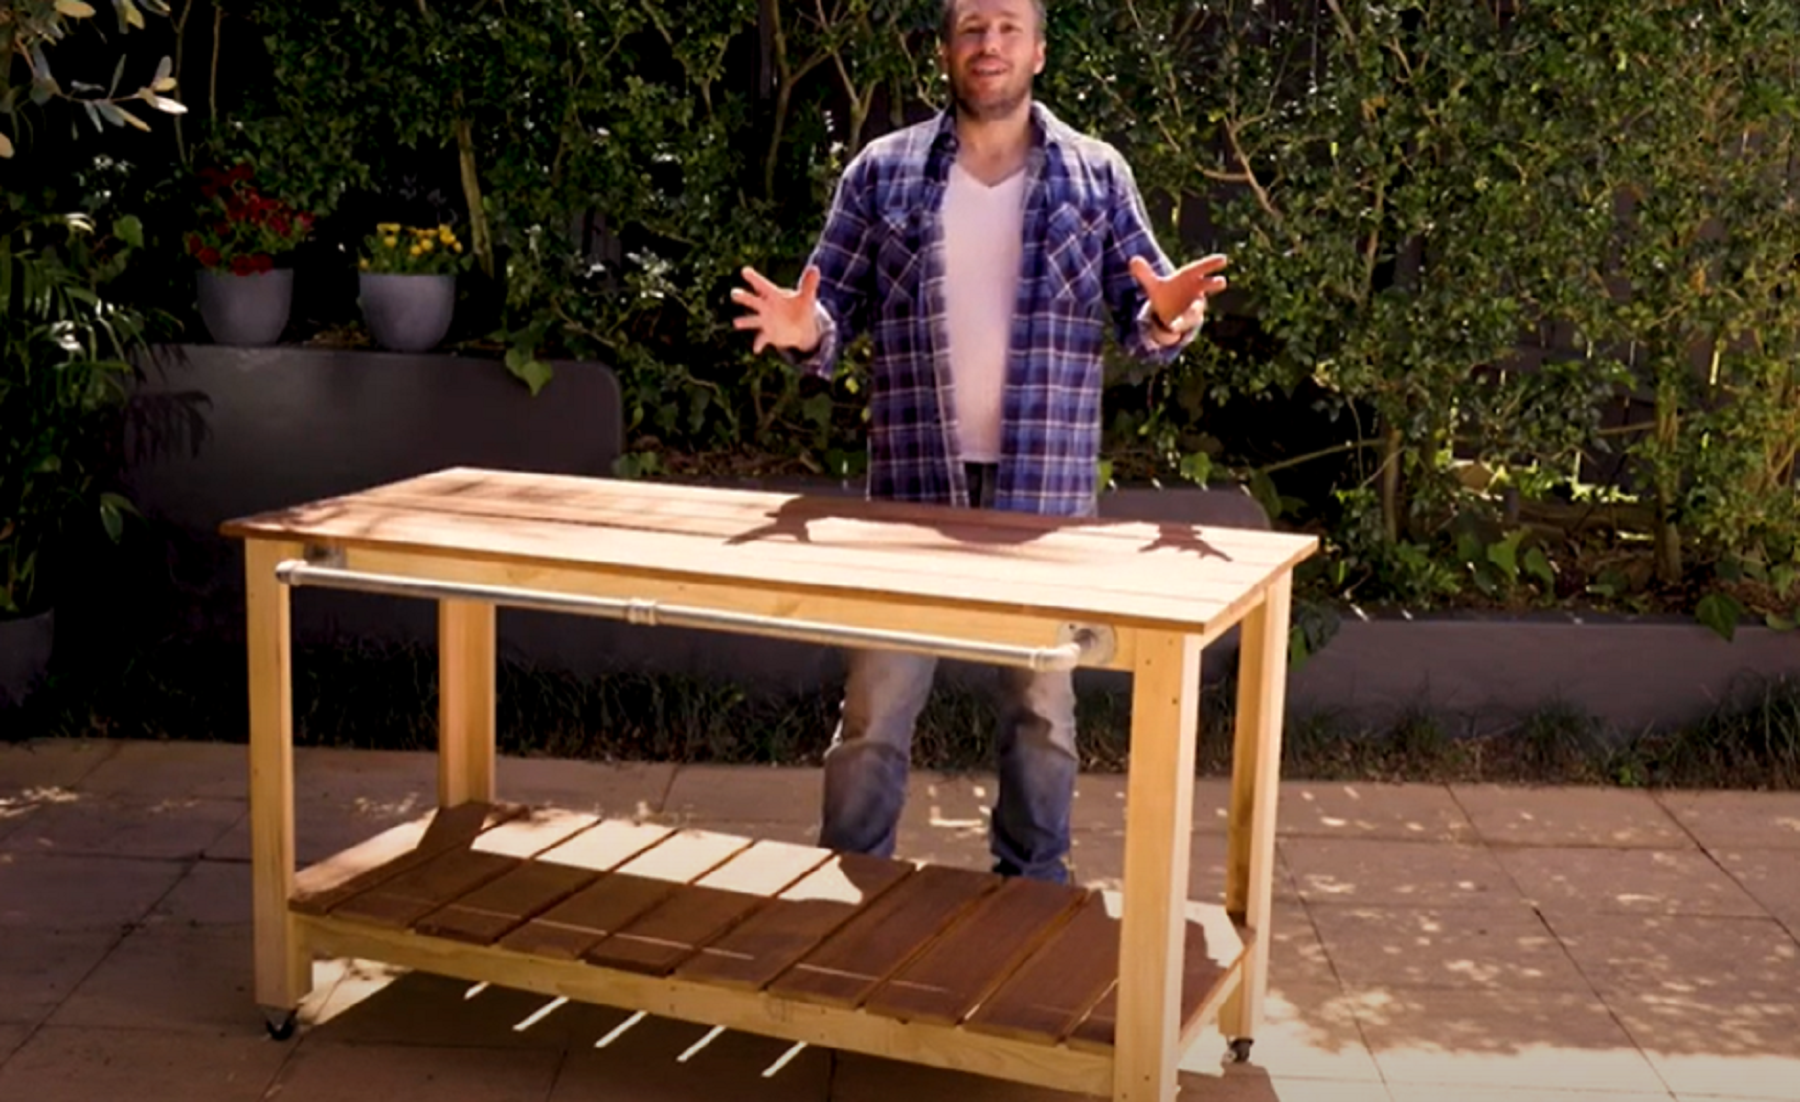
Summer and the holiday season calls for long, lazy lunches in the backyard, but the last thing we want to do is spend the day cooped up inside cooking. Make food prep fun and get everyone involved by building this sturdy outdoor kitchen. The natural pine decking also makes it a gorgeous addition to your garden.
And it’s not all that hard when you get the right gear from your local Mighty Helpful Mitre 10.
Essential Materials:
- 6.5m of 20mm x 70mm Natural Pine Decking
- 6m of 70mm x 35mm Machine Graded Pine (H3 Treated Pine)
- 16m of 140mm x 19mm Merbau Decking
- Selleys Aquadhere Exterior Wood Glue
- Ecowood Woodwipe Oil
- Clean Rag
- 45mm and 65mm Stainless Steel Decking Screws
- Rockwell Drill with Square Drive Bit
- Measuring Tape
- Pencil
- Work Table
- Gloves
- Goggles
- Rockwell Circular Saw
- Weber Q2000
- Gas Bottle
- Optional: Castors, Bottle Opener and Handrail
Step 1: Crafting the legs
Set your 6.5m of 20mm x 70mm Natural Pine Decking on your work table. Using a circular saw, cut your timber into eight lengths of 800mm to make the table legs. After you’ve cut the legs, join them by lapping the long edges to make an L-shaped profile. Glue and screw them together with Selleys Exterior Aquadhere and 45mm decking screws.
Step 2: Frame Measurements
Next we’ll be cutting the 70mm x 35mm Machine Graded Pine (H3 Treated Pine) into the correct lengths to make two frames measuring 1500mm x 630mm. To do this, cut four 1430mm pieces and four 630mm pieces. These frames will connect the legs and make the structure for the shelf and the bench top.
Also cut three noggins 560mm in length to support your frames. The top frame, which will support your benchtop, will have a single central noggin. The bottom frame, which will support your lower shelf, will have two noggins, spaced in thirds.
Step 3: Assemble your frame pieces
We’ll be assembling two frames. For the benchtop frame, lay out two 1430mm pieces of Machine Graded Pine (H3 Treated Pine) and two 630mm pieces in a rectangle, with the shorter pieces capping the longer ones at either end. Glue and screw these together with two 65mm decking screws in each join. Add a central noggin to the first frame, and glue and attach with two 65mm decking screws at either side to secure (four in total).
For the lower shelf frame, assemble the outer pieces in the same way. Add two noggins, spaced in thirds, gluing and screwing as above.
Step 4: Attach the legs
Attach the top of the legs to each of the corners of the single-noggin frame. Mount them to the outside edge using Selleys Aquadhere Exterior Wood Glue and 45mm decking screws. Be sure to position the legs so that the slimmer profile of the leg is facing out on the front and back of the unit. Using a square set and pencil to help, place two 45mm screws on the diagonal of each face of the leg for extra strength.
Next, let’s add the bottom shelf. Slide the two-noggin frame inside the legs from the bottom and raise to the desired height to lock them off. We recommend about 200mm. To keep it stable and level for attachment, use 130mm spacing blocks placed under each corner. Glue each and screw each joint as described above.
Step 5: Lay the decking
Once the structure is complete and sturdy, we can add the merbau decking to form the basis of our bench top and shelf.
Cut the merbau in lengths no less than 1580mm to allow a 40mm overhang at each end – you’ll need about 15 metres of the 140mm-wide profile. Don’t worry if the ends aren’t perfectly tidy; we’ll trim them neat when they’re screwed down. Make sure you notch out the end pieces for the lower shelf so they fit snugly around the legs. Once that’s done, you can attach a handrail, bottle opener and castors, if desired.
Step 6: Protect your timber with wood oil
To make your table last longer and preserve the warm timber tones, coat the bench top with Ecowood Woodwipe Oil, which should help the wood last against natural elements.
For more Mighty Helpful service and advice, speak to the team at your local Mighty Helpful Mitre 10.


