


- 30 March 2023
While stepping into an ice bath doesn’t always seem appealing, the benefits of cold therapy are well documented with experts claiming that regular ice baths provide you with muscle relief, energy boost, and a reduction in inflammation.
Many people enjoy taking their ice baths outside their homes which means you need to buy one, but this can be overwhelming and expensive, especially for first-time users. You may think that finding a container at home will be easy but draining post-bath can be difficult and a safety hazard. Here we provide you with a simple way to create an outdoor bath with an easy and cheap drainage system.


DIY Project Steps
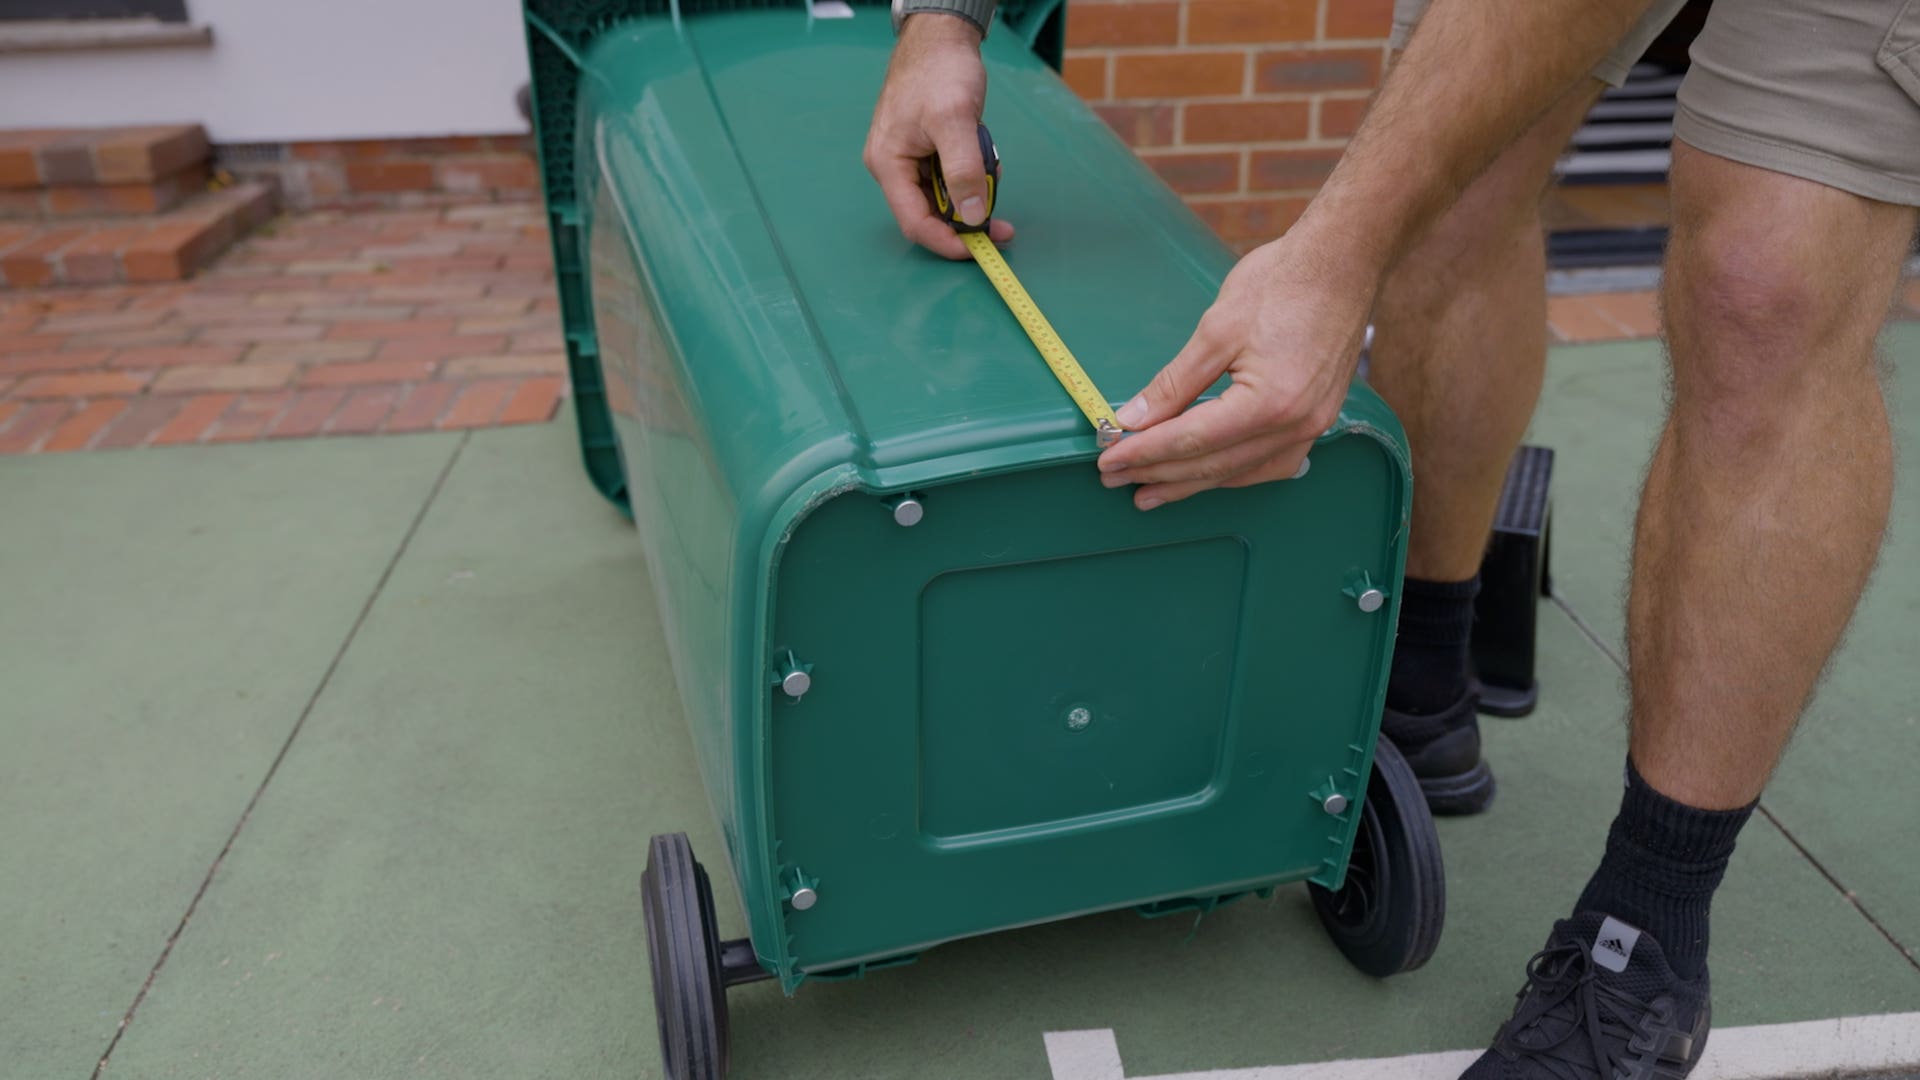
1. Measure the placement of the hole for the tap
Start by measuring and creating a mark with a marker at least 5cm from the bottom of the barrel. This will serve as your drill mark.

2. Drill the hole for the tap
Line up the bit with the drill mark and begin to drill using a 1-inch spade bit, creating a hole through the front of the bin.
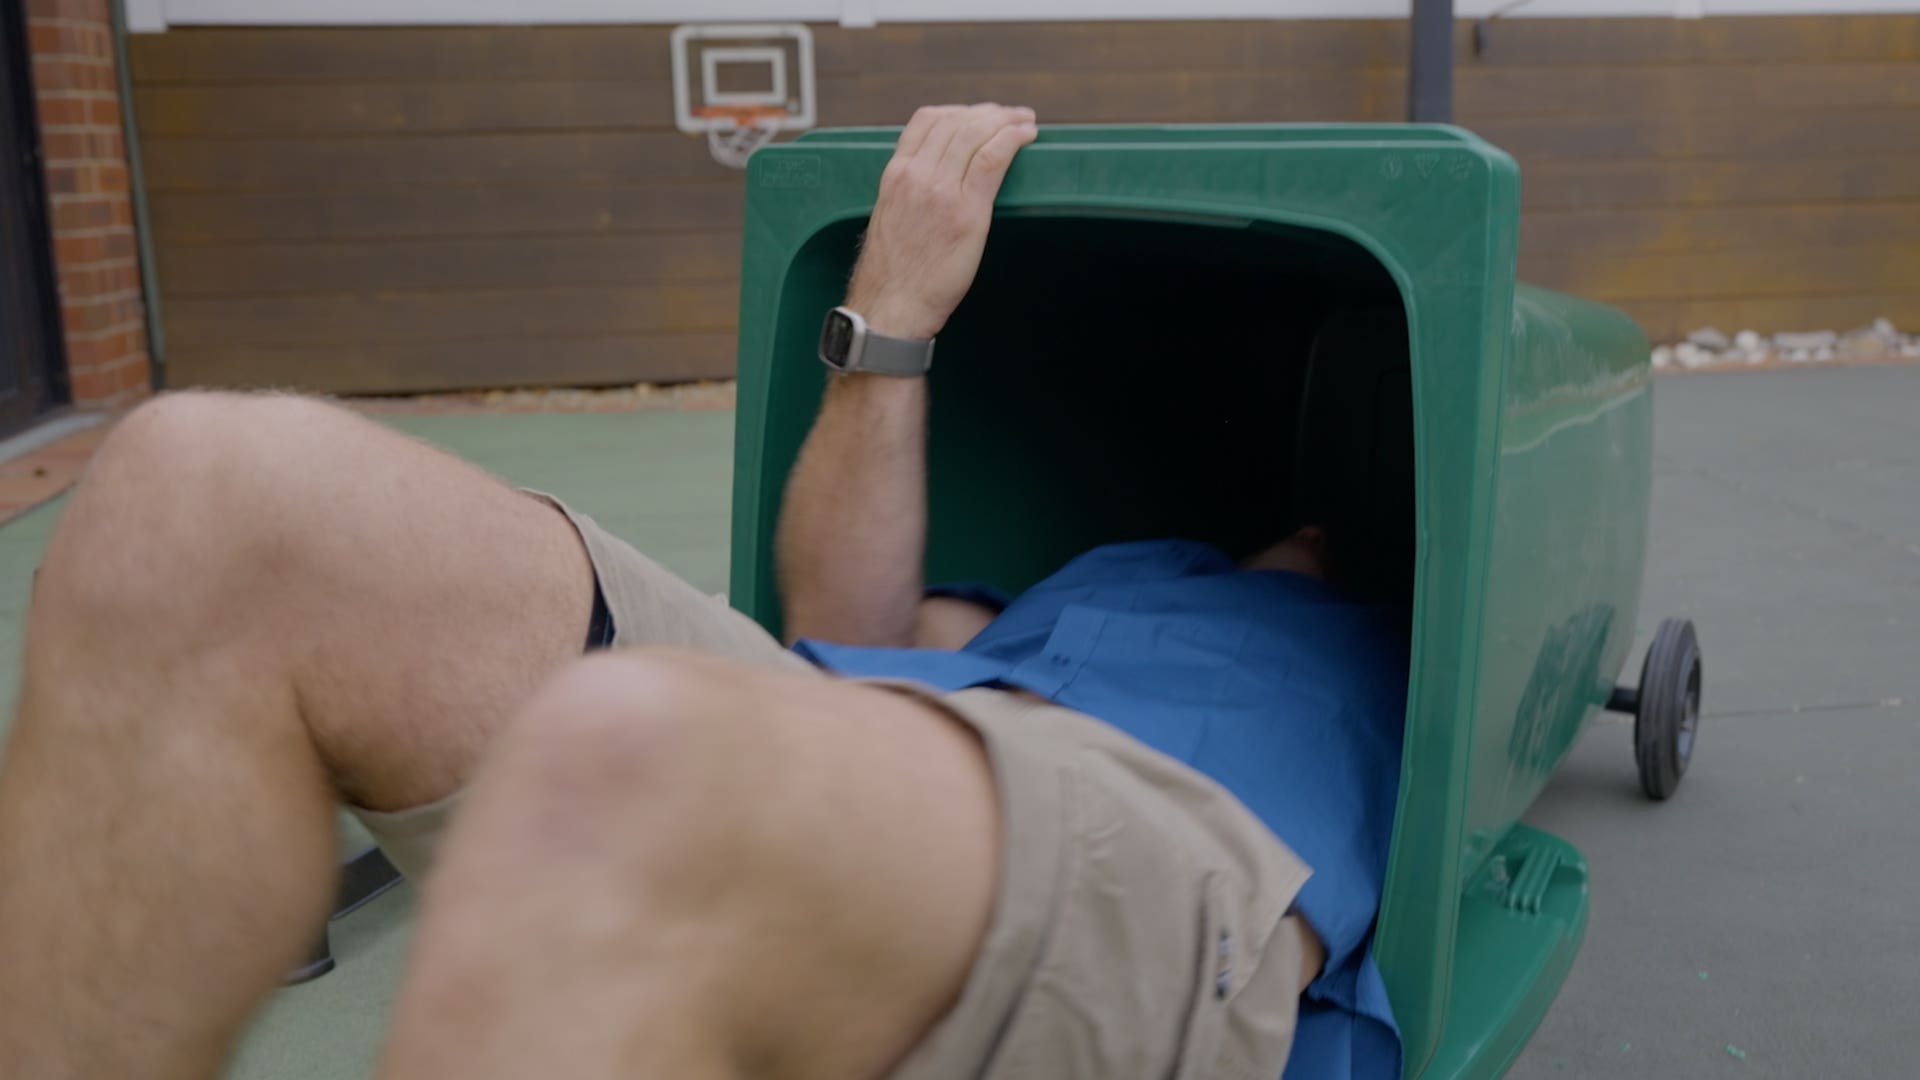
3. Seal using the tap
Use a water container tap to plug the hole. Now for the fun part, jump inside the bin, place the seal on the inside and fix a 1-inch nut to keep the water contained. You’ll want to get out of the bath after this as the cold water and ice are about to go in.

4. Add water and ice
Add 140 litres of water and approx. 5-6 bags of ice.
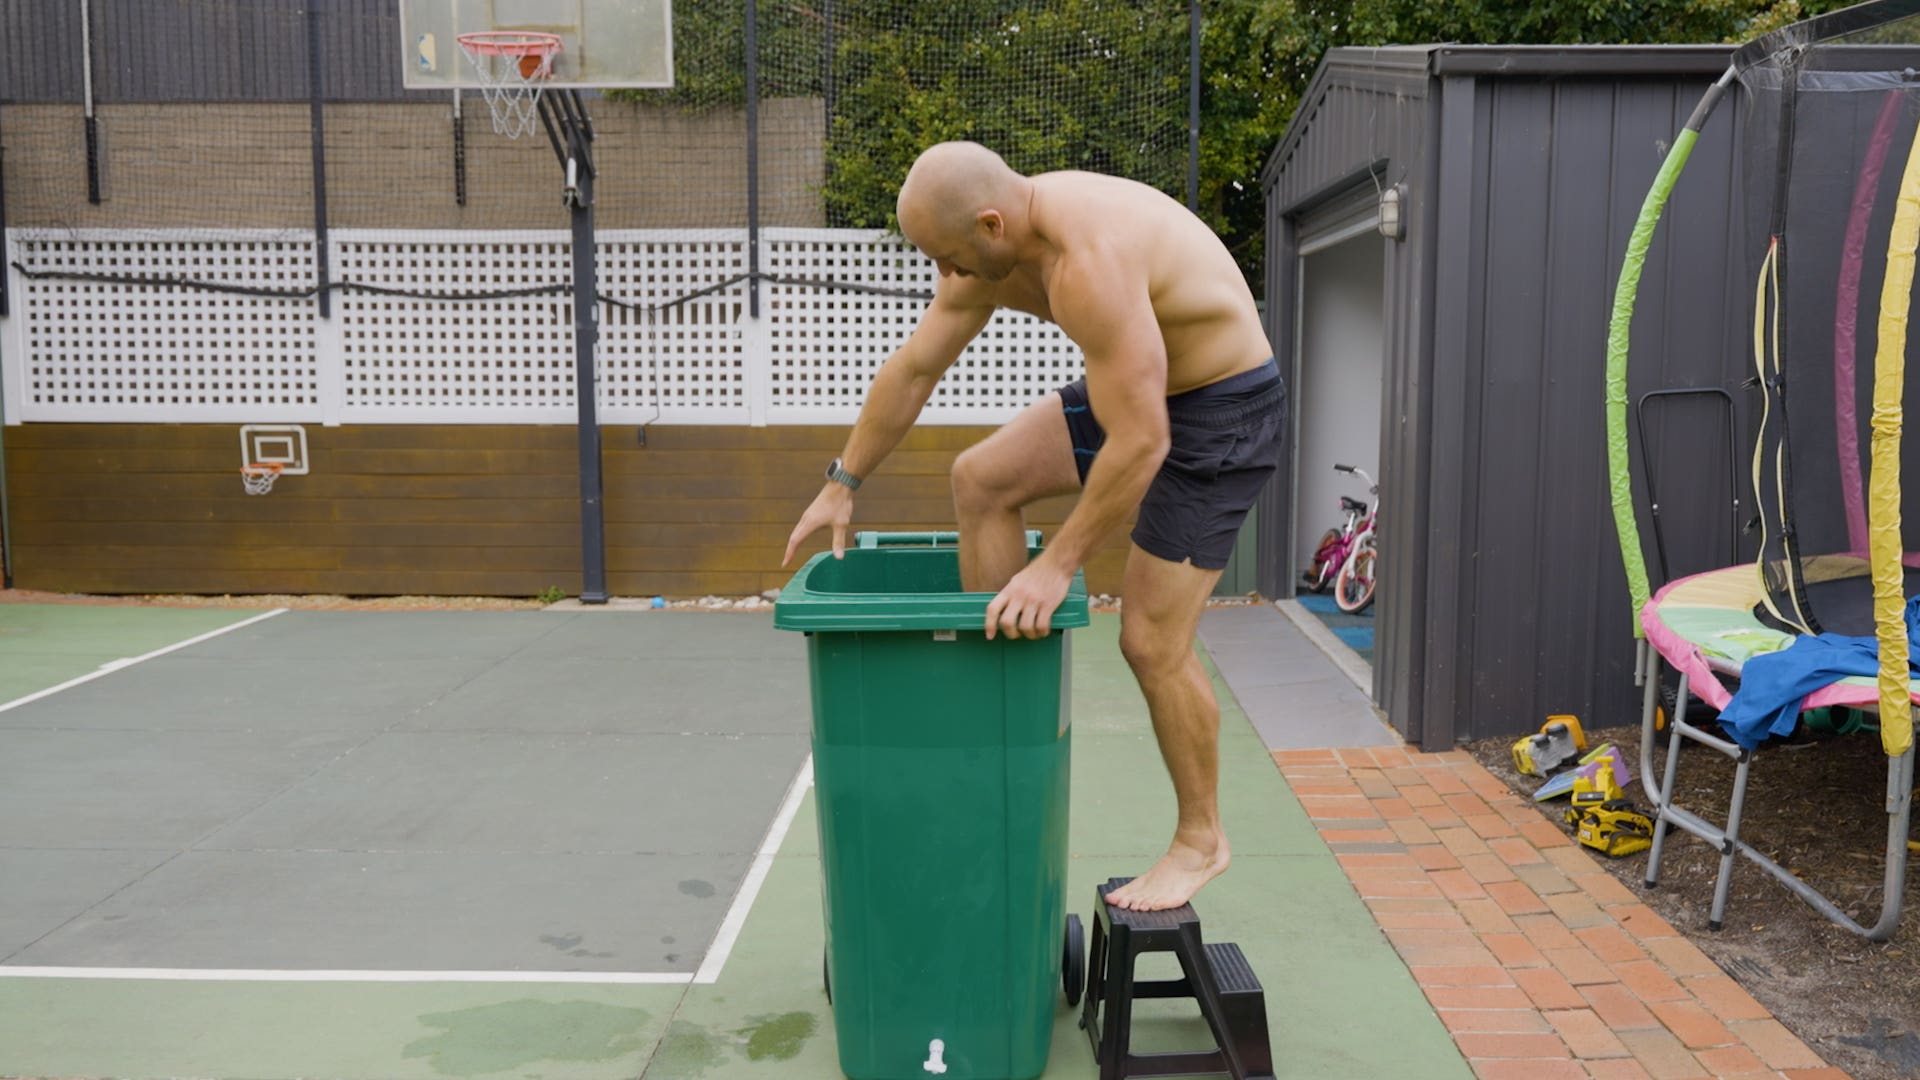
5. Place the steps for safety
Put the step next to the wheelie bin to help you safely get in.
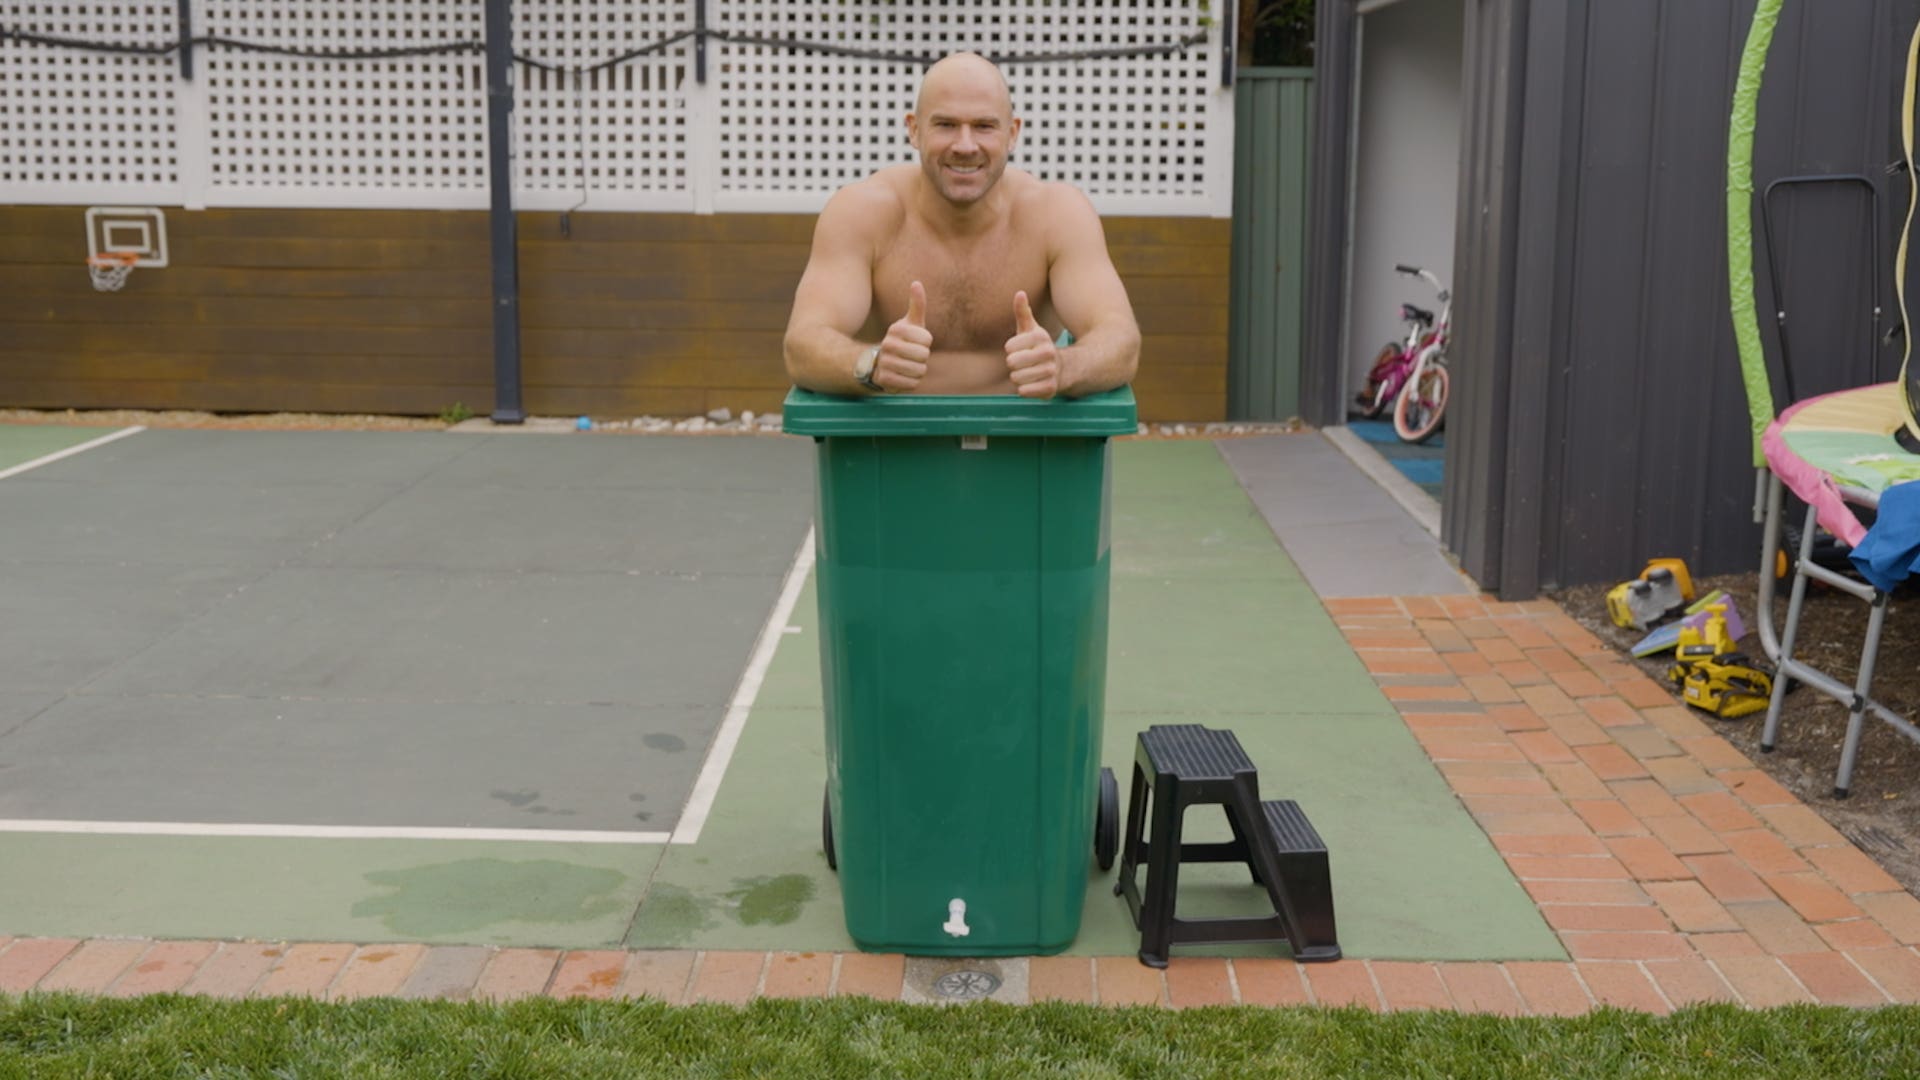
6. Jump in!
Enter your new ice bath slowly (or quickly), chill out, and ENJOY!
Be sure to tag us in your ice bath pictures using #theotherhardwarestore.
Tip: before you jump in move the bin to a place where you can easily drain the water and ice when you are done.


