- 27 November 2023
Is all your hard work in the garden worth highlighting? Garden lighting can add a level of ambiance and sophistication to your beautiful garden landscape. It provides practicality to enable you to easily navigate your garden in the dark. There are many types of garden lighting kits to suit all types of environments.
1. Planning a New Look
There are different types of garden lighting for you to choose from including solar and 12V DIY systems that offer soft white lighting and multi-coloured lighting options. They are systems with manual and auto settings and others with WIFI enabled settings for you to set whatever mood you like.
The easiest way to install a 12V garden lighting system is to select one that can be easily installed by concealing the electrical leads in the garden bed and positioning lights by inserting stakes into the soil that hold the light attachments. Lights may also be mounted on garden walls and fences.

2. Cleaning Up
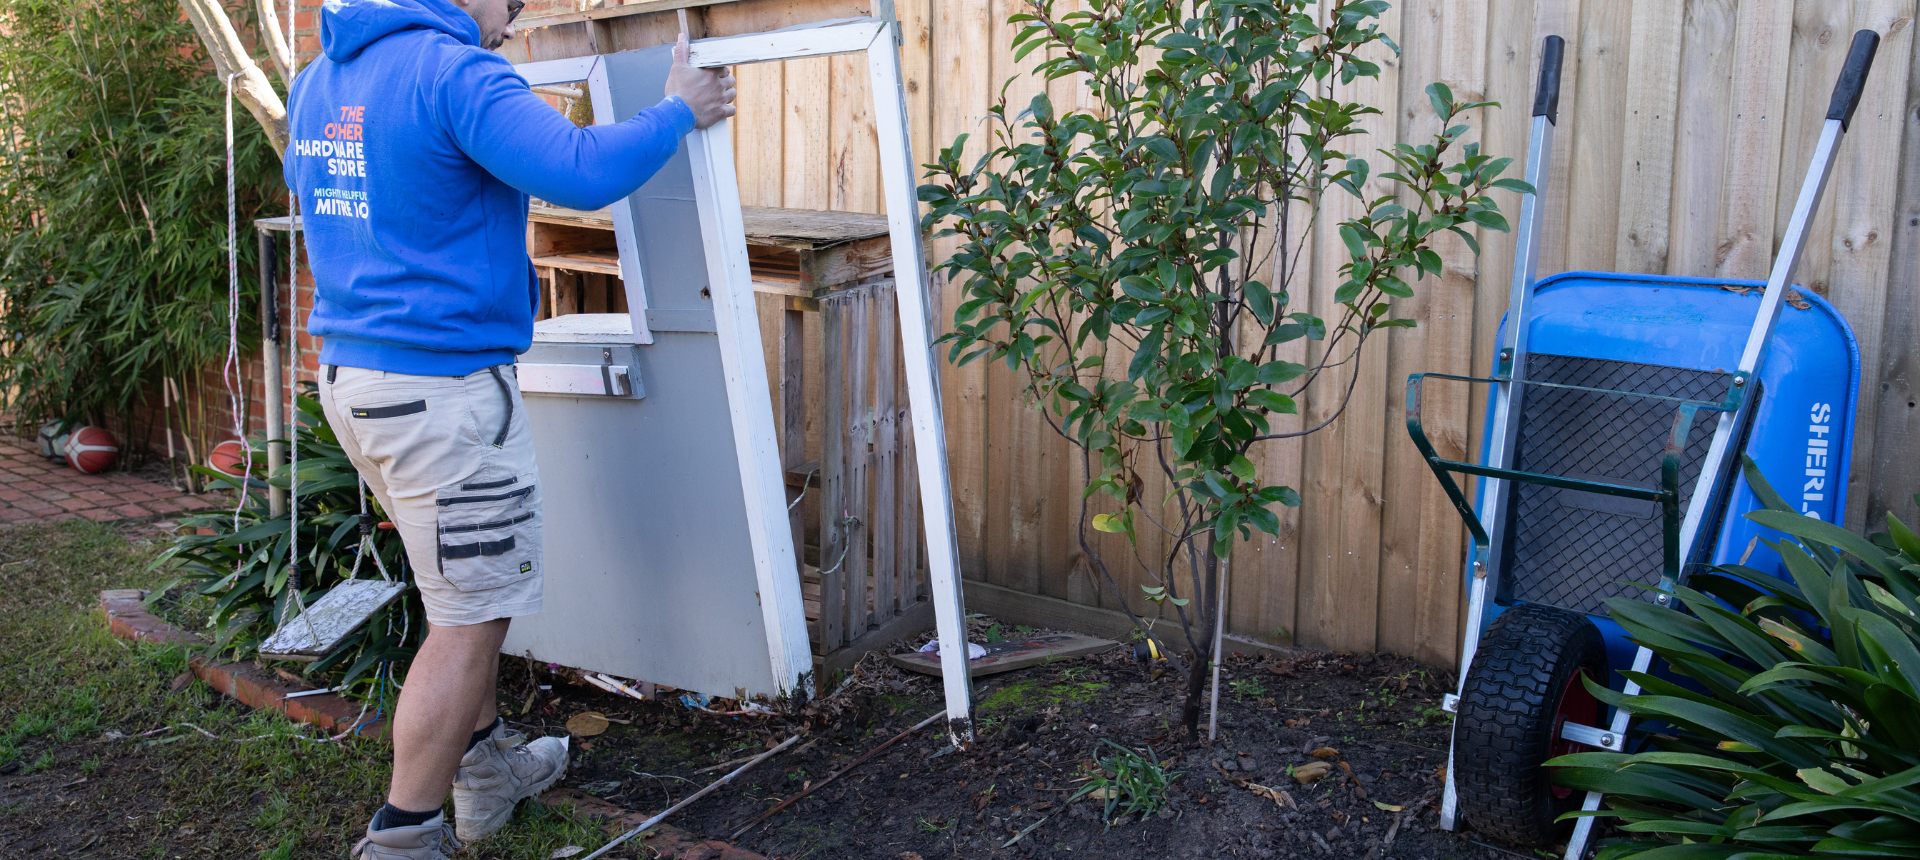
To start with tidy up your garden where the lights will be installed. Remove any clutter and trim shrubs and trees to allow as much light as possible to filter throughout your garden and light up your plants and garden features.
To make your garden truly shine, trim dead or withered leaves and remove weeds and unsightly plants. Maybe even refresh your garden beds with some mulch to give it a neat finish and prepare it for showcasing your garden.
3. Position Lights
It’s a good idea to roll out garden lighting cable and lights to determine where cables will run and where lights will be positioned to get the maximum effect. DIY garden lighting systems using 12V are safe to lay cables directly in the soil as they are water resistant, durable and designed to be used this way.
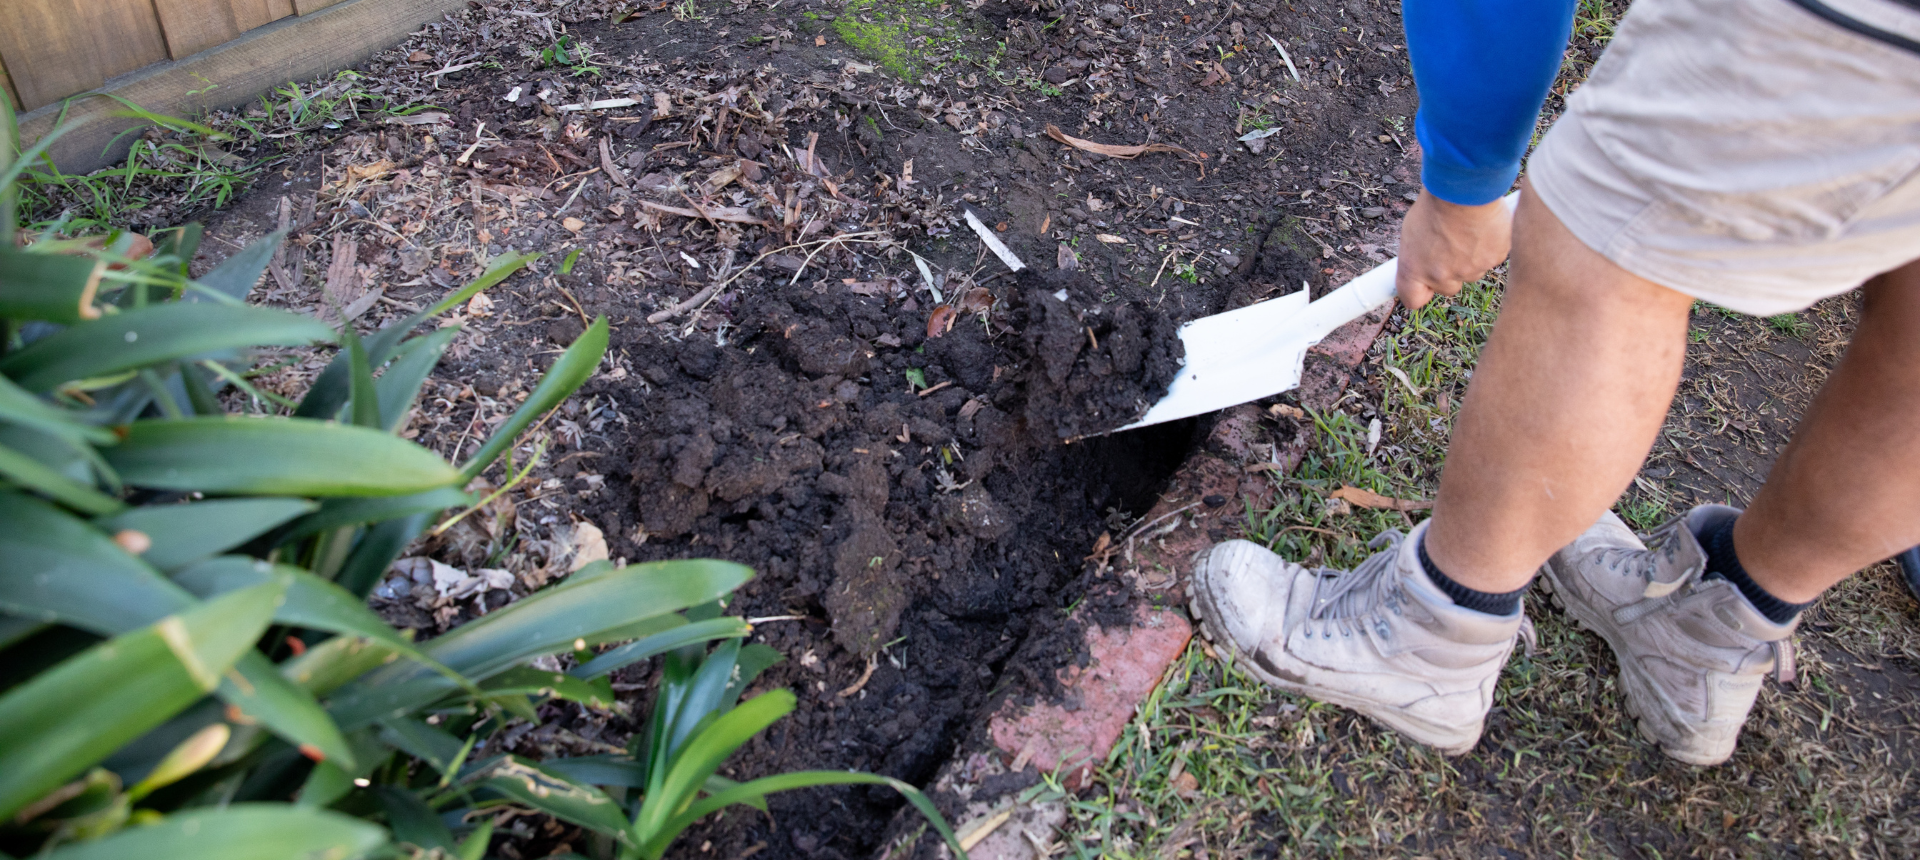
4. Digging Trenches
Once you have decided where to position cable and lights it’s time to dig some trenches to conceal and protect cabling. It’s recommended that small trenches about 200mm in depth be dug for garden lighting cables.
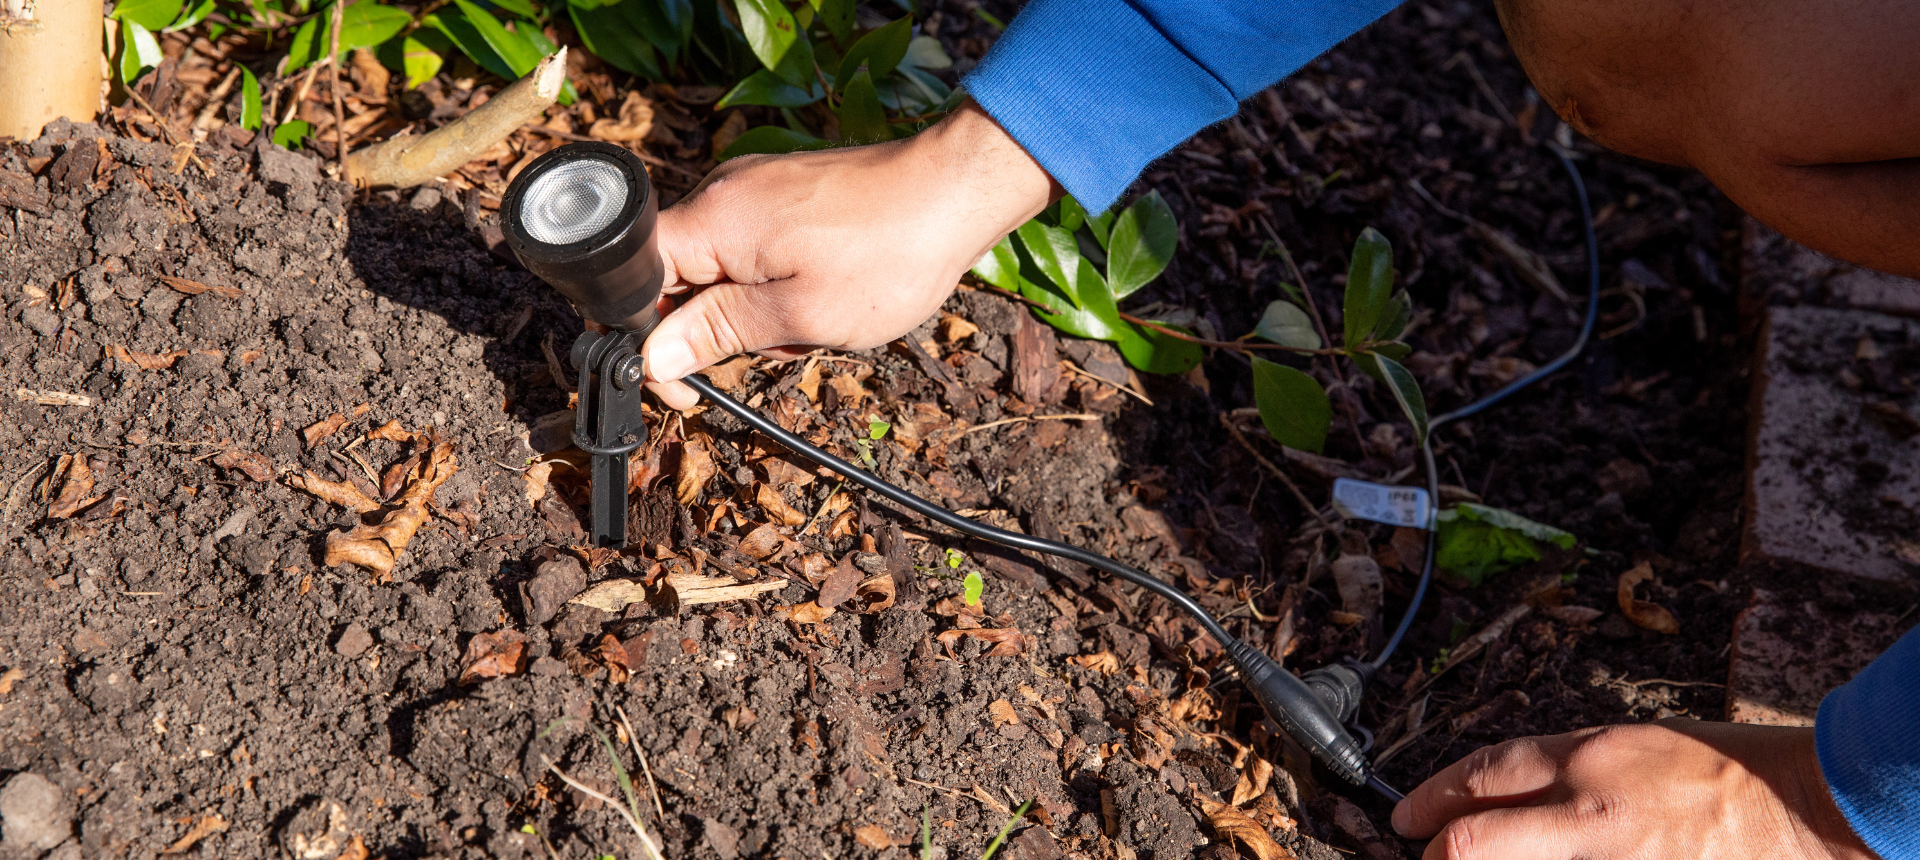
5. Position your Lights
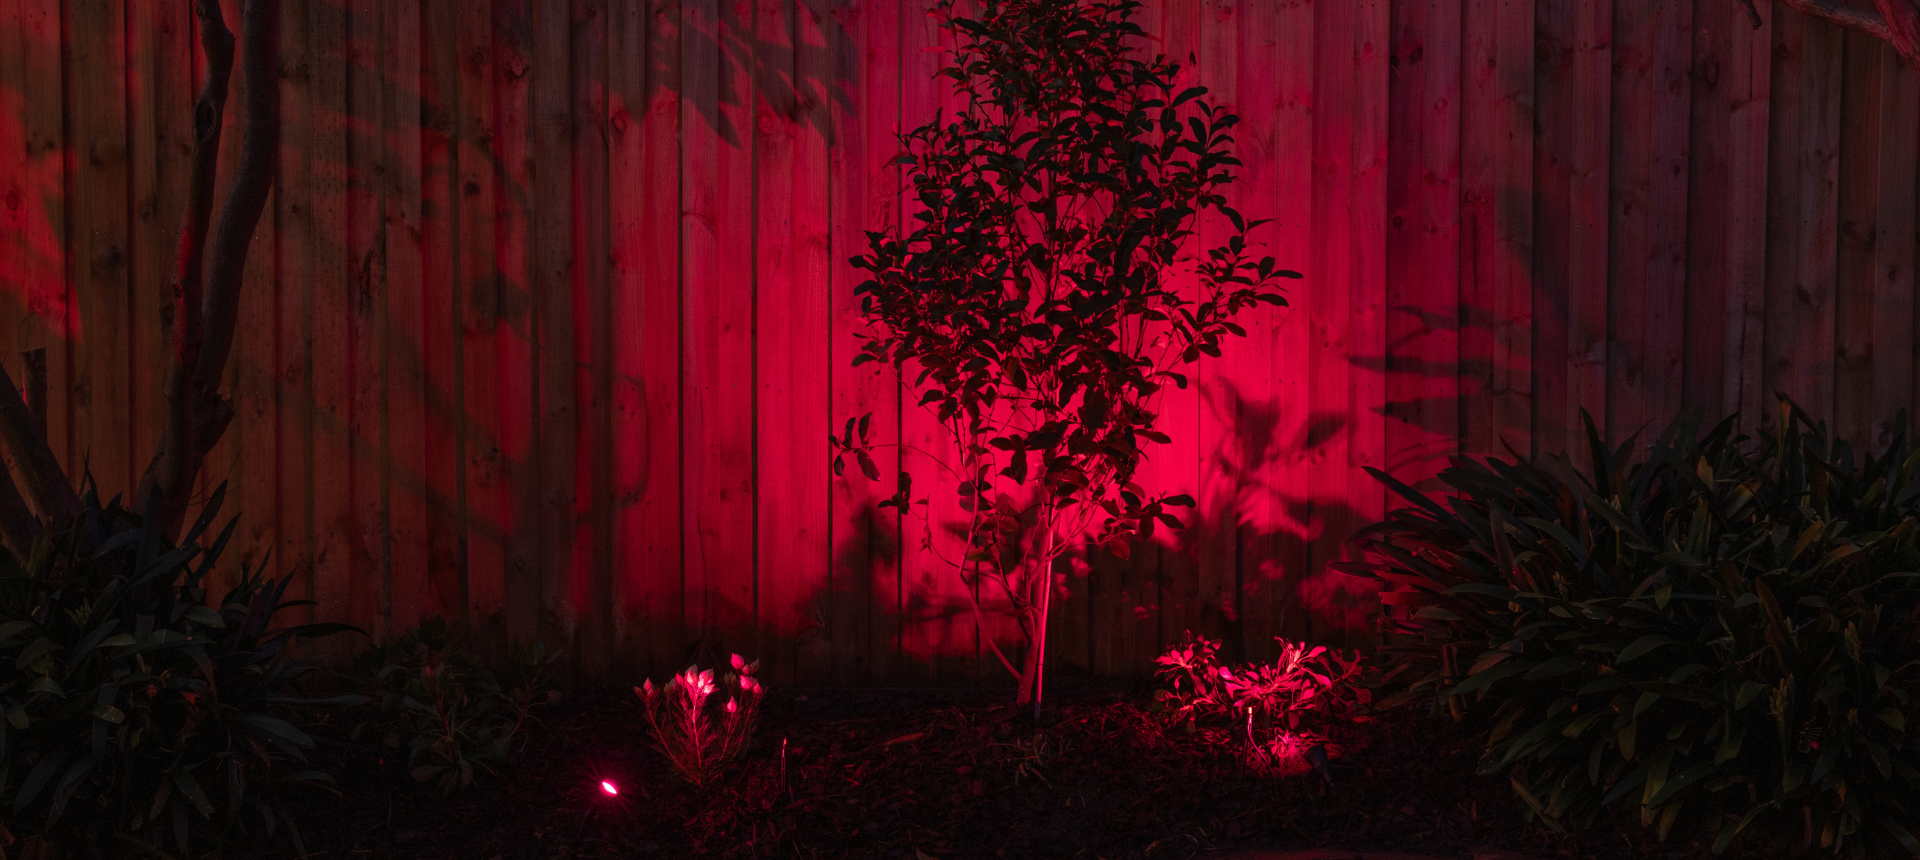
DIY garden lighting kits come with soil spikes that can be used to position lights and are easy to use to direct lighting to where you desire. Upward facing lights against tree trunks and taller plants provides a dramatic effect.
As a courtesy to your neighbours, it’s a good idea to check to ensure that lighting is not positioned to impact on them
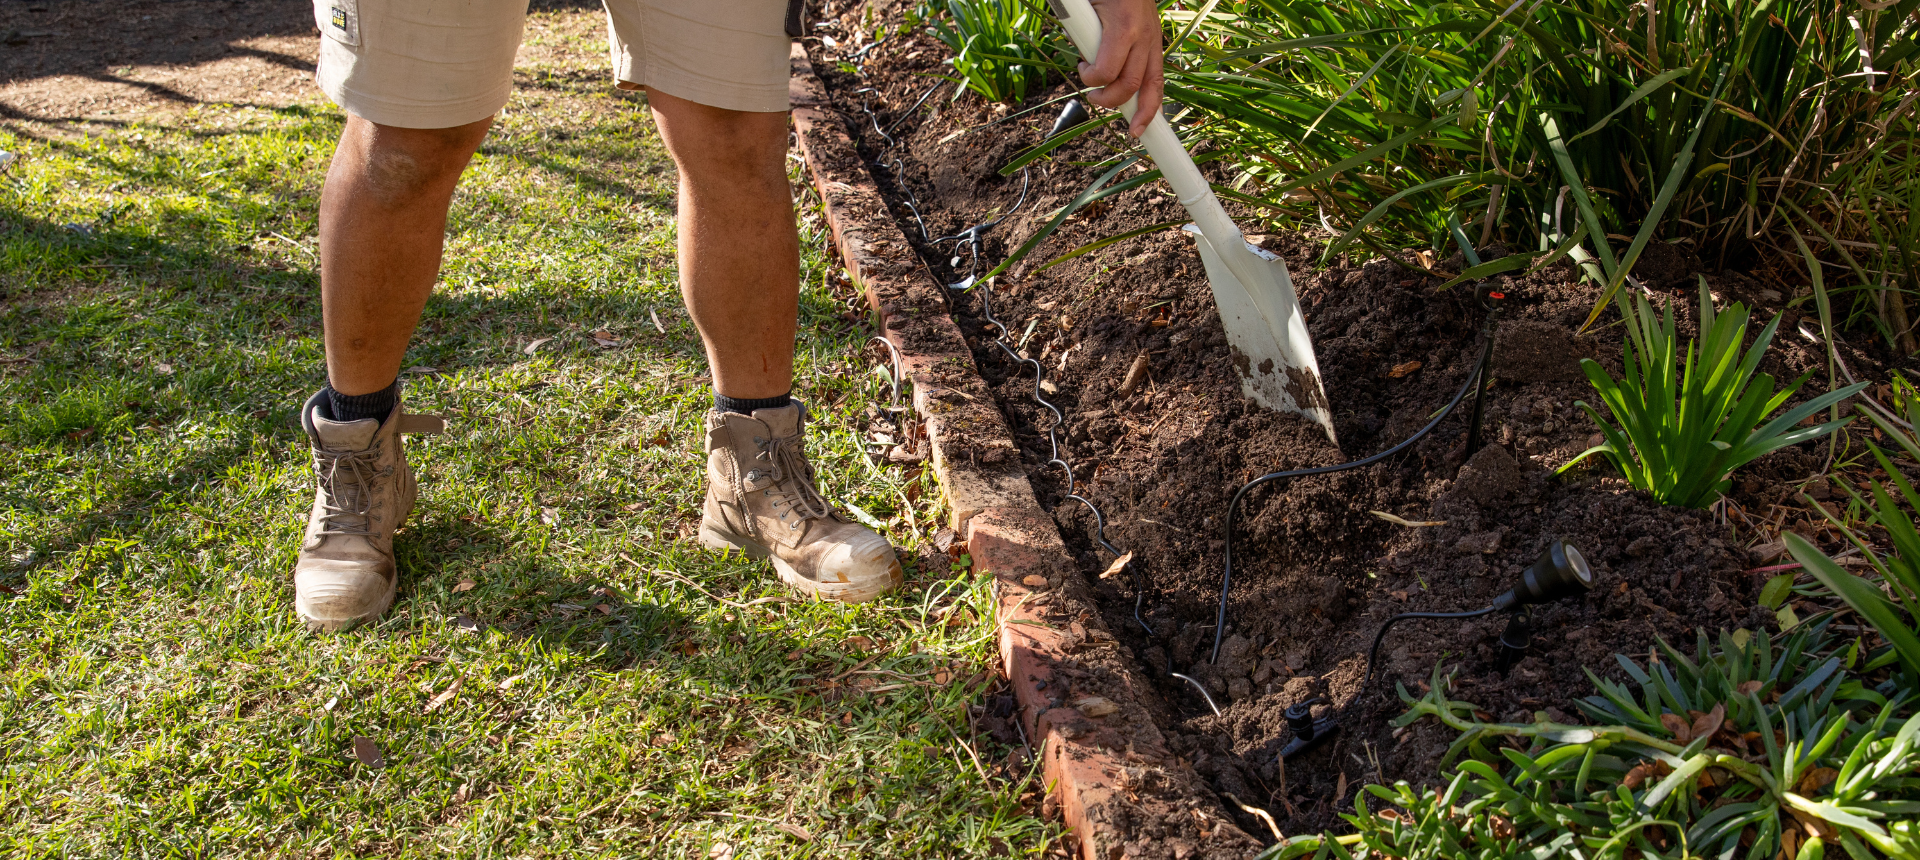
6. Filling in Trenches
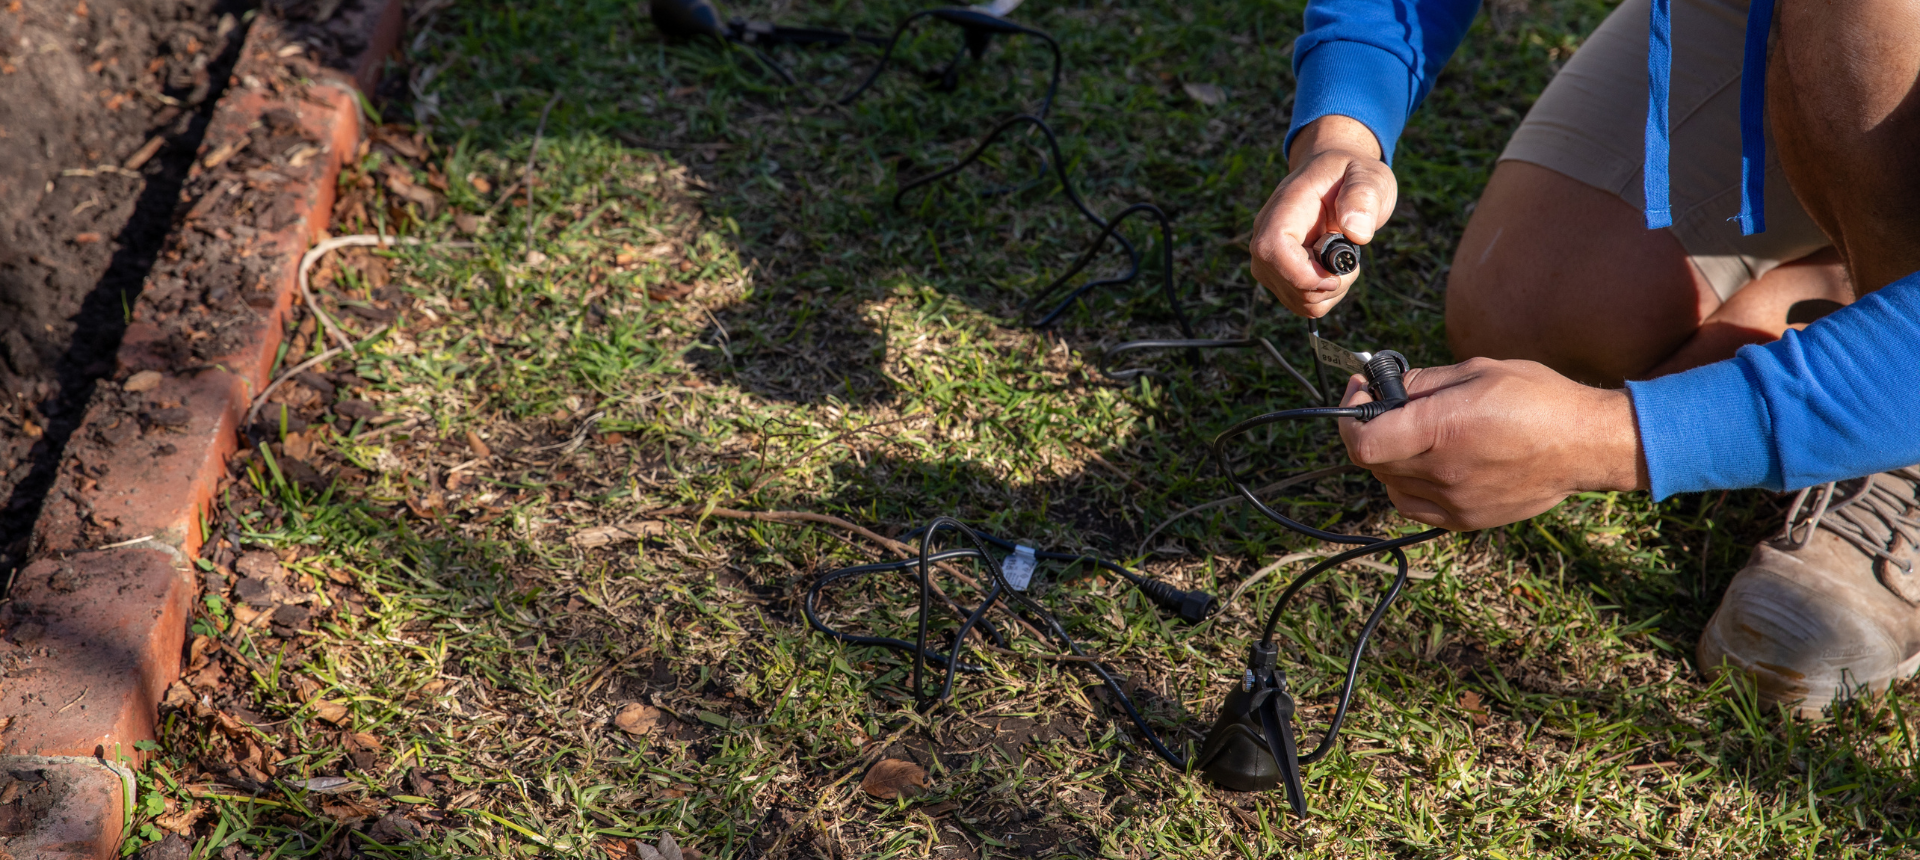
When you cabling run has been set and your lights are positioned where you want, it’s time to check that water resistant cable connectors are secure before backfilling trenches with soil to hide cabling.
Weatherproof cabling is designed to sit directly in the soil and does not require conduit as protection. The 12V screwable cable connectors are designed to withstand water from garden irrigation systems and wet weather.
7. Ready to Light Up
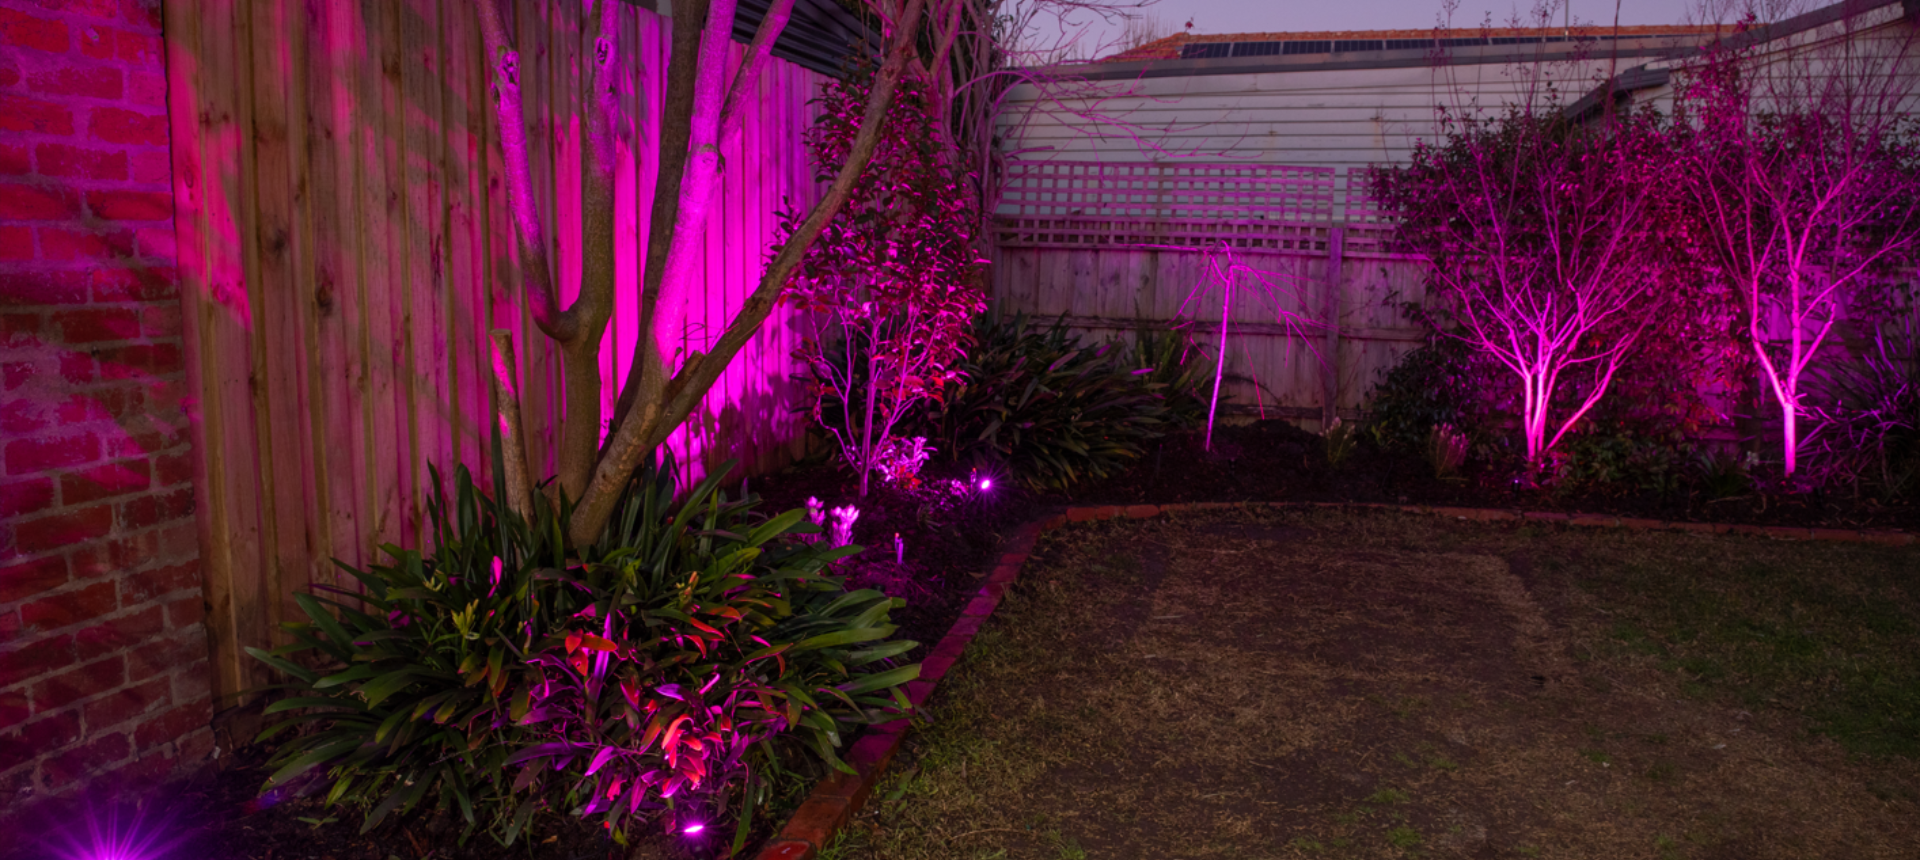
Now the garden lighting system has been installed it’s time to switch it on and check the direction of lights and adjust as you prefer. Where a WIFI enabled system has been installed you can now sync the remote control or smartphone app to adjust lighting colours and brightness and personalise the effect you desire.

8. Enjoy Your New Lights
Your garden has now been transformed into an illuminated night time wonderland that will create a stunning backdrop to outdoor entertaining. A garden lighting system is a great way to light up your garden and get more enjoyment from outdoor living.