- 6 July 2021
We all know how important it is to maintain your tools. But what that means changes for each tool, and when it comes to something as tricky as a hedge trimmer, it’s important to know what you’re aiming to get done. In this article, we’re going to set out our basic process for sharpening the blades on a hedge trimmer.
Knowing when your hedge trimmer blades need sharpening
The first step in recognising and knowing when to get down to it and sharpen your hedge trimmer is learning to recognise when it is starting to dull.
Some of the classic signs that your hedge trimmer blades are starting to become dull are:
- More resistance than usual when making cuts
- Sticking or stuck blades in branches
- Rough or jagged cuts through thicker material
- Heat from an overworked drivetrain
If you’re noticing any of these signs, it may well be that your blades are simply becoming dulled and are in need of a sharpening. But if you’re noticing any odd sounds or perhaps noticing slow turn-over or loose feeling in your hedge trimmer, we recommend calling it for the day and getting a professional to give it the once-over.
How to Sharpen Your Hedge Trimmer?
Now onto the actual sharpening part of this whole project. Hedge trimmers don’t have a single edge that needs sharpening, and that means there’s plenty of extra work to be done. Fortunately, you aren’t looking for a perfectly honed edge on each of your hedge trimmer blades; rather, you’re looking to restore a solid working edge on blades designed for heavy work.
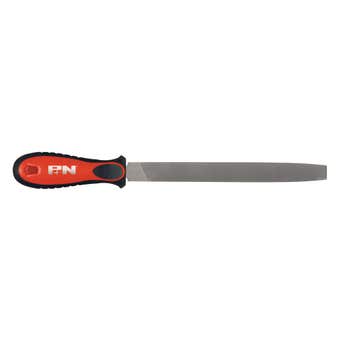
What you’ll need is a couple of tools and materials, like:
- Flat file
- Whetstone
- Soft cloth
- Water
- Safety clothing
- Work gloves
- Safety glasses or face protection
Set yourself on a steady working surface and ensure you have plenty of space to navigate what you need to get done.
A quick note on safety
Sharpening the blades on your hedge trimmer might not be a particularly high-risk exercise when done right, but you do still have to do it right. Wearing safety goggles and gardening gloves is a smart move that could save you a lot of pain and messing around in the event that you slip up or knock something loose. Don’t take any risks with your safety.
Clean your hedge trimmer blades
The first step is a thorough clean of your hedge trimmer. Grease, green matter, debris or dirt can make it almost impossible to get the result you’re looking for. With the power disconnected and the engine off, get in there with a soft and damp cloth, clearing away anything that might get in the way.
Get to work with your flat file
Take care to match the angle of your file to the bevel of your blades. You don’t want to square off the working edges and make it harder for your blades to do their work. You’ll also want to make sure you’re only making passes with your flat file in one direction. They’re designed to work in only one direction and dragging a flat file backwards across your edges will likely knock burrs loose on the far side of your working edge.
Fine up the underside of your blades with a whetstone
You’ve set your scene and done the bulk of the work with your flat file: now for the finishing touches. With your whetstone, carefully go back over the work you’ve done with your flat file and remove any of the burrs you’ve knocked loose during the flat file sharpening. Remember to work in single strokes, toward the cutting edge, and keep your whetstone clear and moist to ensure a clean and even finish on your blades.
Let us help
Regular maintenance is an important part of getting the best out of your tools and equipment. If you’re looking for help, guidance, or just a few tips and tricks to keep your hedge trimmer in tip-tip shape, don’t hesitate to reach out to the team here online or in-store at Mitre 10.
Reach out via our contact page today.