- 22 March 2025

DIY Garden Lighting Project
There’s something magical about outdoor lighting. It can change the ambience of a space with the flick of a switch! Obviously having perfectly positioned trees or fences is ideal. But even if you don’t, here’s a simple solution using pot ‘anchors’ to string your lights from. Check out this awesome DIY project!
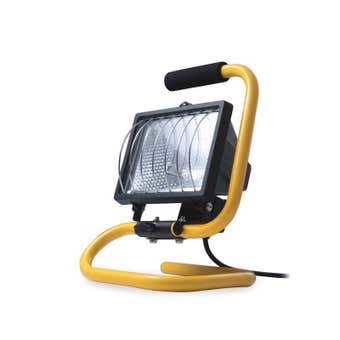
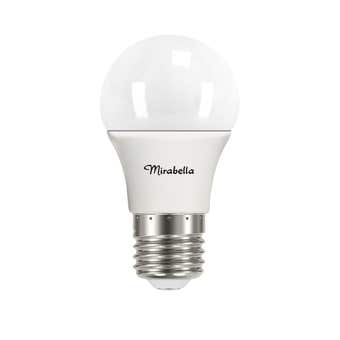
Materials list
Step 1: Measure your yard
Measure out the space you want to illuminate and decide how many pot ‘anchors’ and metres of lights you’ll need. We’re using six anchors and 30m of lights for a yard roughly 6 x 8m2.
Step 2: Prepare your anchors
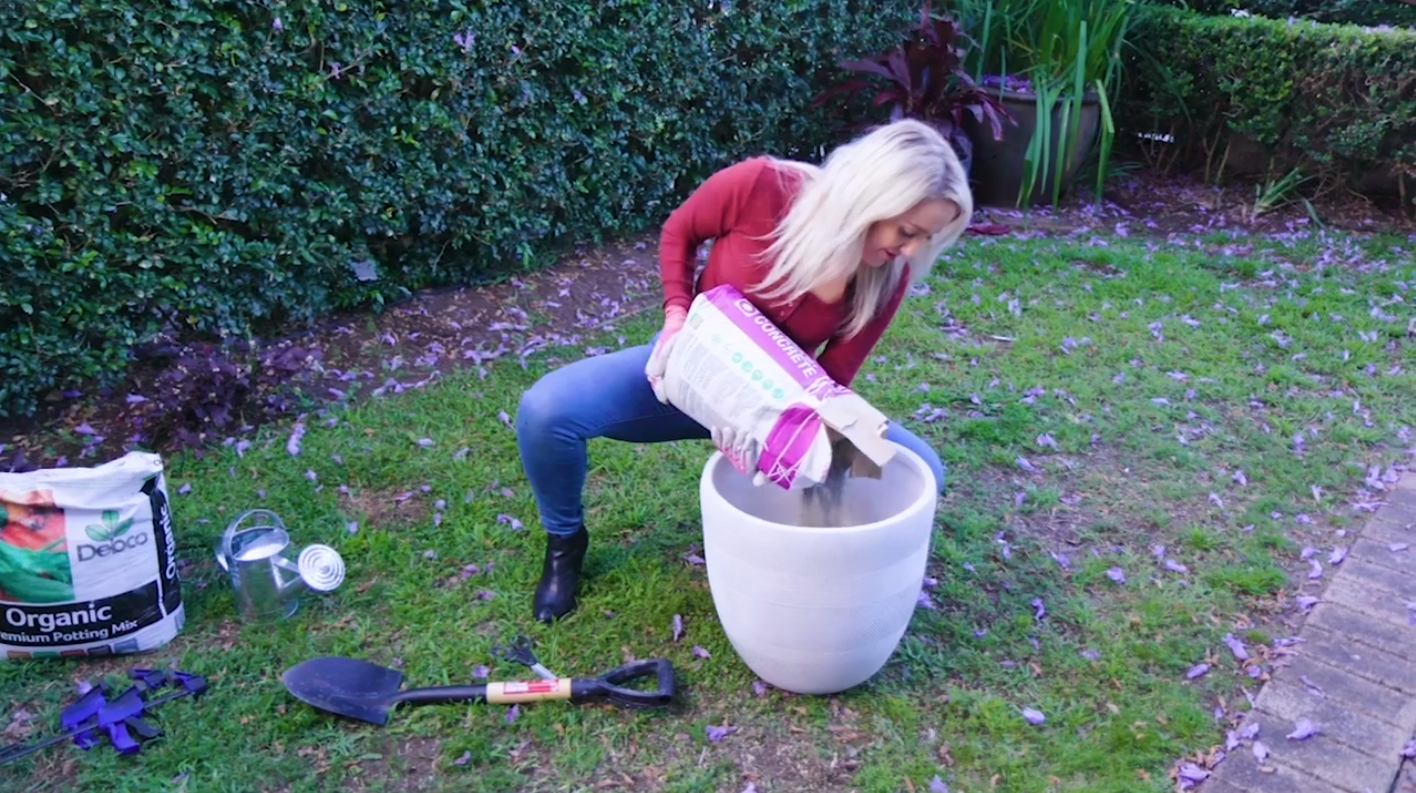
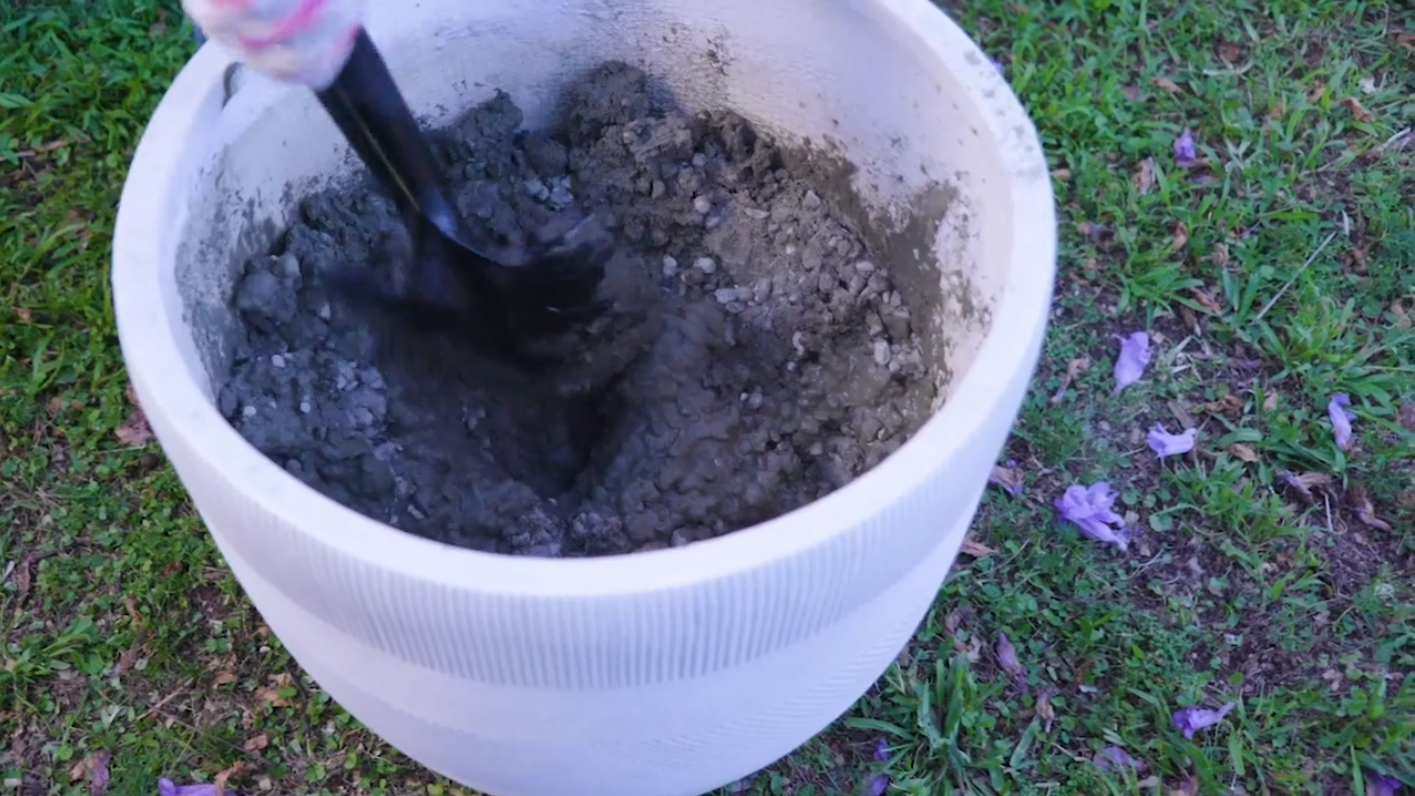
Mix the Quick Set Cement according to package instructions and fill your pots about one-third of the way up. Centre your poles in the middle of each pot and hold each one in place using a table and two clamps to make sure the poles set straight. Leave the cement to set for about 4 hours, but overnight is best.
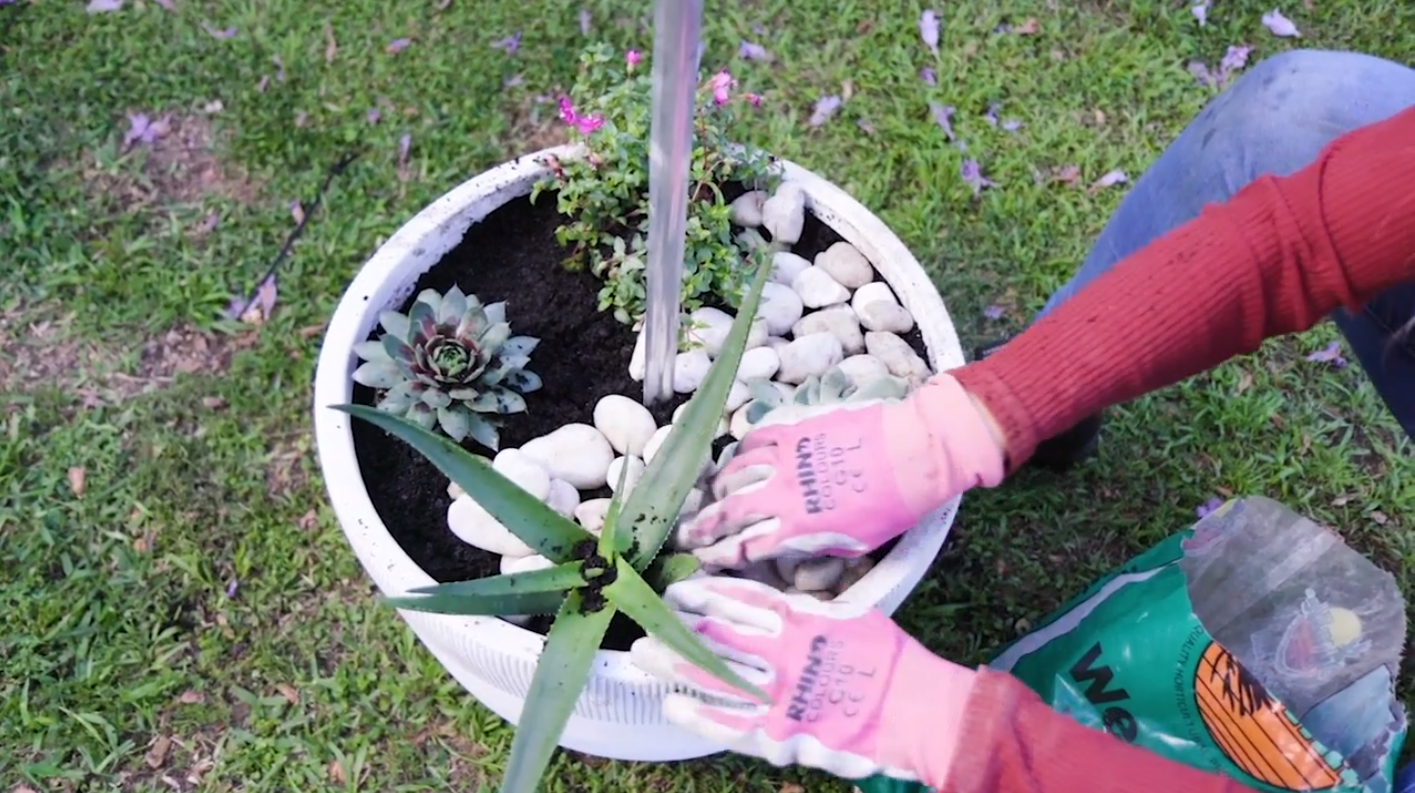
Step 3: Cover the cement with plants
Once the cement is dry, move your pots into position and top the cement with premium potting mix and hardy, low-maintenance plants of your choice – succulents are a great place to start. Cover the soil with polished white pebbles to complete the look.
Step 4: String your lights
Finally, use a ladder to string your outdoor fairy lights between the pot anchors by looping them around the pole once. Use a cable tie to hold your lights in place.

For more Mighty Helpful service and advice, speak to the team at your local Mighty Helpful Mitre 10.
By combining functionality, aesthetics, and creativity, you can transform your outdoor spaces into stunning, practical areas you’ll love to use day and night. Start your outdoor lighting project today with inspiration and products from Mitre 10!