- 23 April 2023
Wood pallets have become a firm favourite material for the budget savvy DIY enthusiast. Often found for free, this raw material provides an interesting and on trend look for whatever you are creating. Here we will teach you how to build the perfect outdoor chair that can be used all year round.
Shopping List
Pallet
90 x 45 Treated Pine
Bugle Batten Screws
Tools Needed
DIY Project Steps
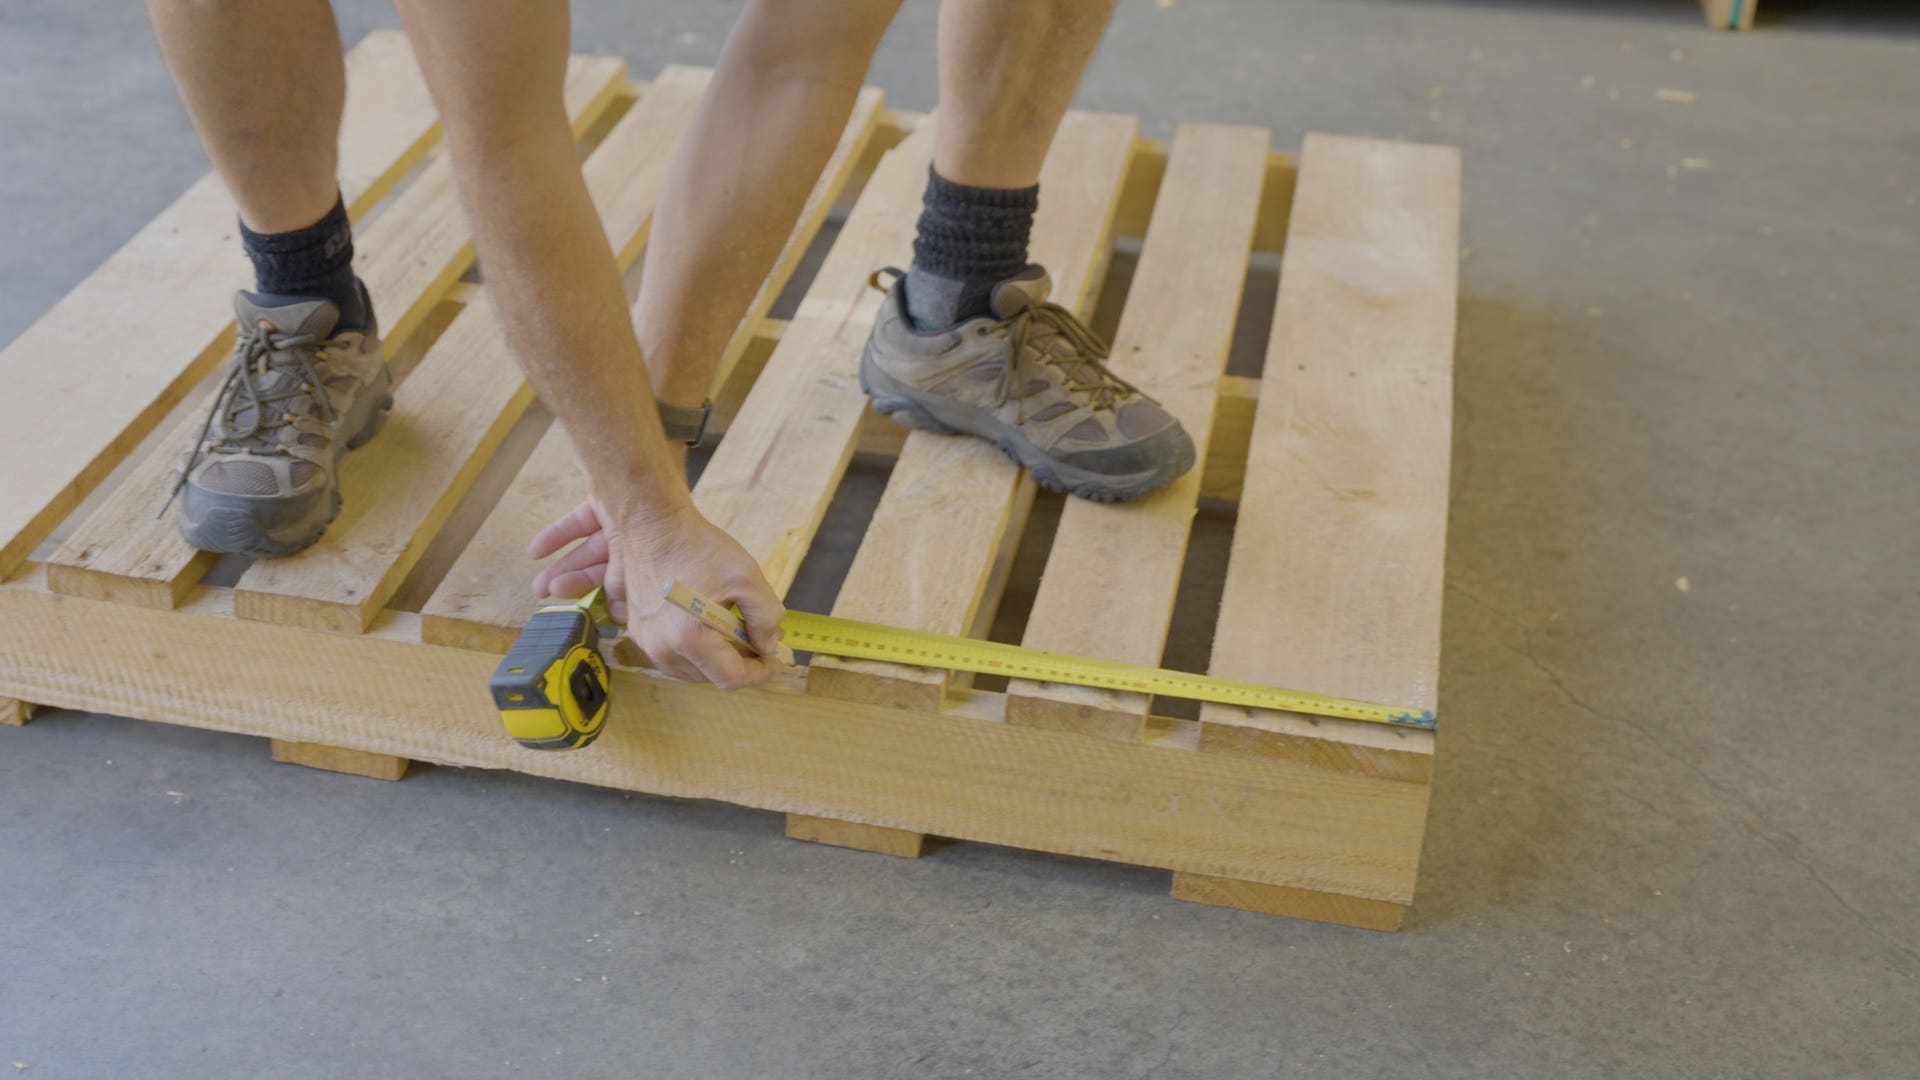
Step 1 – Prepare the pallet
Find yourself a pallet. Many stores will give these away for free so don’t be afraid to ask. Here we have used a 1200mm x 1200xx pallet from Bayswater Timber Mitre 10.
Use a tape measure and mark 430mm from the top of the pallet on both sides and centre rail on the pallet. Remove the centre slat below your marking with a hammer, and don’t forget to remove the nails.
Tip: If you remove the centre rail carefully it can be reused for the handrails.
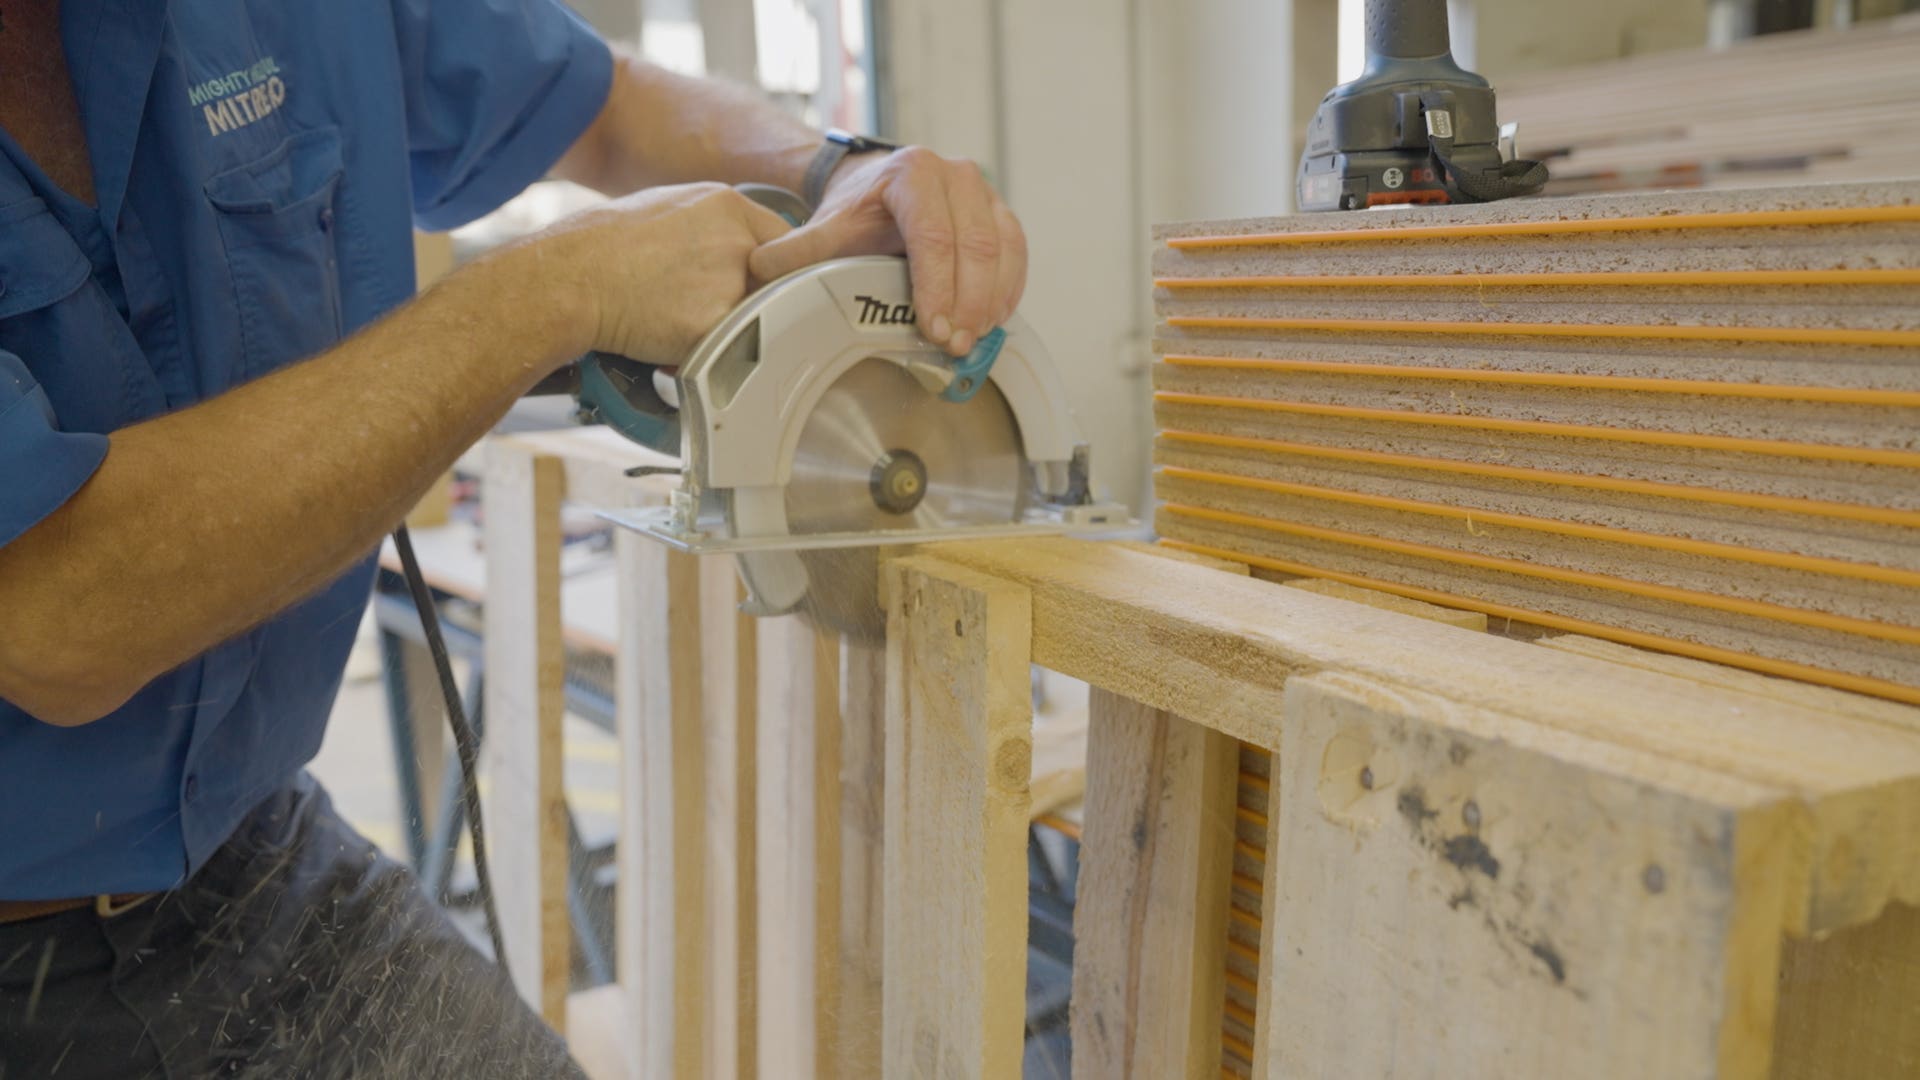
Step 2 – Cutting the pallet and timber
Using your circular saw, cut both sides and the centre rail of the pallet. From here, we now have our backrest (shorter section) and our base (longer section). You will need four legs that will also double as handrail supports. We are using 90 x 45 treated pine at 550mm, but you can change the length depending on how high you want your bench seat to sit.

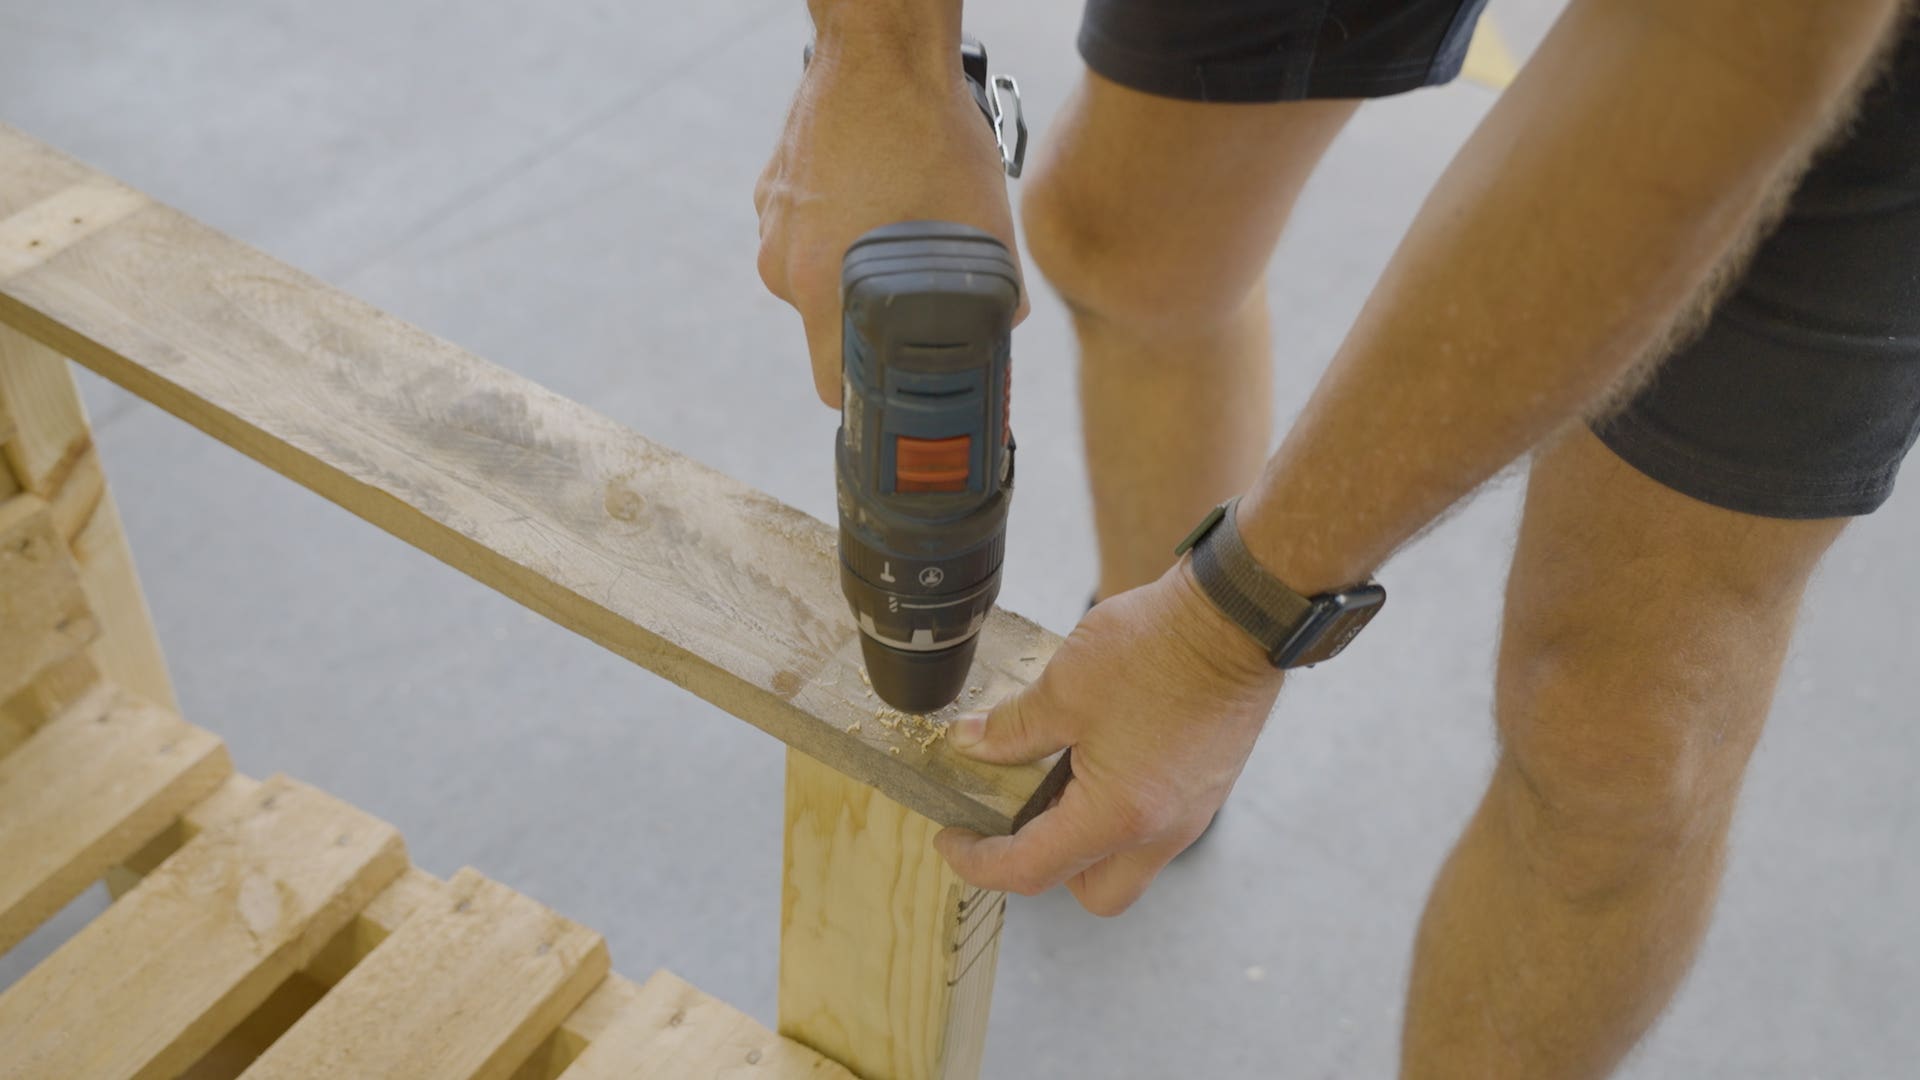
Step 3 – Assembling outdoor bench seat
Prop up the base, we have it on a slight angle. You can adjust this according to your preferences as you may want it to lean more.
Keep the bench legs nice and square to the ground, screw the legs on with the bugle batten screws. On the back two legs screw into both the seat base and seat back to ensure stability and strength.
Step 4 – Cut and screw handrails
Using the centre slat that we removed earlier, cut to desired length for handrails; we went 10mm proud of the front leg.
Predrill the holes in the handrail and use bugle battens to screw them into place.
Tip: if you need an additional slat, you can take one from the rear or underside of the bench.
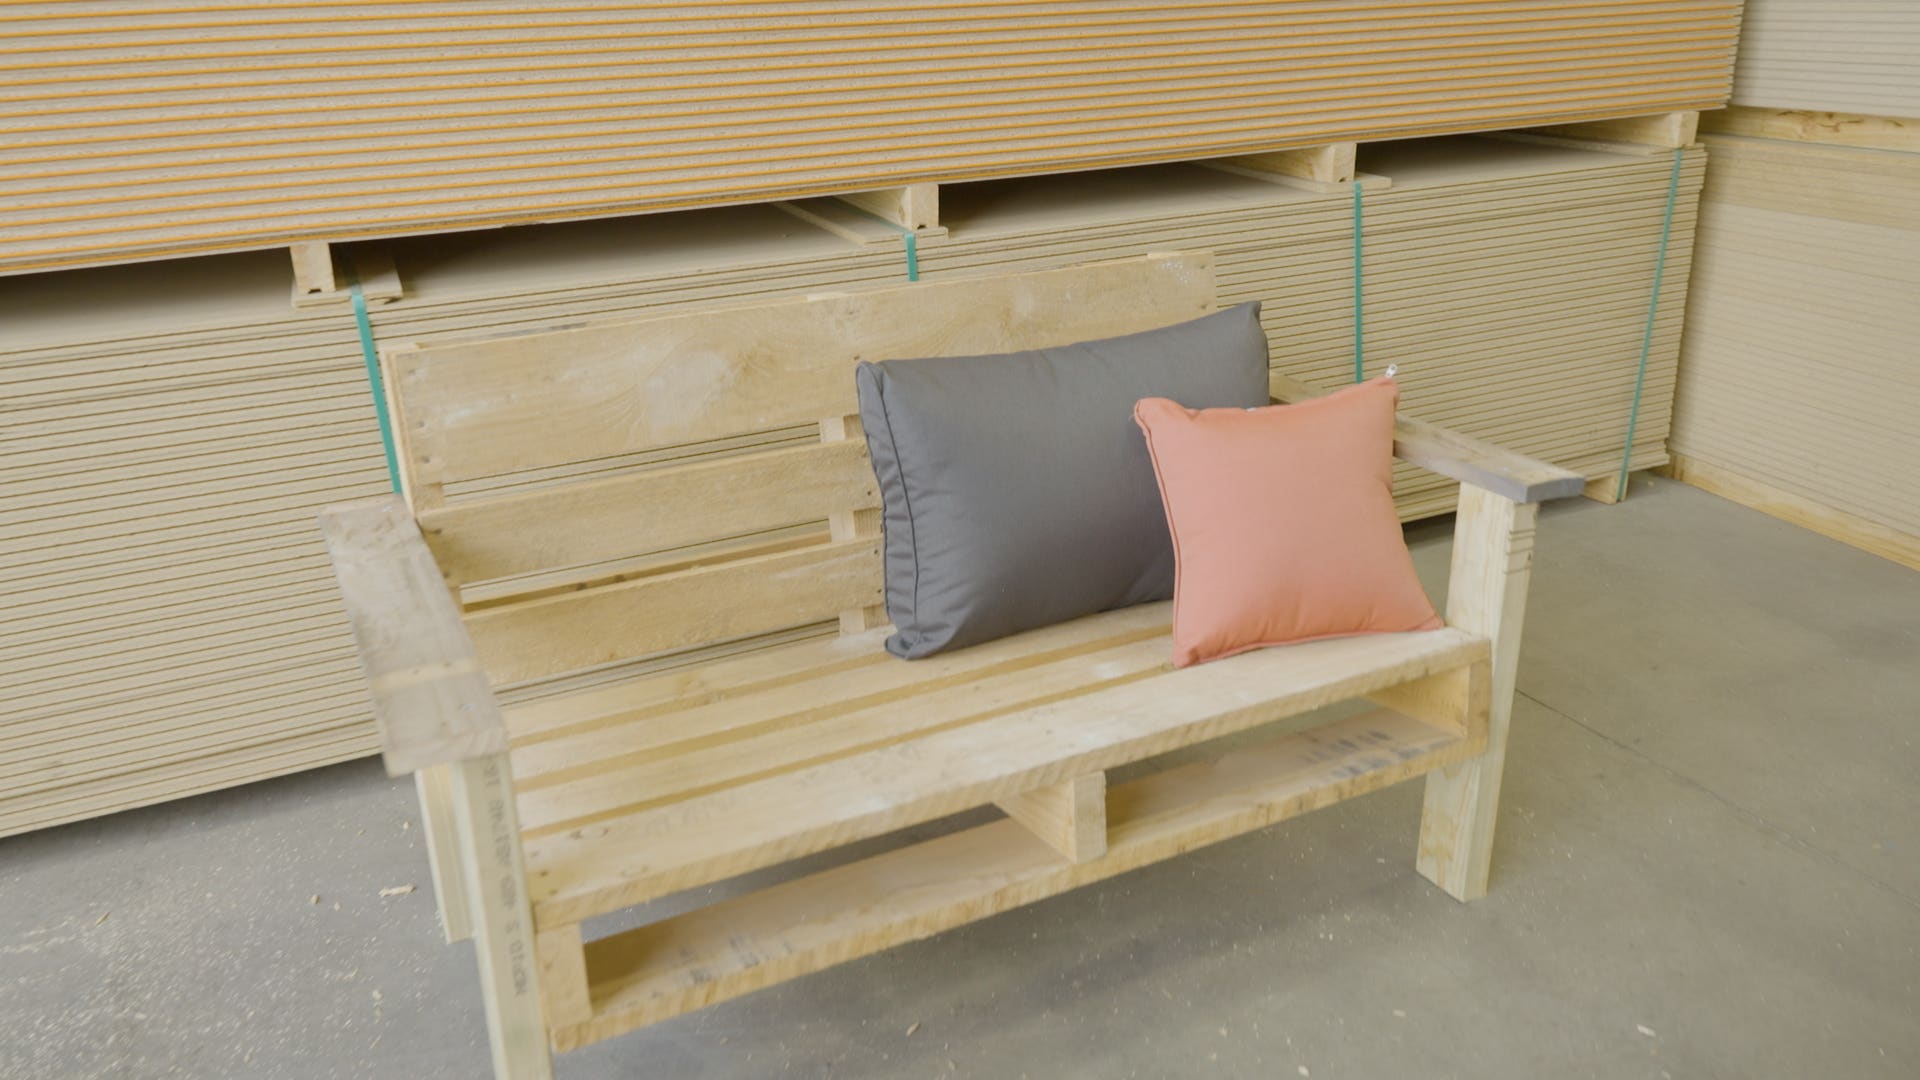
Step 5 – Sit and enjoy!
There’s your outdoor bench.
Options for finish:
Option 1: add some cushions.
Option 2: sand and stain
Option 3: nail decking across for a smoother finish