- 17 March 2022
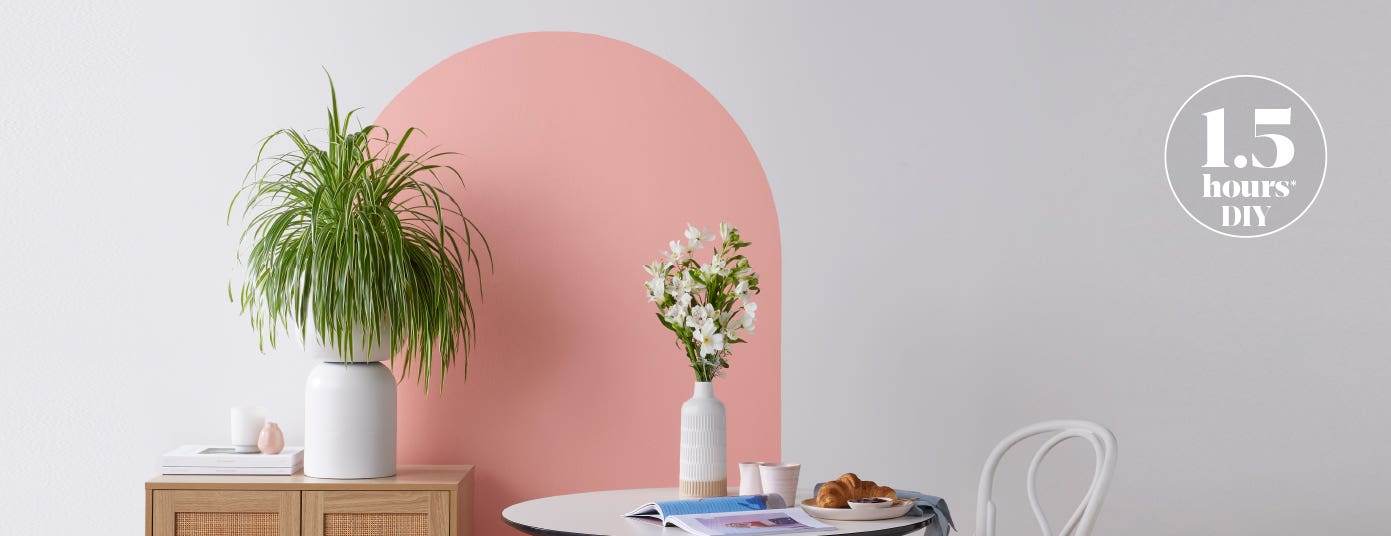
If you’re an avid interiors enthusiast, you may have seen that feature arches are having their moment. But aside from being on-trend, there are also lots of other excellent reasons to add a nifty little feature arch to your home. A painted arch is a simple way to create an interesting focal point, highlight unique furniture or homewares, introduce an additional colour, and change the overall look and feel of a space. Feature arches are an ideal way to inject some fun and personality into a living room, and with little more than some paint and simple equipment, arches are a cost-efficient way to make a big impact. Painting a feature arch may seem tricky, but our simple guide below covers the six steps you need to create the perfect arch in your home.
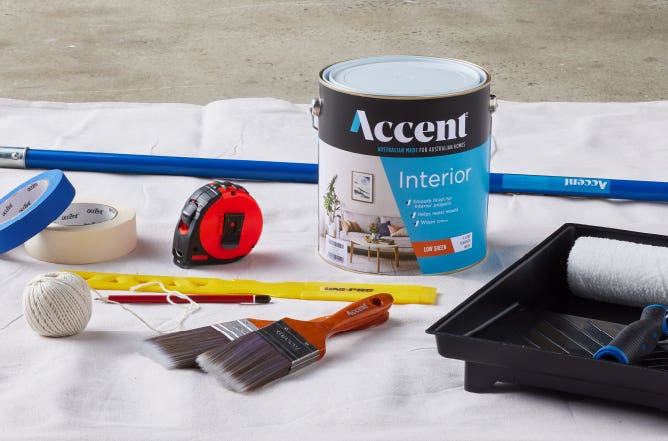
Ensure you have the correct equipment
You will need:
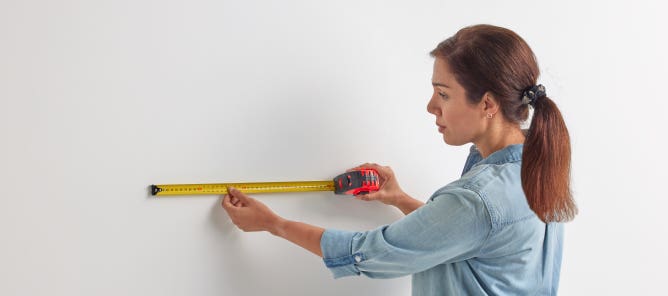
1. Measure up
Firstly, ensure your base wall is free from any dirt and if required wash down with sugar soap and rinse with clean water. Start by measuring up for your arch. Work out roughly how wide you want the final arch to be and how high. This will be dependent on the size of your space and if you will have furniture sitting in front of it. Make a pencil mark on both sides at the same height and then measure the gap between the two sides and mark the mid-point.
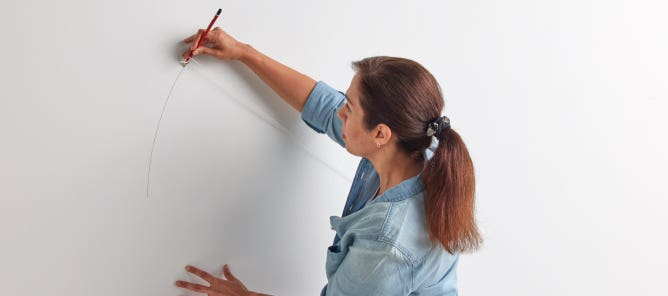
2. Draw a semi-circle
Attach a pencil to the end of a length of string. The string needs to be half the width of your arch. Pin the string at the mid-point mark and keeping the string taught, draw a semi-circle from one side to the other to form the top of your arch.
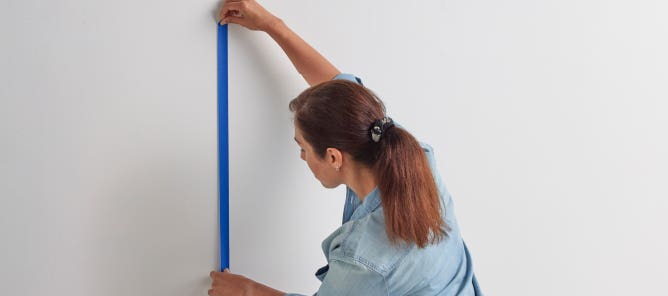
3. Tape sides
First, tape off the straight edges at the bottom of your arch shape with masking tape. To make sure it’s straight, you can make a plumb by attaching keys to a long length of string and holding against the wall. Tape along this line

4. Paint the arch
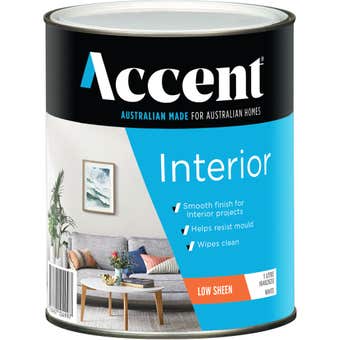
Cover the floor with a dropsheet to protect it from paint splatters. Using a paint brush and Accent Interior Low Sheen, carefully paint the outline of the arch following the semi circle pencil line. Start by painting just inside the line, then press the paint brush down with a little pressure and move slowly along the line for maximum control.
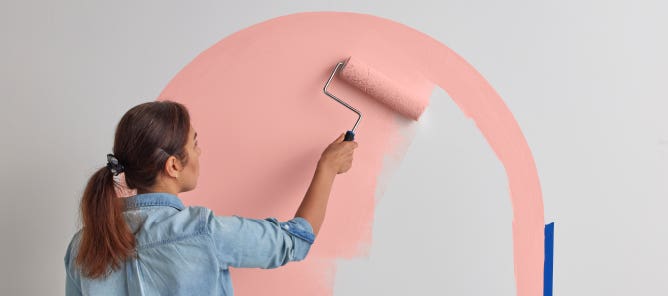
5. Fill in
Once you’ve painted the arch use the same paint brush to cut in along the masking taped edges then fill in the inside using the roller. Allow two hours to dry and then apply a second coat.

6. Reveal
Once you have finished the second coat, gently remove the masking tape while the paint is still slightly wet. Begin at one end and pull the tape back on itself in a steady, slow motion at a 45-degree angle to the painted surface. Stand back and admire your handiwork!
A feature arch is a clever way to breathe new life into a room. The colour choices are endless, from gentle pinks to zesty coral hues, mustard yellows or even deep-sea blues and greens. And painted arches are a fabulous way to create something exceptional without breaking the budget. They are a versatile option well-suited to living areas, bedrooms or even children’s nurseries or play spaces. So why not get started on this stylish DIY project today? You can make an impression by transforming your home with Accent.
Wall: Accent Interior Low Sheen White Wave, arch: Accent Interior Low Sheen Style Pink. *Calculated for an arch to be painted on a previously painted wall, excludes dry time between coats. Cleaning and prep included. Timings quoted at 25°C and 50% humidity. ®Accent is a registered trade mark of Mitre 10 Australia Pty Ltd.
Shopping List