- 19 April 2022
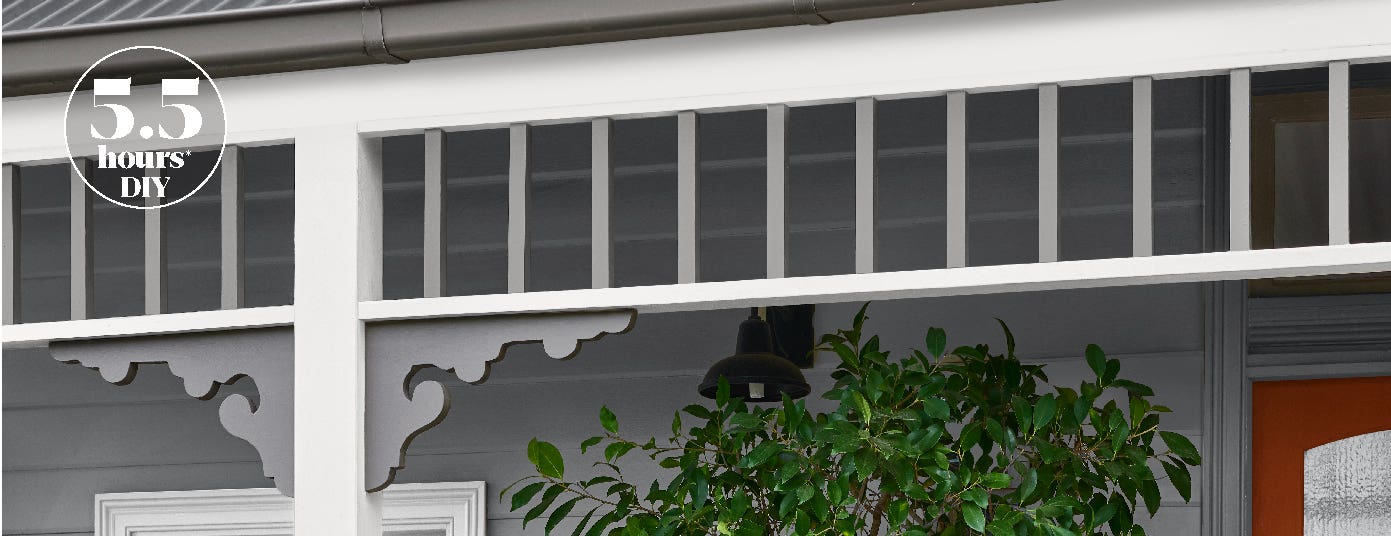
Decorative trim (otherwise known as fretwork) adds to the timeless appeal of many period homes. However, did you know that maintaining these wooden features is a crucial part of preserving a home’s overall aesthetic? Faded, flaking, dull or stained decorative trim can make a home look tired and worn. Fortunately, restoring your decorative trim doesn’t need to be an arduous or costly process. All you need are some painting supplies and a healthy dose of elbow grease to take your decorative trim from drab to fab! Pop on your painting clothes, roll up your sleeves and line up your DIY supplies for this great home improvement task – it’s truly worth the effort! And with our handy guide, you can be confident every step of the way!
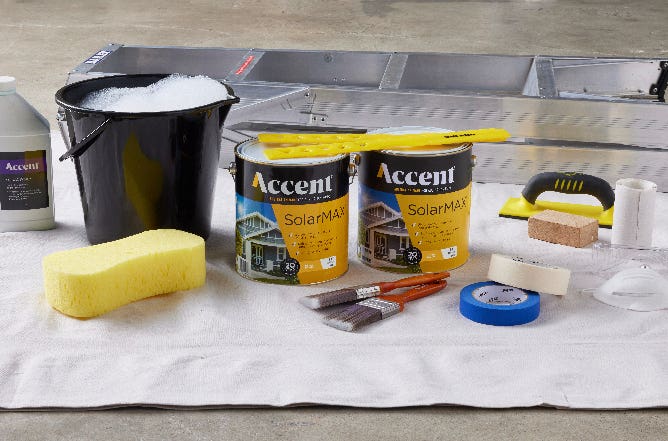
Ensure you have the correct equipment
You will need:
DIY Project Steps
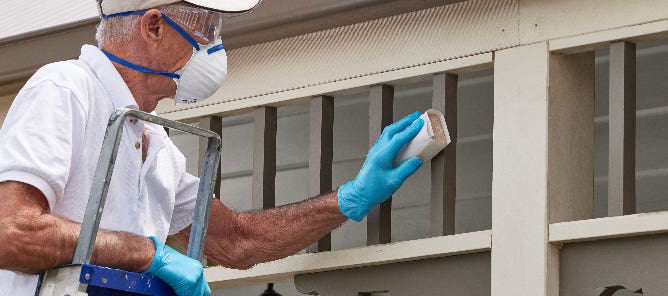
1. Prep
Prepare for painting your decorative trim by cleaning the front of your house with a bucket and sponge or high pressure hose, to remove the inevitable build up of dirt and cobwebs. If the timber is not in good condition, make sure you remove any flaking paint with a scraper and fill any holes. Large gaps or holes will need to be spot primed before painting. Use a block with 180 grit sandpaper to sand all the flat surfaces of your decorative trim, then fold the sandpaper using just your fingers to get into all the fiddly corners.
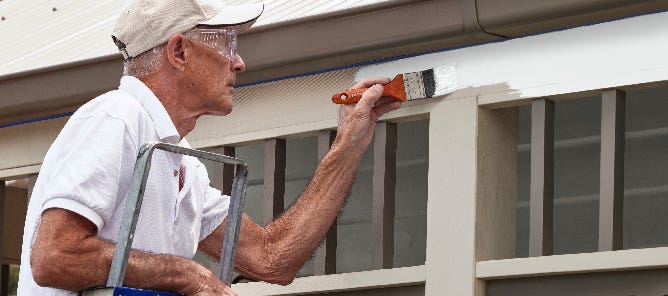
2. Paint Main Colour
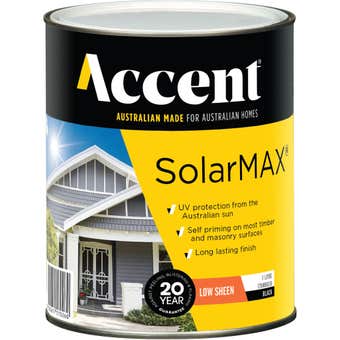
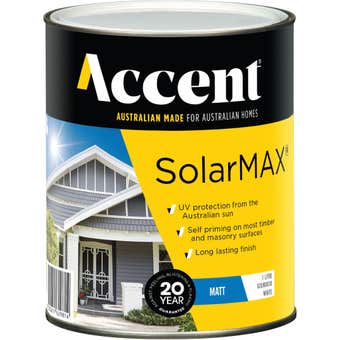
Using Accent SolarMAX® Gloss in your main colour choice, using a 25mm or 50mm brush, cut in around the edges and paint the fascias and posts using short, horizontal brush strokes. Then, without reloading the brush, smooth over the wet painted section with long brush strokes. This is called ‘laying off’ – just a few strokes should be enough to smooth the surface. Always work from the top down. Allow at least two hours to dry before applying a second coat.
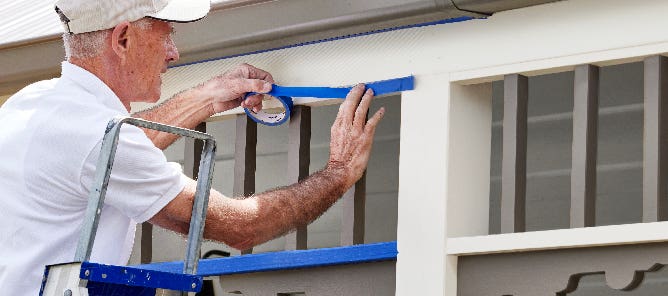
3. Mask
Allow the freshly painted surfaces to cure for seven days before masking the edges where your two paint colours meet. You don’t have to mask every edge, but it’s easy to mask along all the straight edges and will save time and touch ups at the end of the job. Masking is an optional step so a tip is to have a small damp cloth to remove paint to achieve a clean line where the two colours meet.
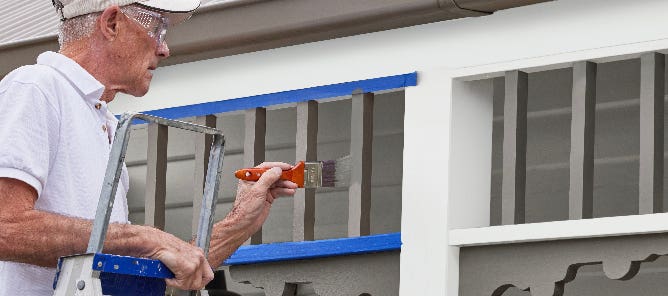
4. Paint Detail Colour
Now for the detail. Using the paint brush, load the second colour and paint the small vertical struts and decorative corners carefully, making sure you don’t miss any areas that are hard to see. Before the paint completely dries, remove the masking tape by pulling it back on itself at a 45 degree angle. This is the fun part where you start to see the makeover, especially if you are changing your colour scheme.
There’s something truly appealing about the charming details featured in period homes, and there’s no doubt that intricate decorative trim can be a striking focal point. Heritage houses often need a little bit of extra TLC, but by caring for your decorative trim with regular painting using high-quality products such as Accent SolarMAX® you can protect your home and ensure its longevity. Let your decorative trim take centre stage and make an impression by refreshing your home with Accent.
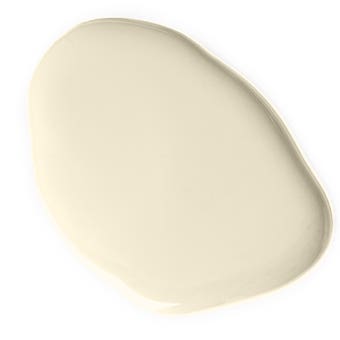
Decorative trim main colour: Accent SolarMAX Gloss White Wave, detail colour: Accent SolarMAX Gloss Priceless. Door: SolarMAX Gloss Sunset Orange. *Calculated for decorative trim 5m x 0.5m plus 2 x posts previously painted and in good condition, excludes dry time between coats. Cleaning and prep included. Timings quoted at 25°C and 50% humidity. ®Accent is a registered trade mark of Mitre 10 Australia Pty Ltd.
Shopping List