- 25 June 2021
Painting a ceiling doesn't always inspire the same sort of enthusiasm as other DIY home projects, but did you know that ceilings can have a big impact on the overall look and feel of a room? If your ceiling seems a little tired and worn, you can quickly and easily spruce it up with a coat of paint. A fresh ceiling will complement walls and can naturally brighten any space. So, the next time you're considering some home improvements, don't forget about your ceilings. And to make your do-it-yourself project even easier, we've put together a handy shopping list for everything you need to get a great, professional-looking result. Follow our step by step guide below for all the information you need to get started.
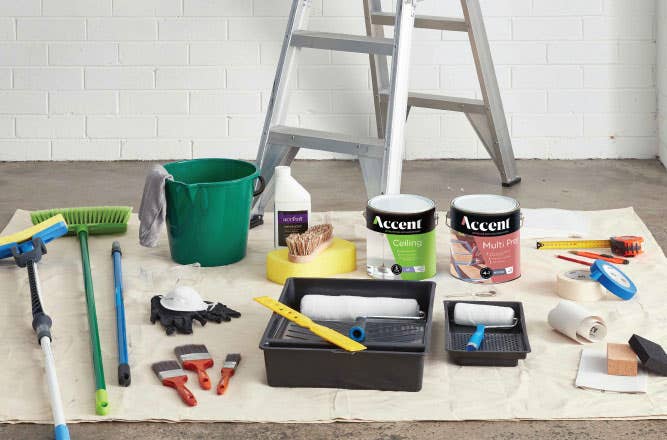
Ensure you have the correct equipment
Having the right tools on hand makes any painting job easier.
Buy tools as and when you need them and build up your kit gradually
Checklist
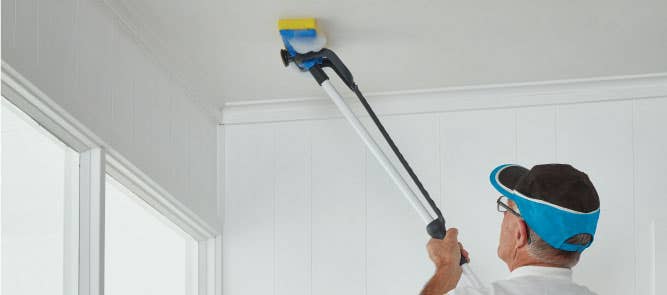
1. Prep
The first step is to cover any furniture and remove curtains if you have them. Protect your floors by laying down your drop sheets. Remove any cobwebs with a broom and thoroughly wash the ceiling with Accent Sugar Soap using a squeegee mop. Let the ceiling dry before moving on to step two.
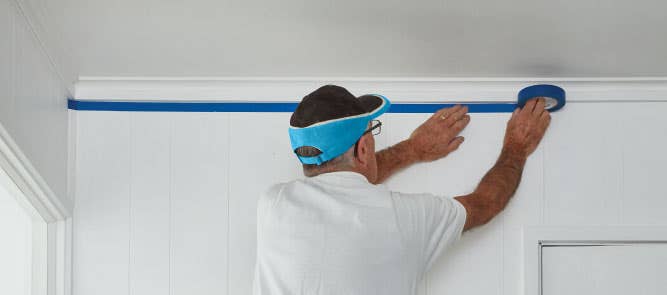
2. Mask
Once your ceiling is ready, use the masking tape to carefully tape around cornices, light fittings and along any edges where the ceiling meets the wall. Aside from protecting surfaces, masking tape is also handy as it can help to give a clean line to the edges of your paintwork.
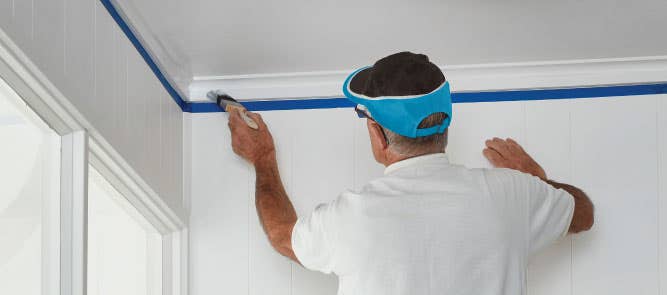
3. Cut in
After your ceiling is clean and dry and you've taped around your cornices and light fittings, you're ready to cut in. Before you start, be sure to stir your paint in the tin for an even and consistent colour. Use a paintbrush to cut in around the edges of the ceiling and light fittings or vents where the roller can't reach.
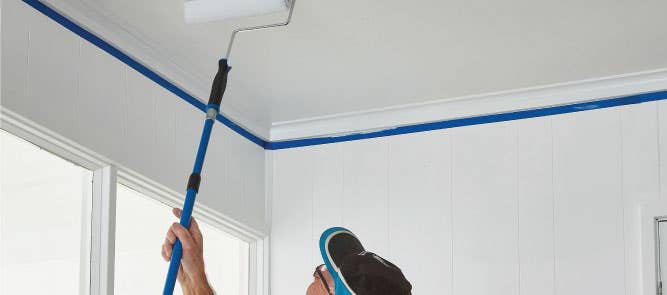
4. Paint
Now that all the preparation has been completed, it's time to start painting. Begin painting in an overlapping zigzag pattern in one metre sections to ensure an even distribution of paint. Once you have covered three to four square metres and the paint is still wet, lay off. Lastly, remember to recoat your ceiling after two hours.
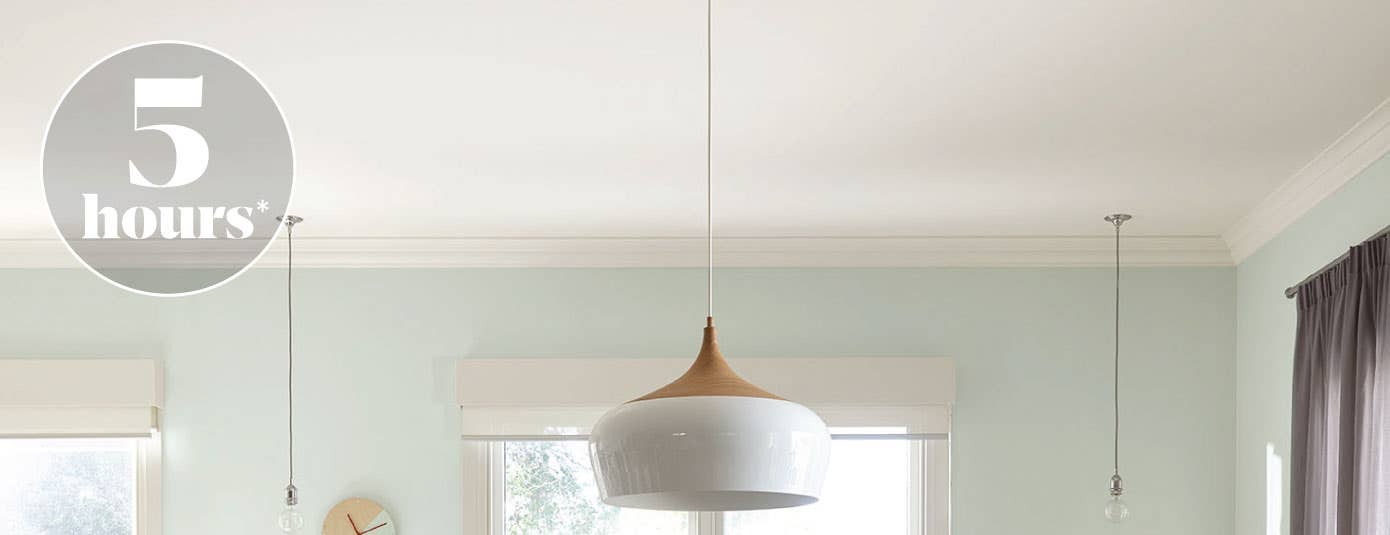
It only takes four simple steps to update a ceiling, and best of all, this home improvement task can easily be completed during the weekend. So, why not roll up your sleeves, stock up on painting supplies and get started? A bright new ceiling can give any room a quick facelift, and we're sure you'll love the result. Make an impression by refreshing your ceiling with Accent.
Image walls: Accent Cool Zephyr, ceiling & trim: Accent White Salt.
*Calculated for a ceiling 3x4m, two coats and two hours between coats. Filing, sanding and cleaning prep included.