


- 17 August 2023
How To Patch a Hole in the Wall
From unruly game nights to aspiring acrobats attempting indoor stunts, there are countless adventurous tales that can lead to those mysterious holes in your walls. No matter how cautious you may be, eventually you'll encounter a few holes in your walls. But fret not, for patching them up is easy. So, roll up your sleeves, grab your tools, and let's get those walls looking good as new!

DIY Project Steps

1. Prepare the area
Let's get that area ready for some patching action! First things first, take a moment to prepare the space. Begin by removing any loose parts that may be hanging around. Then, grab a trusty utility knife or some sandpaper and gently smooth the edges of the hole. This helps create a nice, clean surface for the patching material to stick to. Make sure to get rid of any loose or flaking drywall material, so everything is nice and tidy.

2. Apply patch
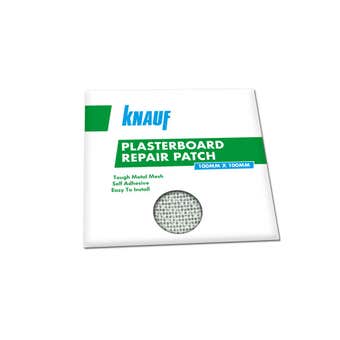
Grab your Knauf Plasterboard Repair Patch and peel off the backing and gently apply it over the hole on the plasterboard surface. Take care to make it nice and even, ensuring the mesh of the patch adheres smoothly.

3. Apply the Total Joint Finish
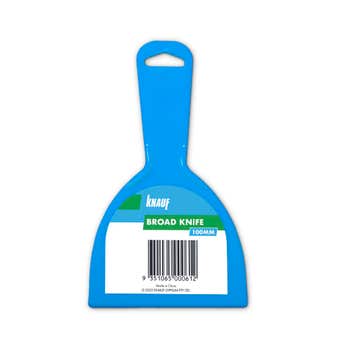
Using the broad knife, grab a small amount of Knauf Total Joint Finish and apply a thin layer of the compound to the patch. As you do so, make sure to feather the edges around the outside of the patch. This means gently blending them with the surrounding wall, creating a seamless transition.
Tip: Remove any excess compound to achieve a flat and even surface.
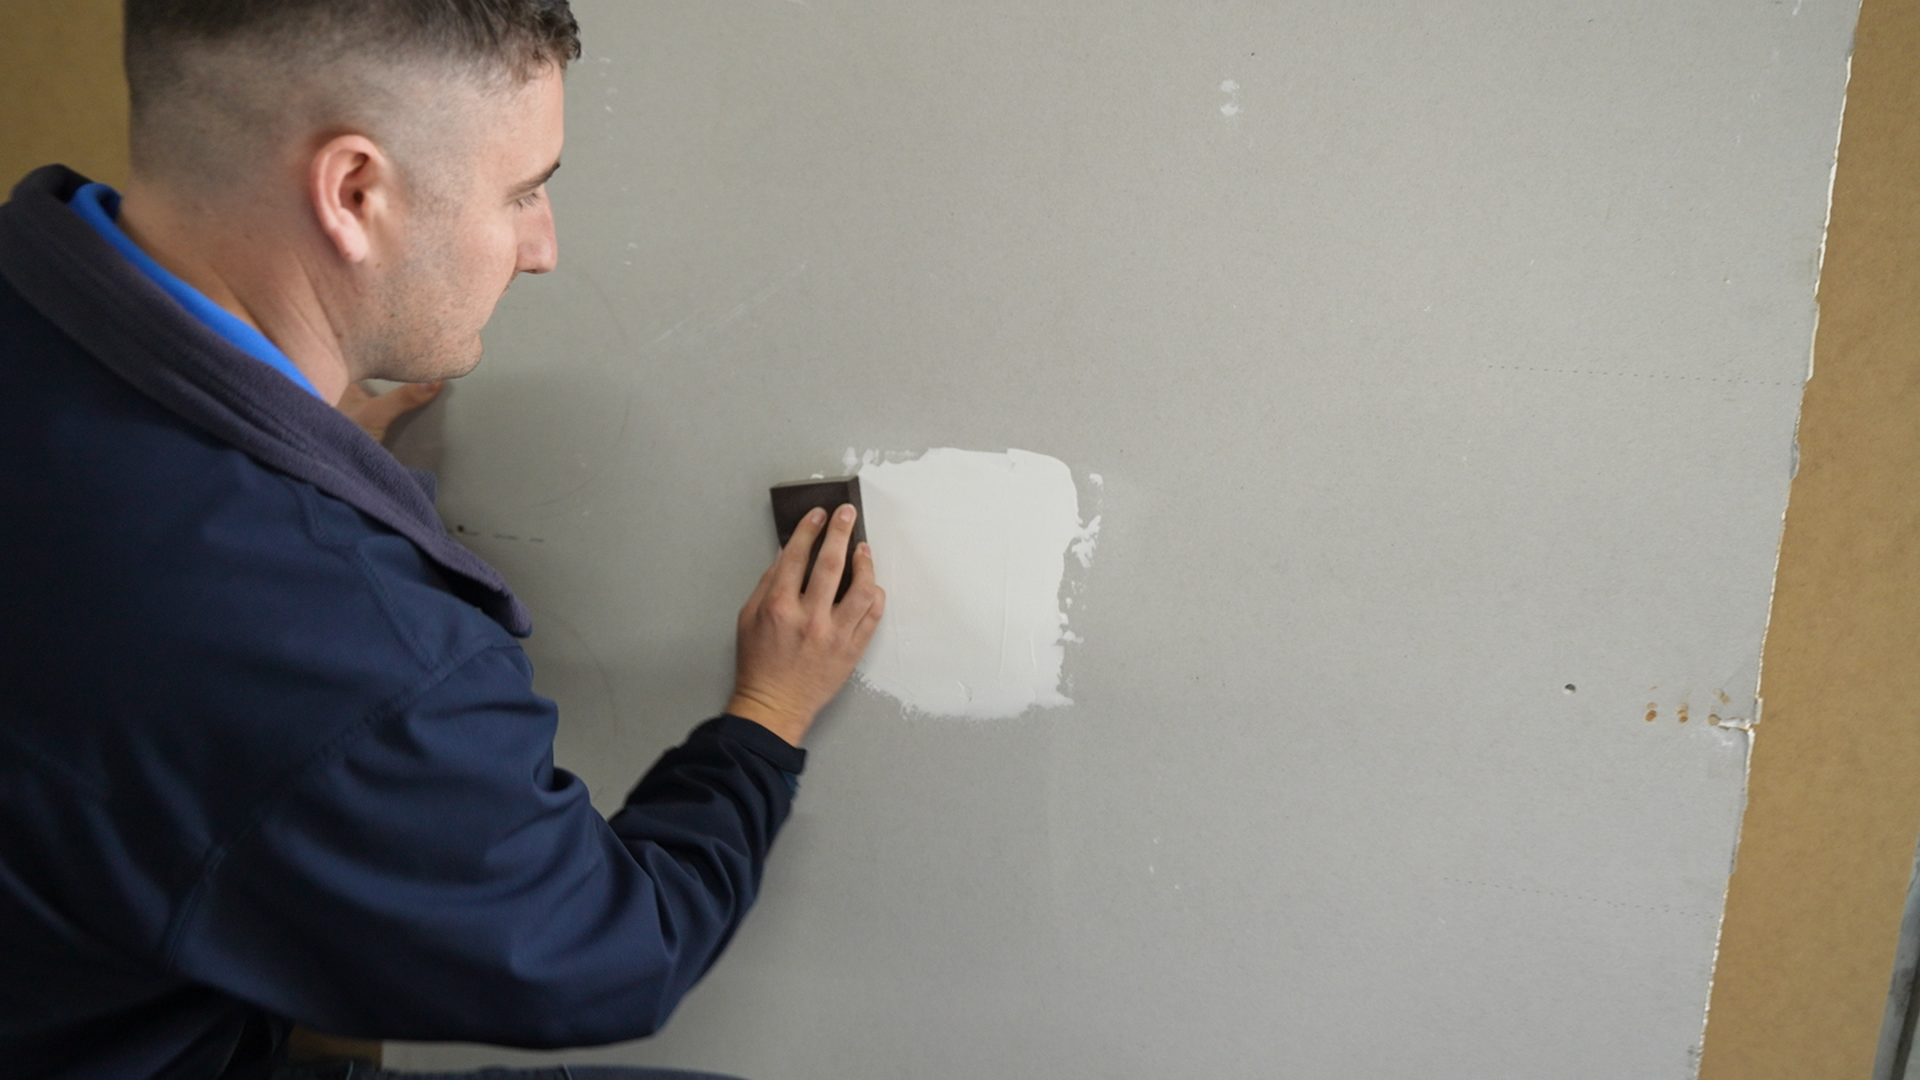
4. Let dry and sand
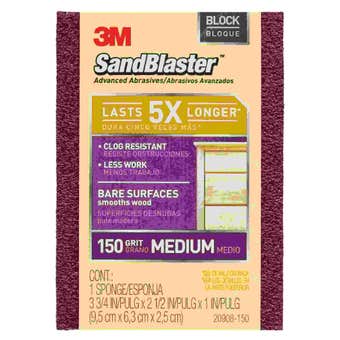
Allow the compound to dry completely, which may take a few hours or even overnight. Be patient, my friend. Once the compound is dry, it's sanding time. Grab some sandpaper and gently smooth the surface of the patched area. Sand it with light strokes until it becomes even and smooth. If needed, reapply another thin coat of compound and repeat the sanding process. Remember, take it easy and sand lightly between coats for that flawless finish.
To achieve the best results, it's usually recommended to apply three coats of Total Joint Finish. After sanding and ensuring the surface is nice and clean, it's time – painting!


