


- 12 October 2023
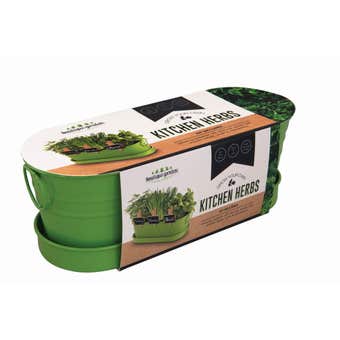
Tips for Planting and Growing Herbs
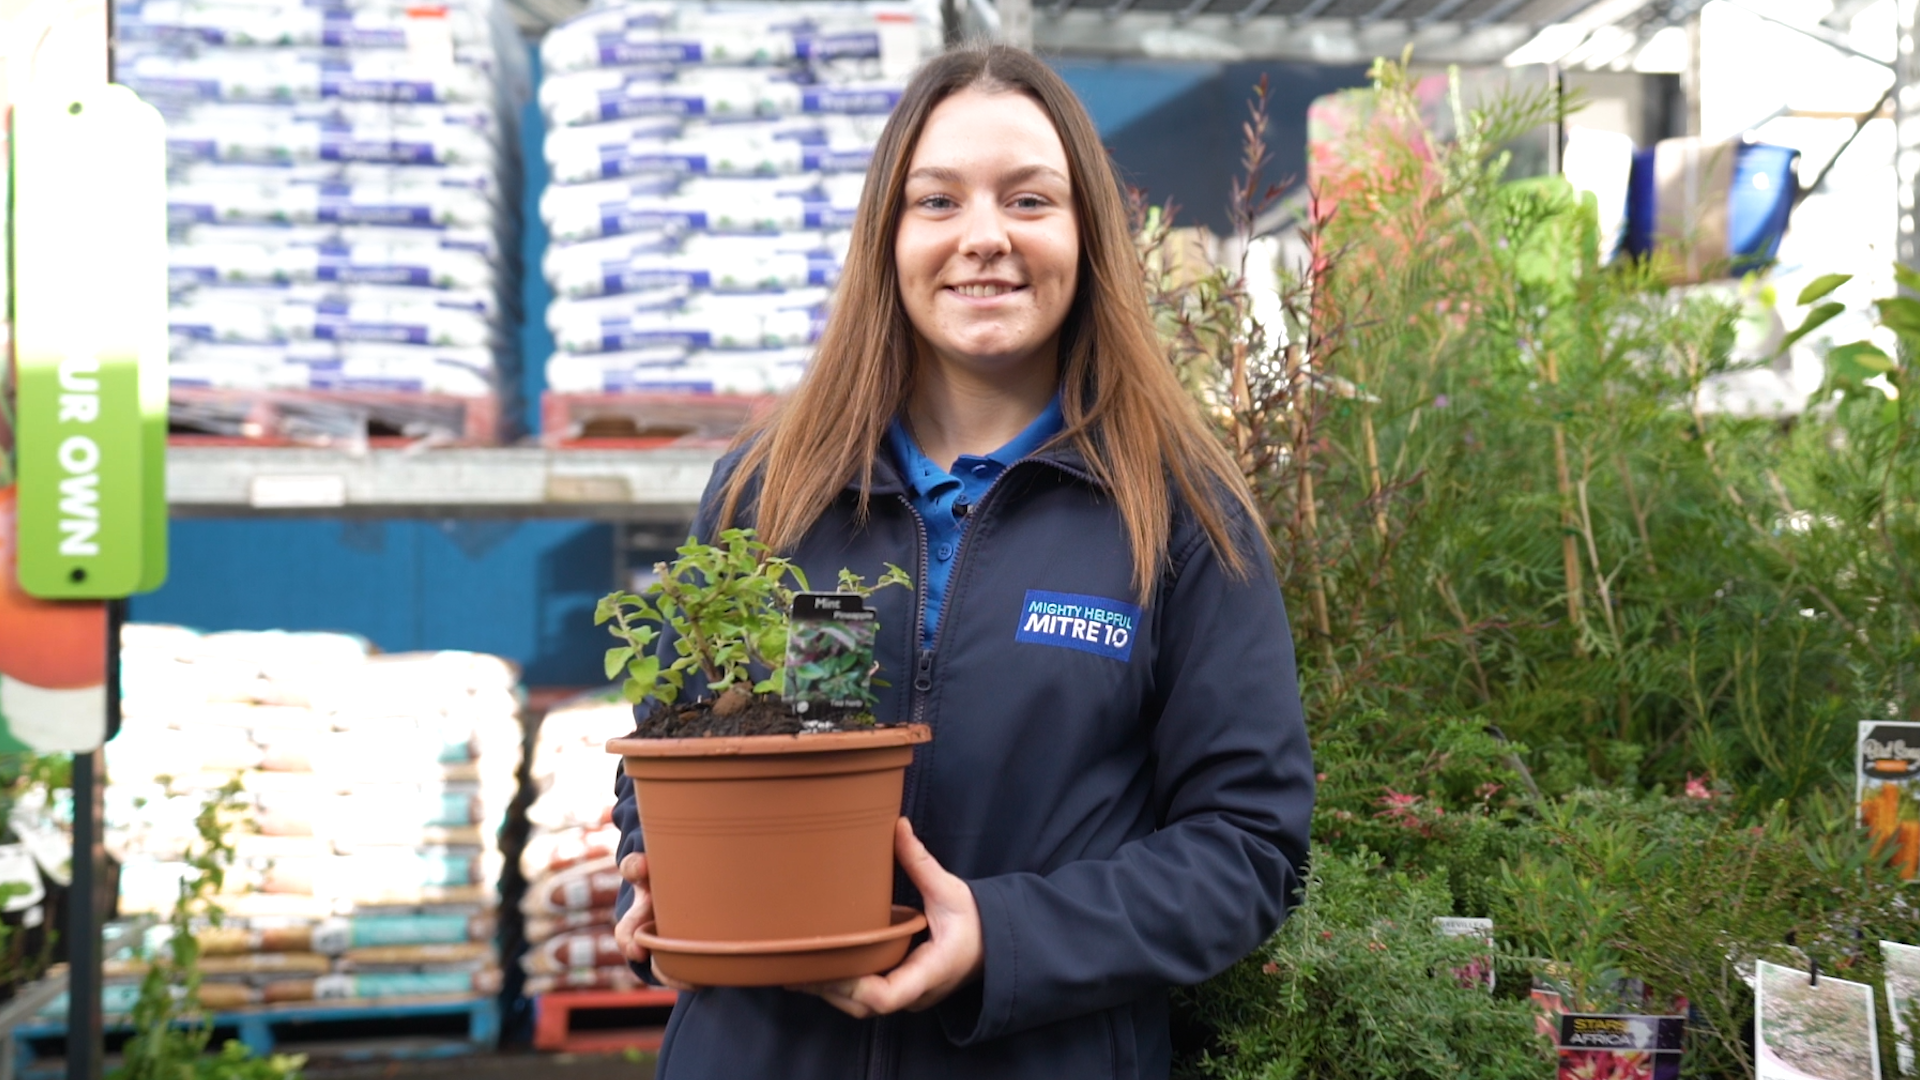
Harvesting herbs straight from your garden ensures you have the freshest and most flavourful ingredients for your culinary creations. Buying fresh herbs from the store can be expensive, but growing your own is a cost-effective way to have a constant supply. Here are some helpful tips to get the most out of your homegrown herbs. Get ready to level up your herb game!

DIY Project Tips and Tricks

1. Know your herbs' needs, pair accordingly
Each herb has its preferences, so get to know their likes and dislikes. Some love the sun, while others prefer a bit of shade. Some like moist soil, while others thrive in drier conditions. Each herb has their own growing needs, grouping herbs with similar water and sunlight needs together will allow you can water and care for them more efficiently.

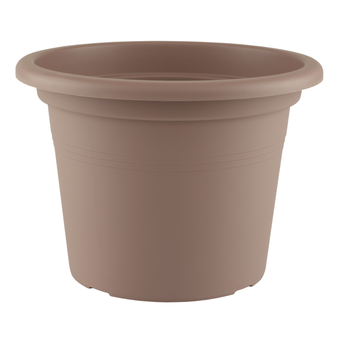
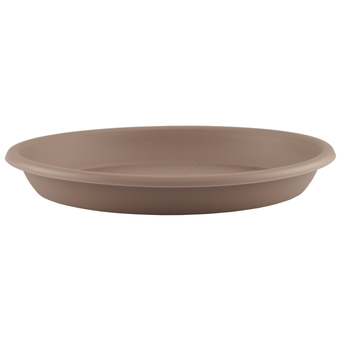
2. Good drainage
Proper drainage prevents water from pooling around the roots of herb plants. Waterlogged soil can suffocate the roots and lead to root rot, which is a common cause of plant death. To keep your herbs thriving, use pots or containers with drainage holes. They let excess water escape, ensuring your herbs stay happy and vibrant.

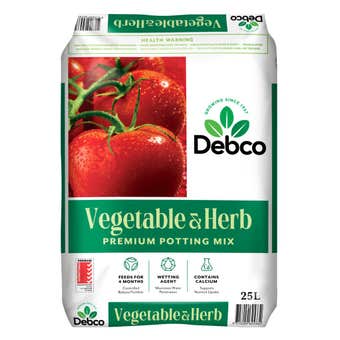
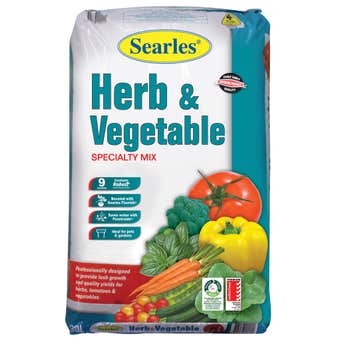
3. Potting mix
Choosing the right potting mix is like finding the perfect home for your herbs. A quality potting mix provides the best growing medium for container plants. Look for mixes that strike a balance between retaining moisture and providing good drainage, this means that plant roots can obtain sufficient water without drowning.

4. Pinch and prune
Pinch and prune your herbs for bushier growth and more delightful blooms. By pinching off the tips and pruning away excess growth, your herbs will become more lush and bushy as the grow. Additionally, regularly harvest your herbs—is like giving them a fresh start! The more you snip, the bushier they'll grow.

5. Plant mint and lemon balm in containers to prevent invasiveness.
Apply your choice of finish, we’ve gone with a walnut interior stain. Make sure to apply the stain evenly, working with the grain of the wood. Let the stain dry completely. We used one coat for ours and left it to dry outside for an hour.
Tip: If you want a deeper colour, you can apply a second coat of stain after the first coat has dried